When I first received this film, I made a post saying I was looking forward to testing it out. Then I received a comment saying that it’s not technically a new film; it’s possibly spooled Kodak Aerocolor 2460.
So, what is Aerocolor, and what is respooled film?
Hey guys, this is Sam, welcome back to another episode of Reflx Lab sending me some film to try out. Thank you, guys. They didn’t ask me to make this video, but I think it’s a good opportunity to share what I’ve learned from this film and my thoughts on this type of film in general.
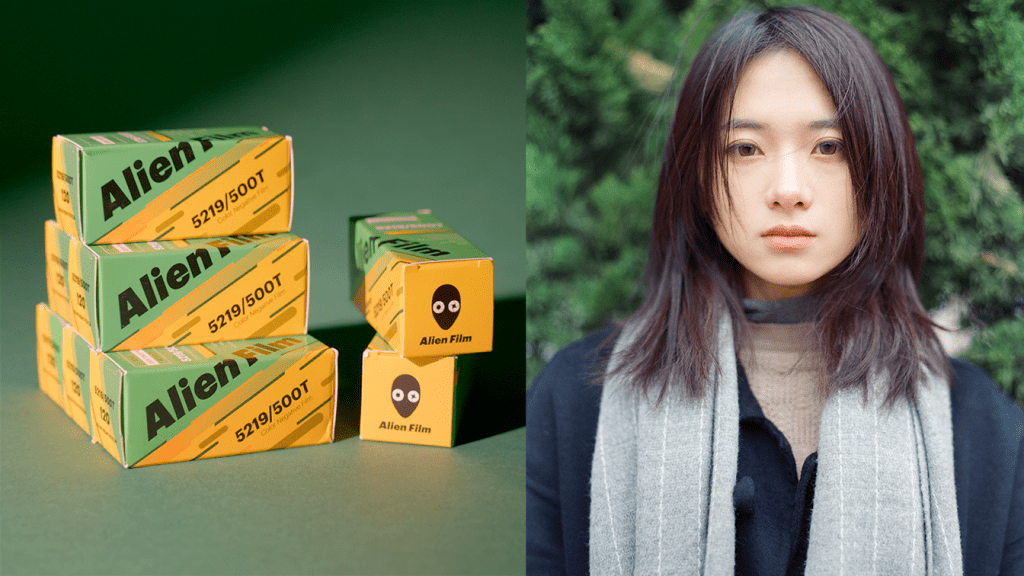
This film is called Reflx Lab Pro100.
Reflx Lab is very transparent and honest about what this film is made of, which I appreciate. This way, I can find more information about this film from the source material and try to understand the color features of this film. On their website, it says that this film is respooled from Aerocolor 2460 film.
So, what is Aerocolor film then?
Kodak Aerocolor film is a type of color reversal film specifically designed for aerial photography. It was used for purposes such as mapping, surveillance, and remote sensing, before DJI existed.
This film is only sold by Kodak in bulk. The only option I found for buying it is on B&H Photo, where you could get a 250 feet roll for about $1600, but even that is not available anymore. So, we don’t really know what the minimum order is nowadays.
This is where film labs, like Reflx Labs, come in. They purchase a bulk amount of film, cut and respool them into regular 36-frame rolls, repackage, re-brand, and resell them. So, we can have access to this type of film, instead of having to purchase thousands of dollars worth of the same film.
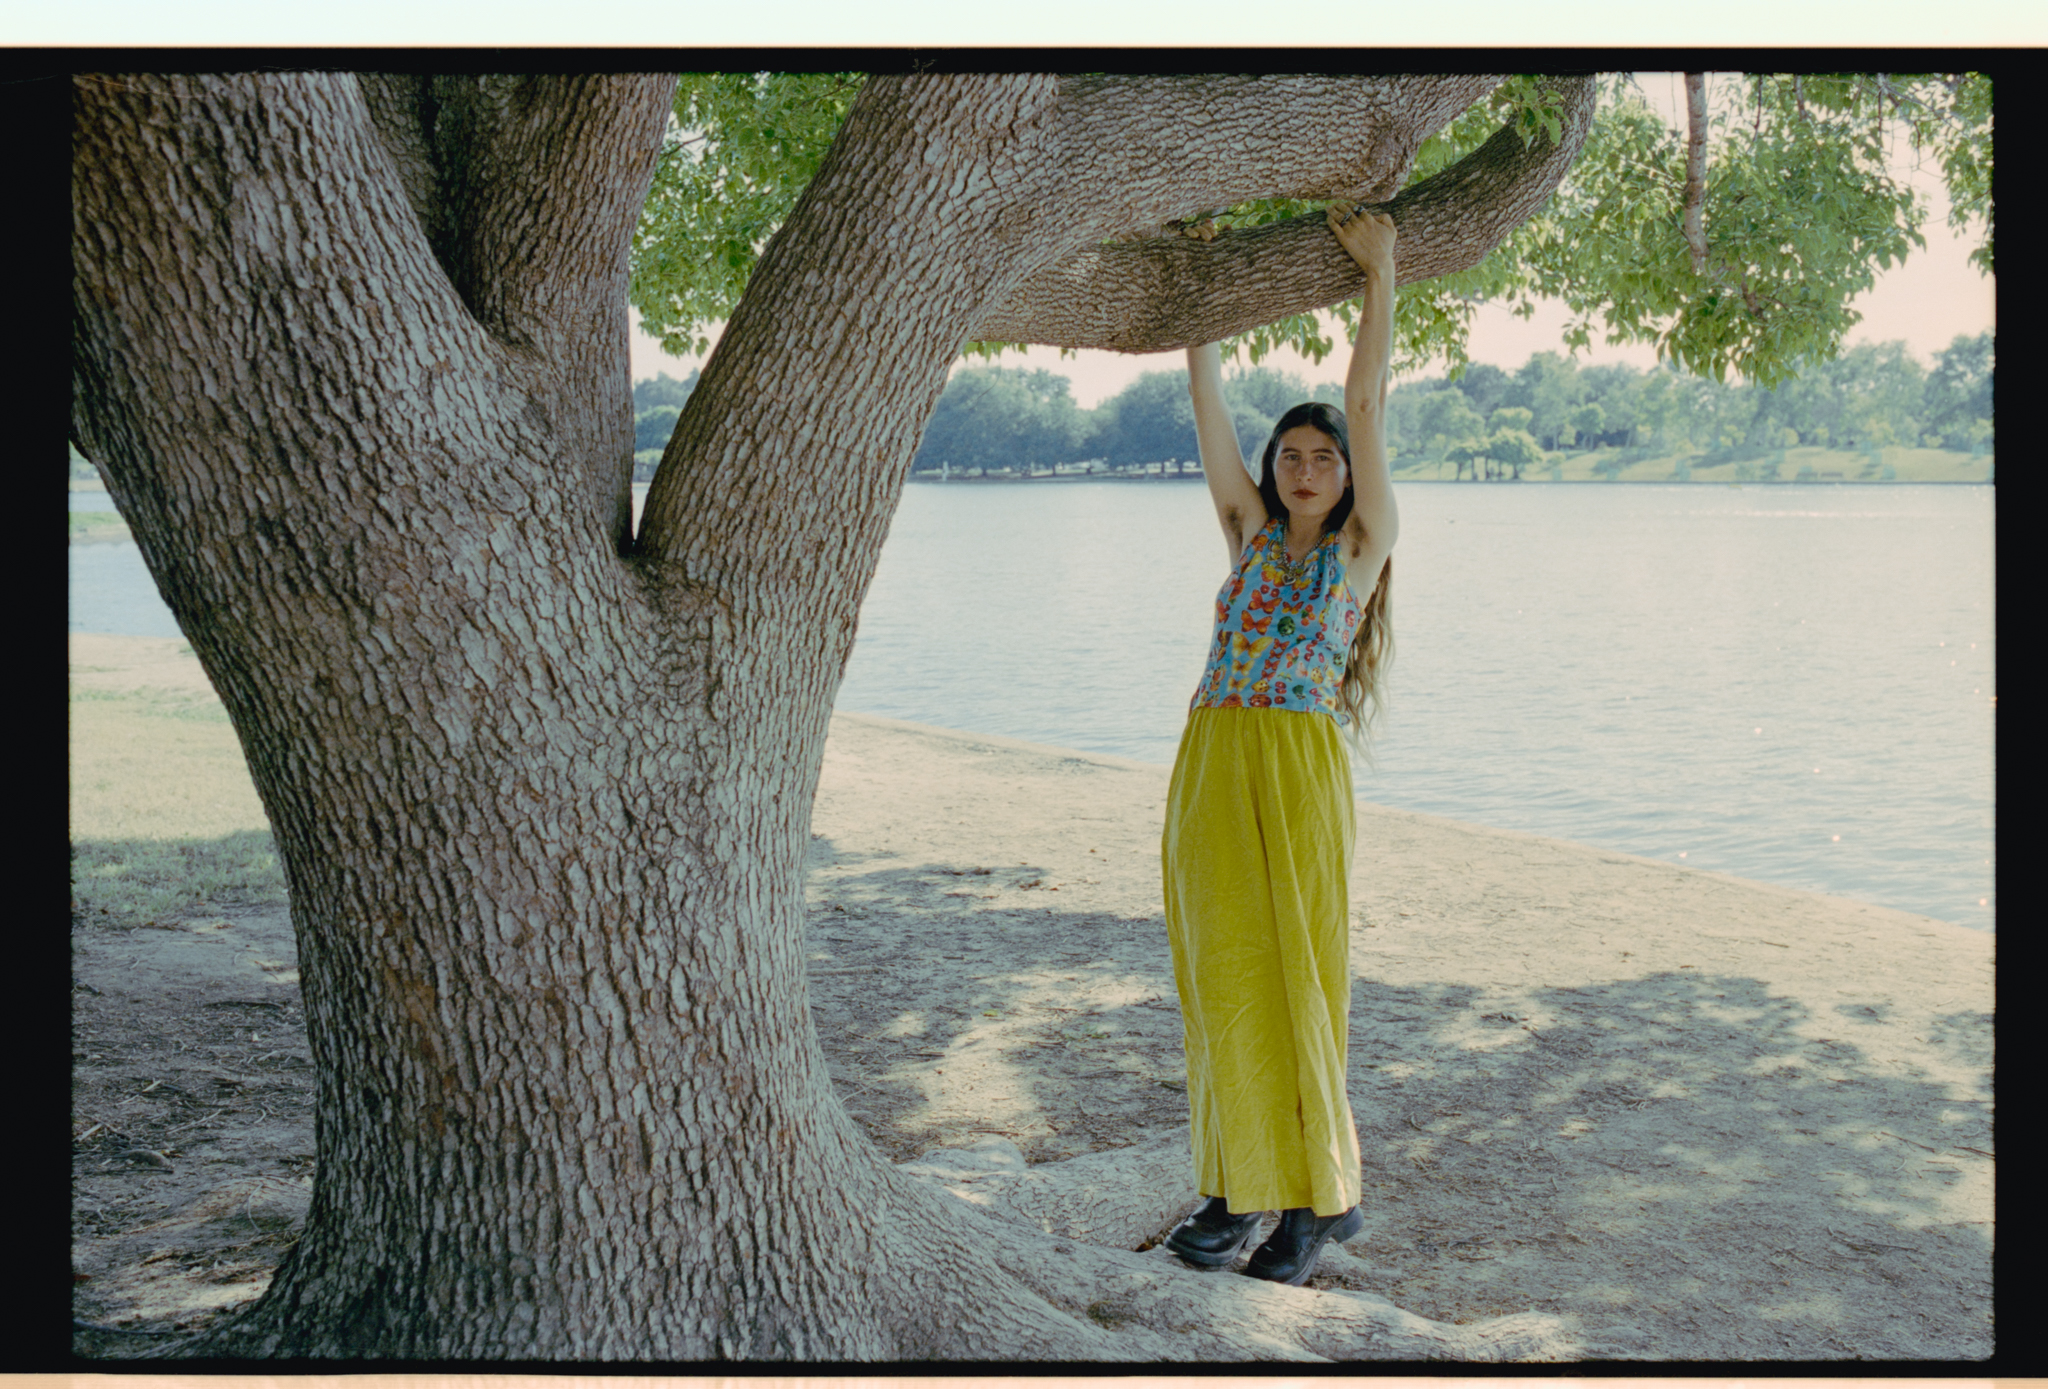
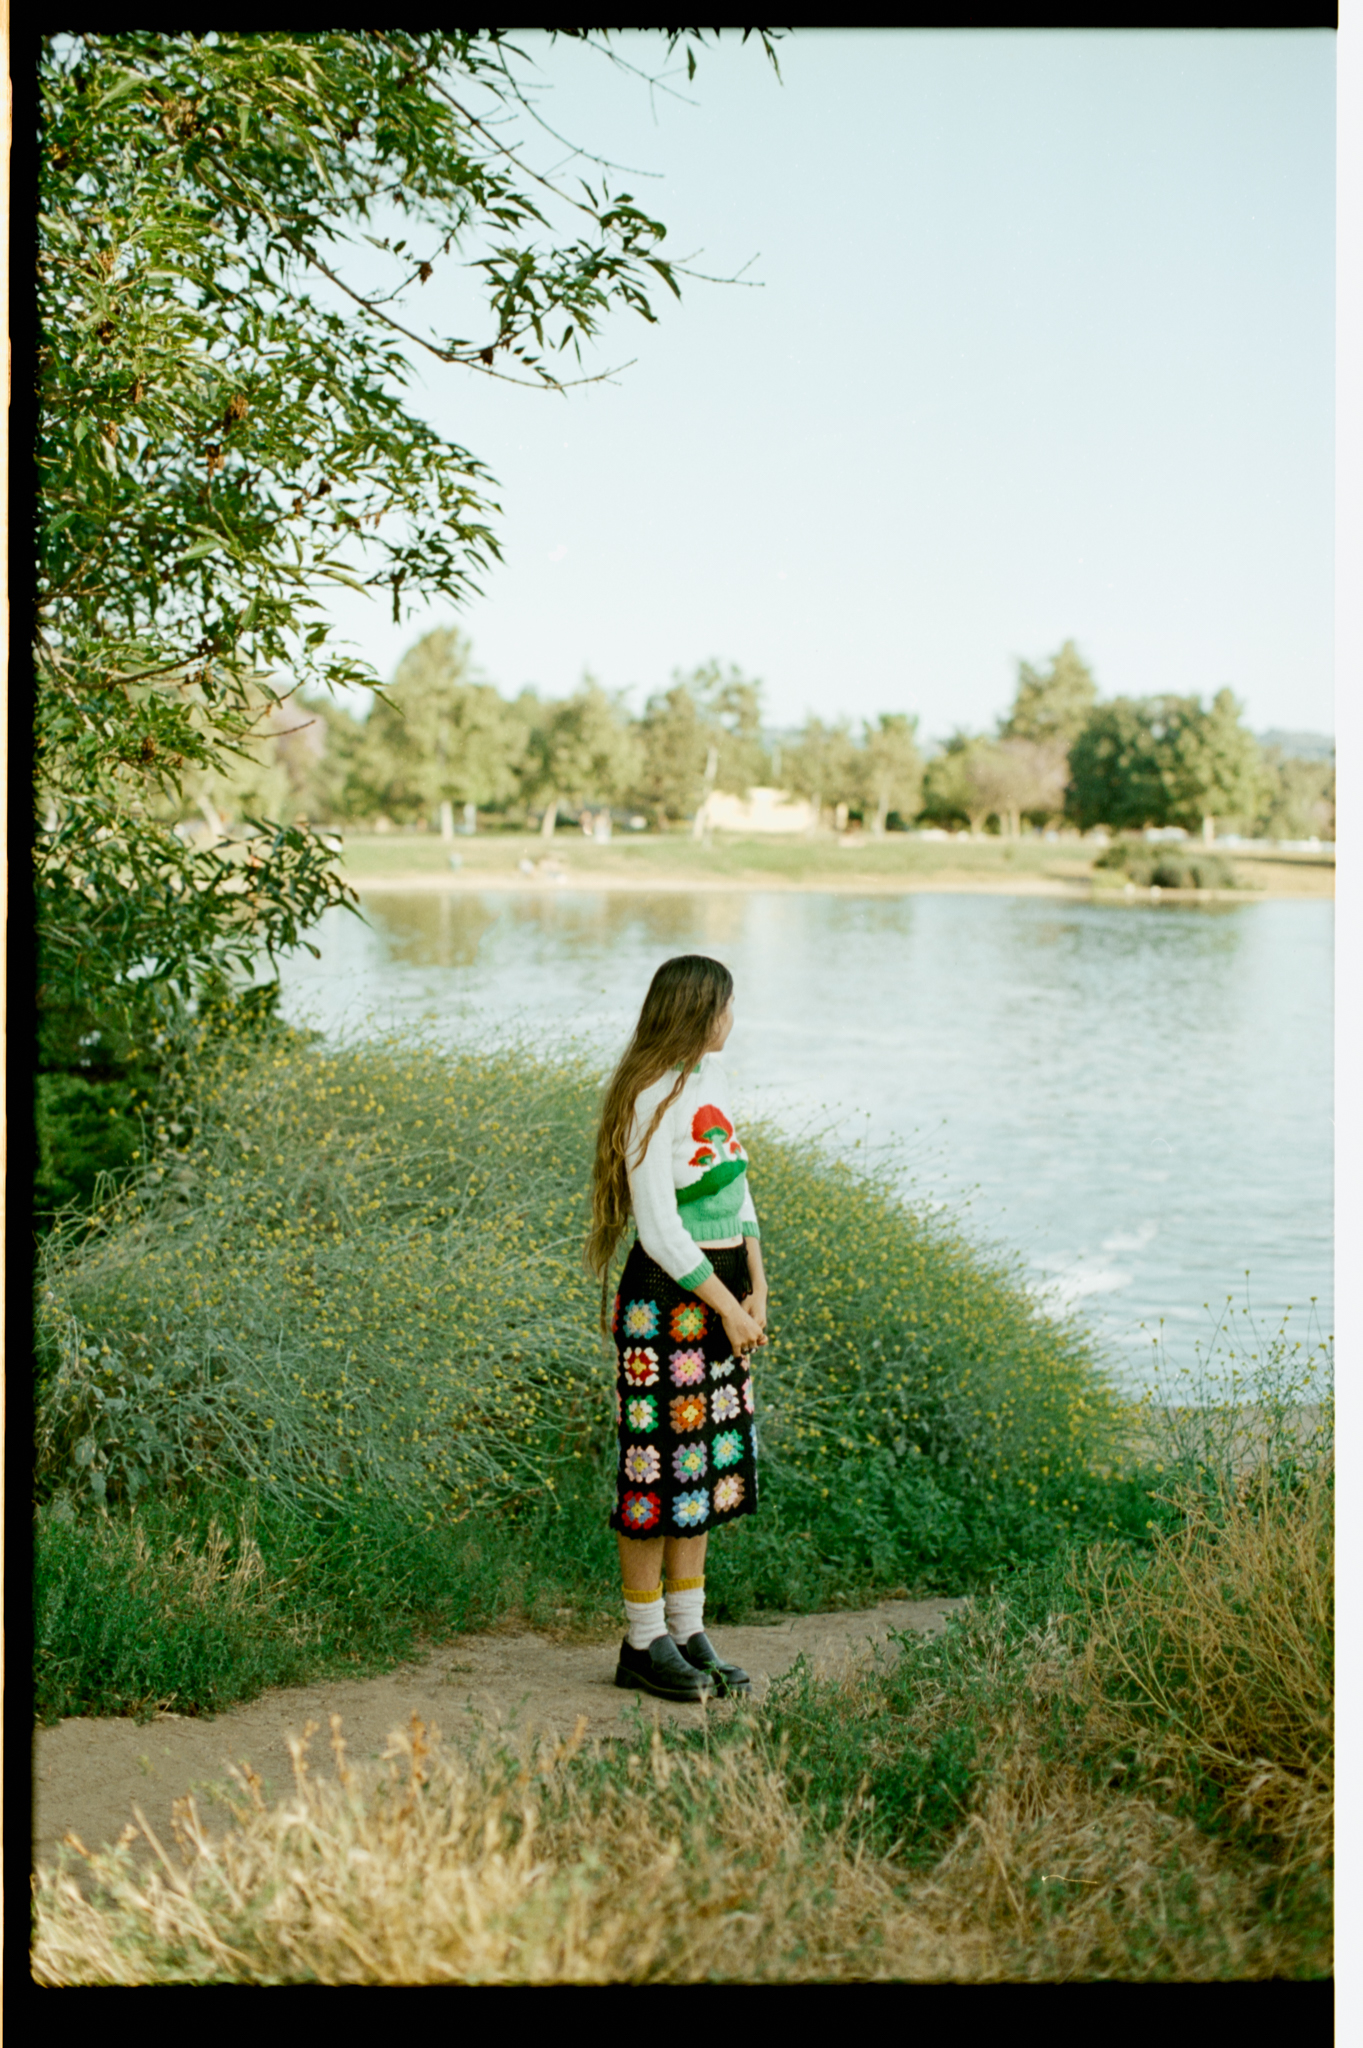
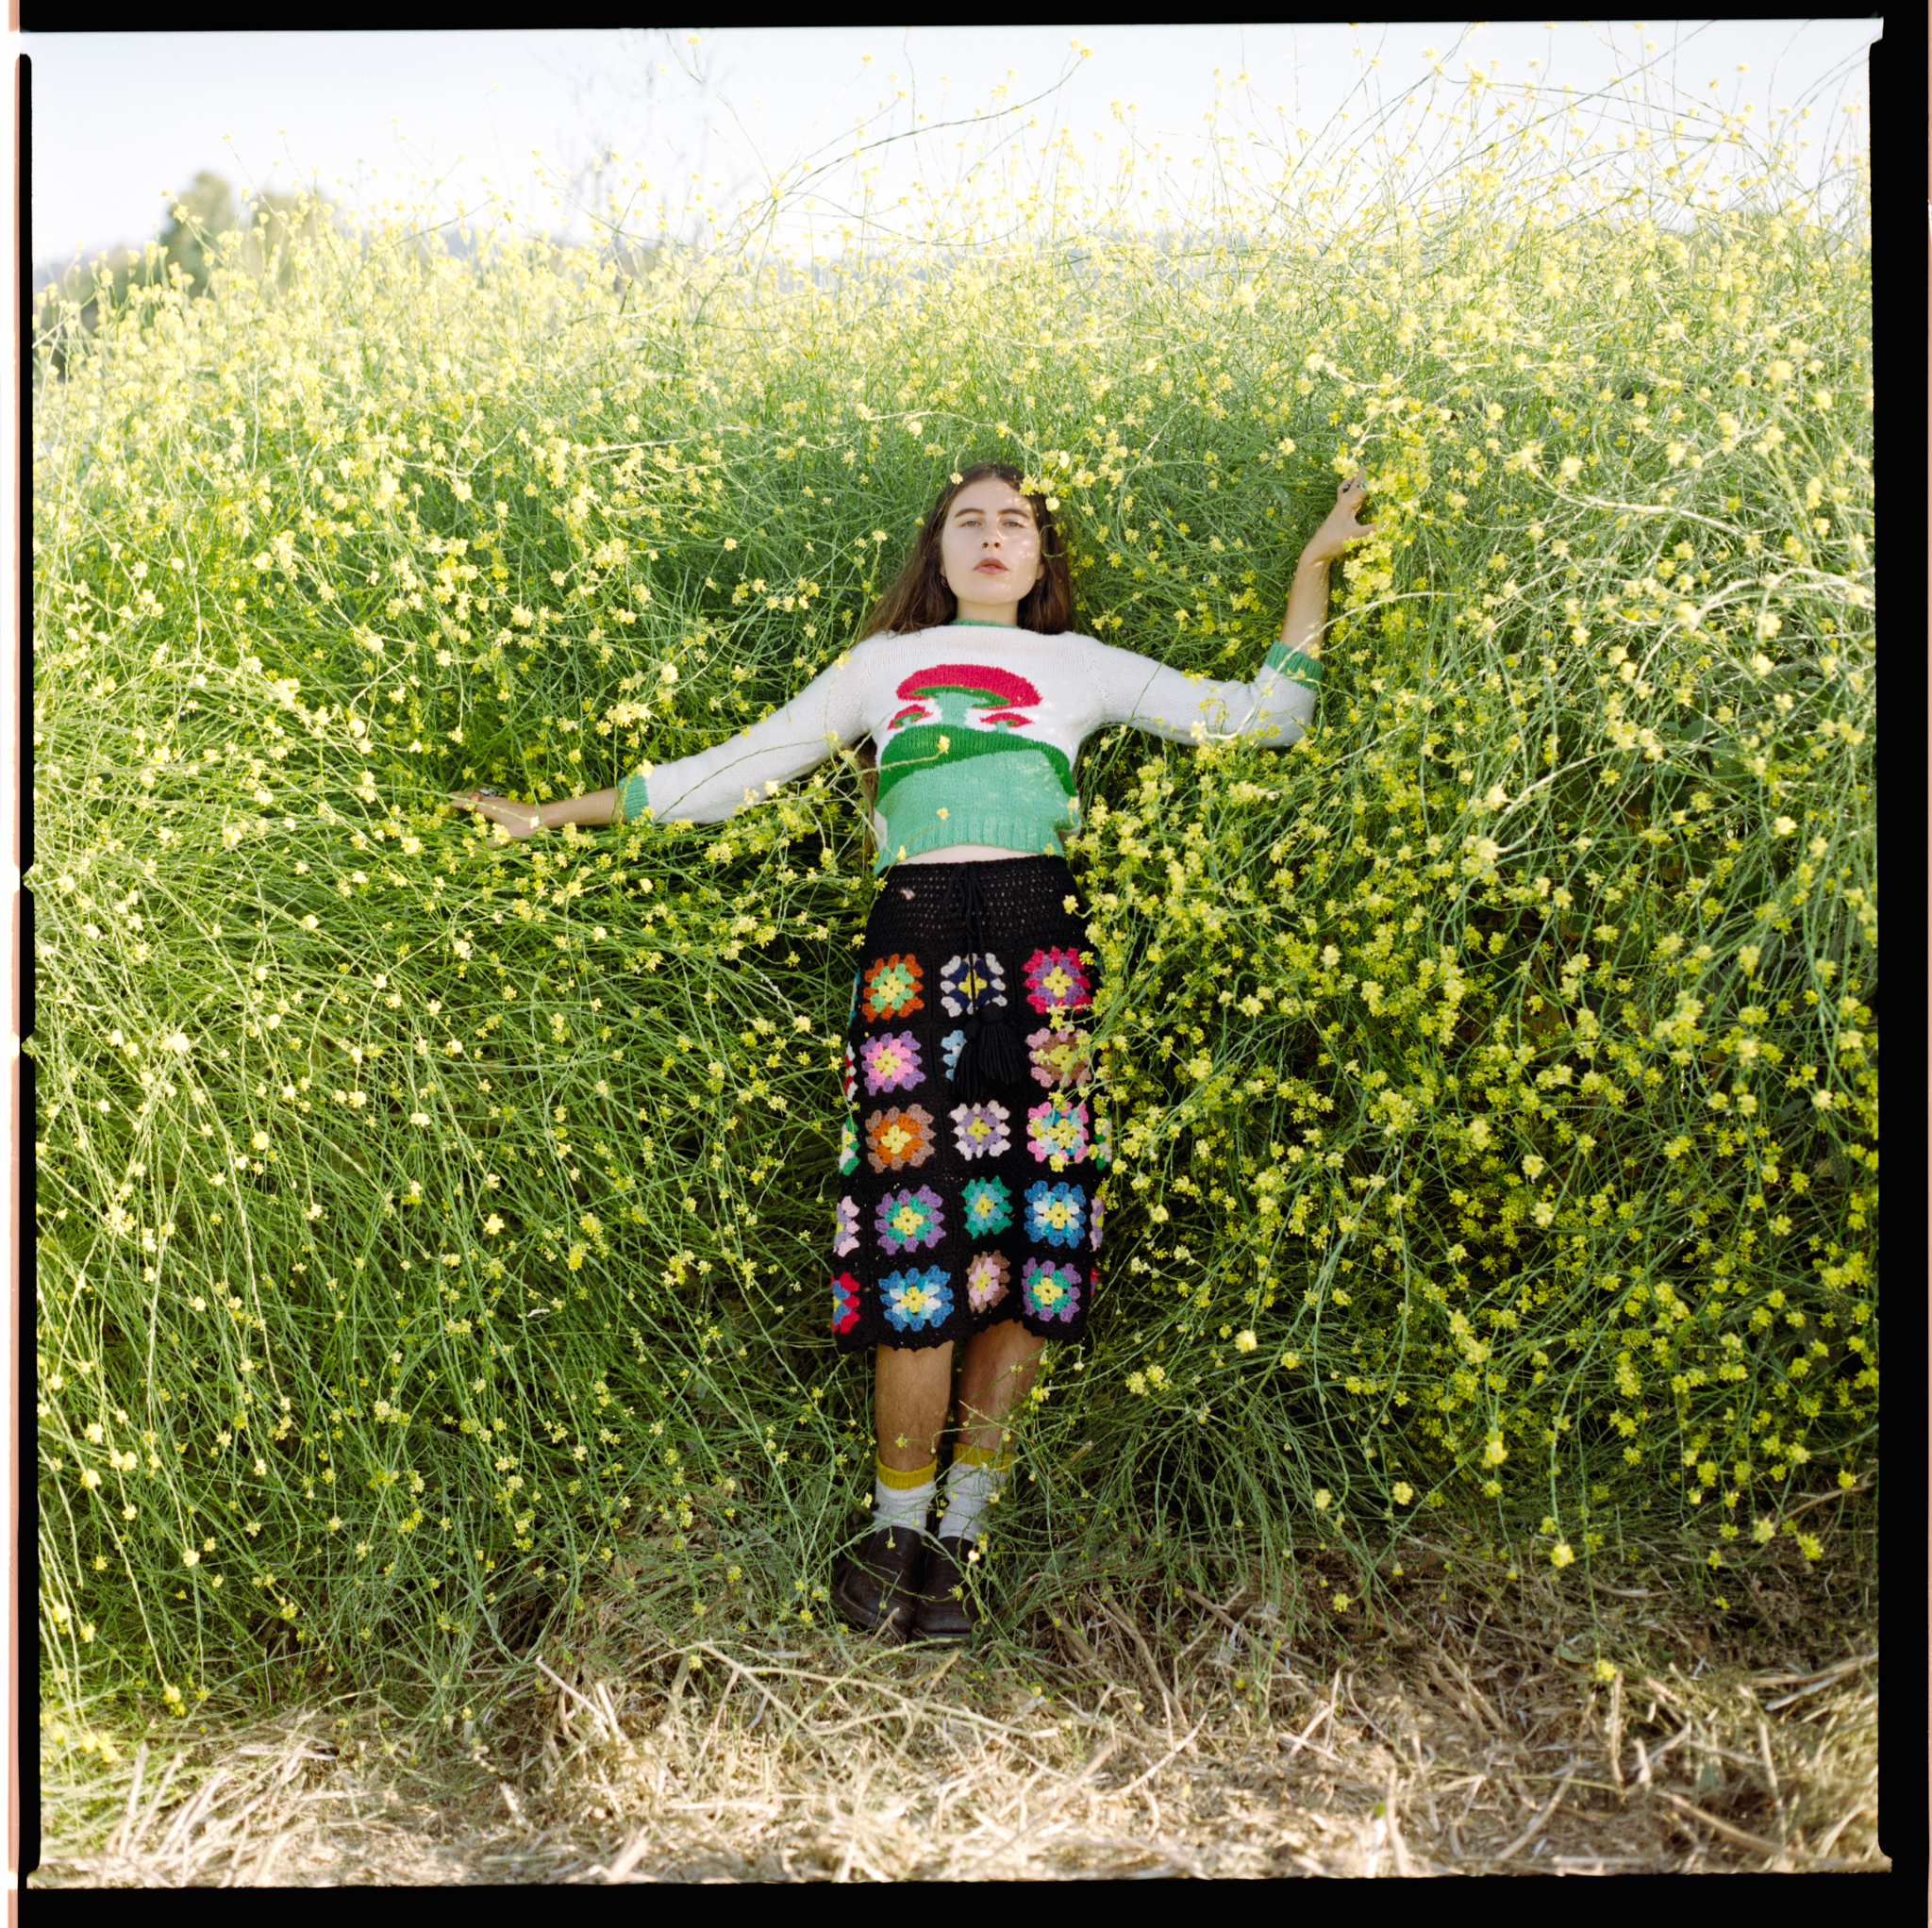
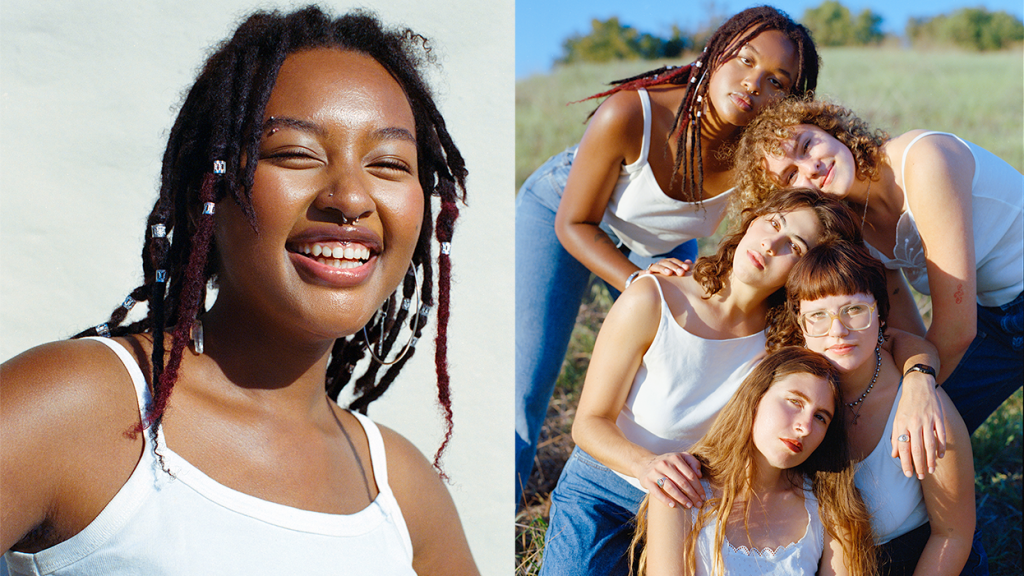
So, I shot 2 rolls, one roll of portrait, and one roll of travel street scenery photos. Let’s take a look at the photos so we can talk about the color and features of this film. Since the film is designed for mapping, I was wondering, how is it going to render skin tone. So, I did a portrait test shoot first.


( Shot on Portra 400 )
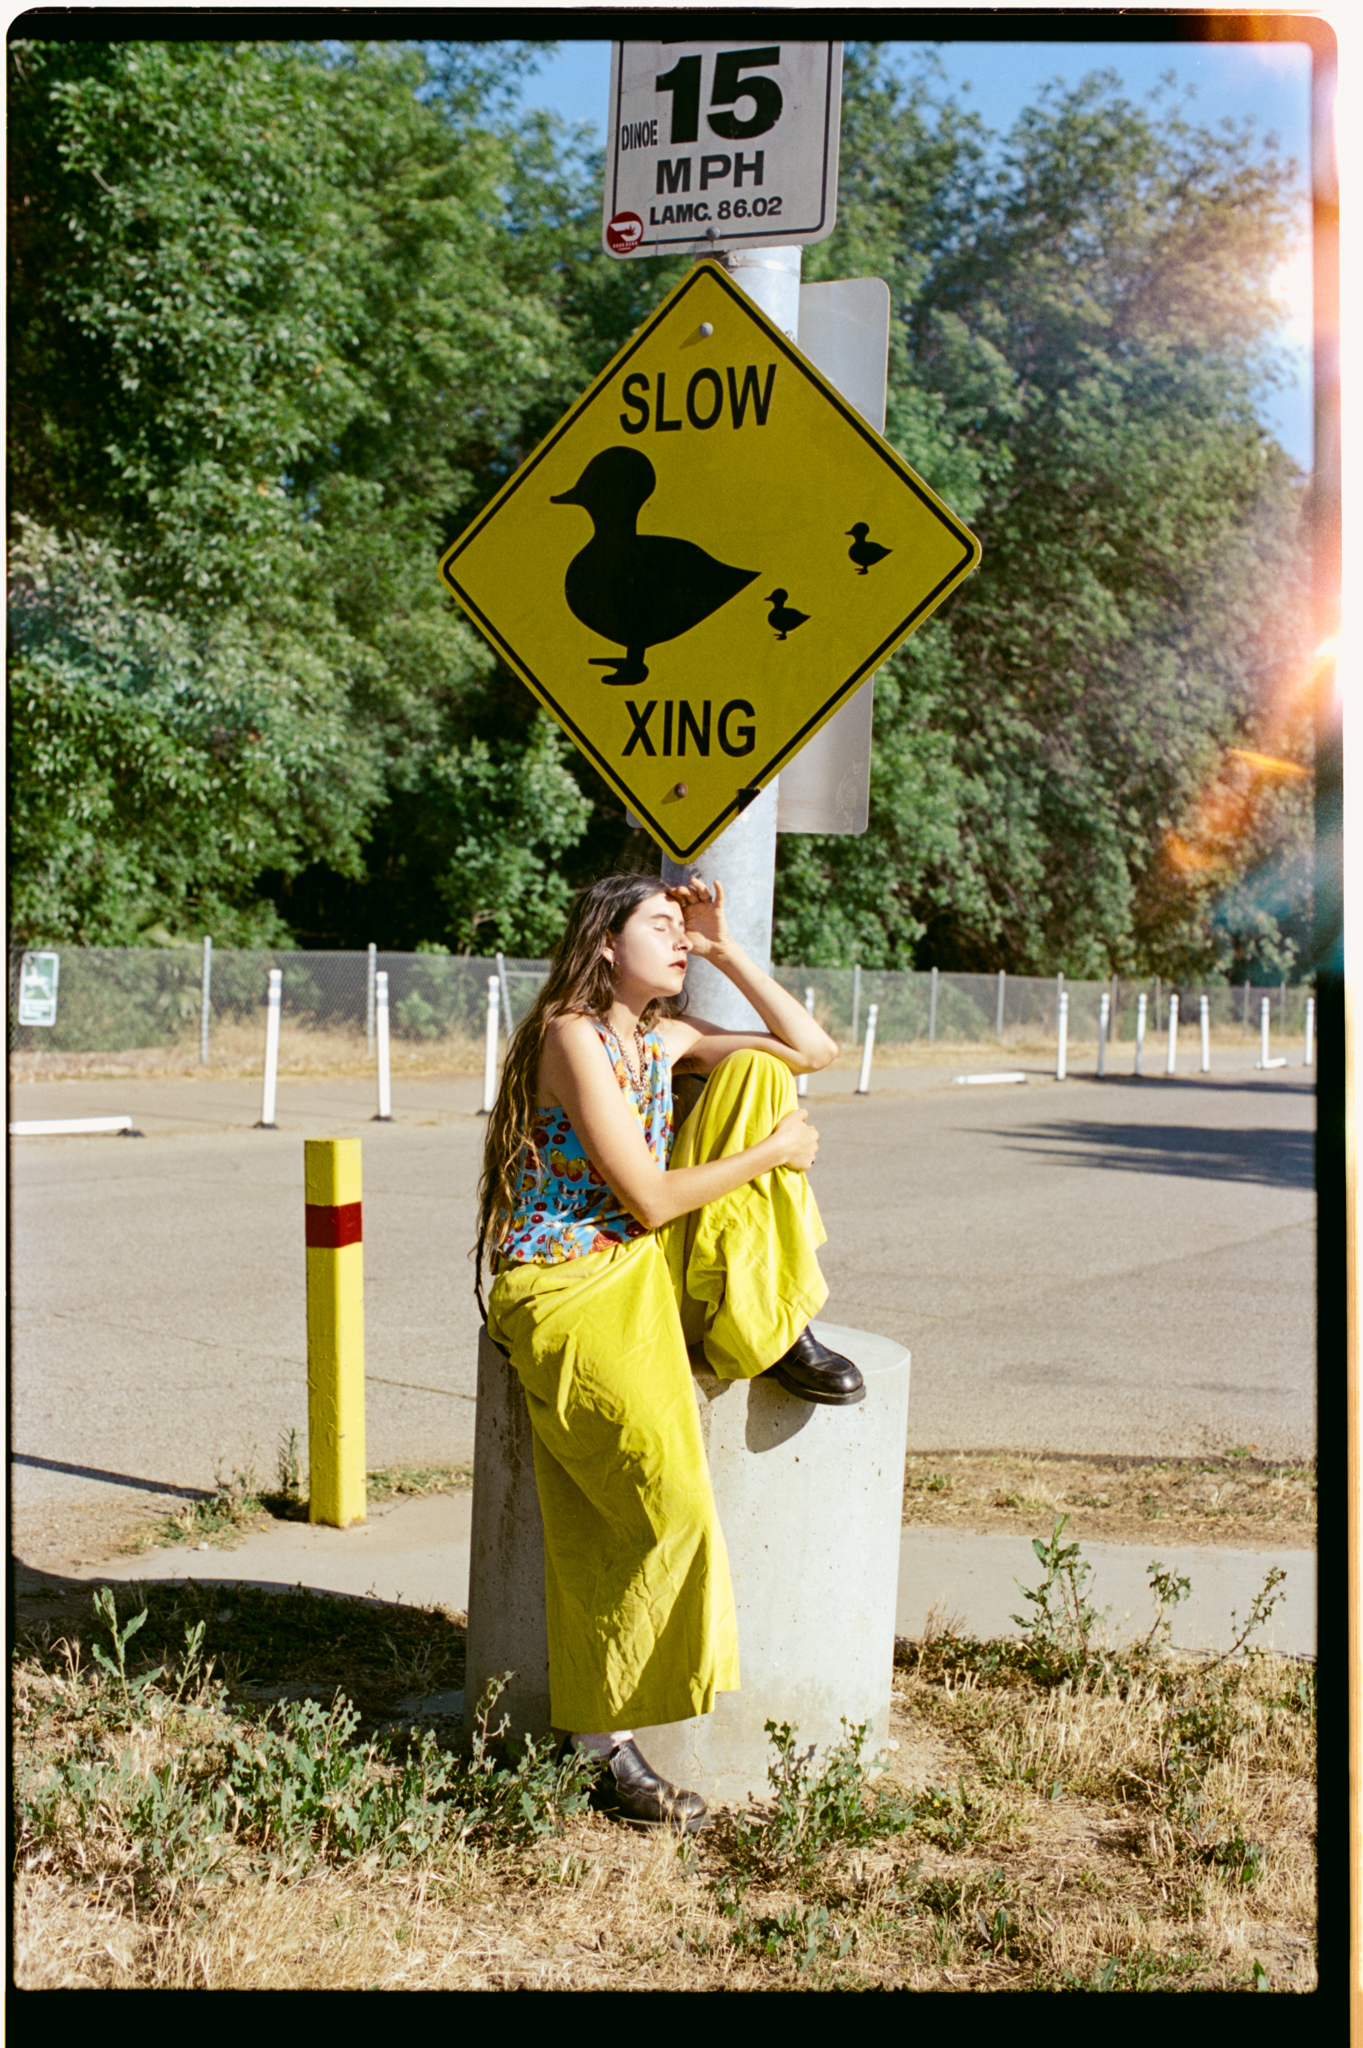
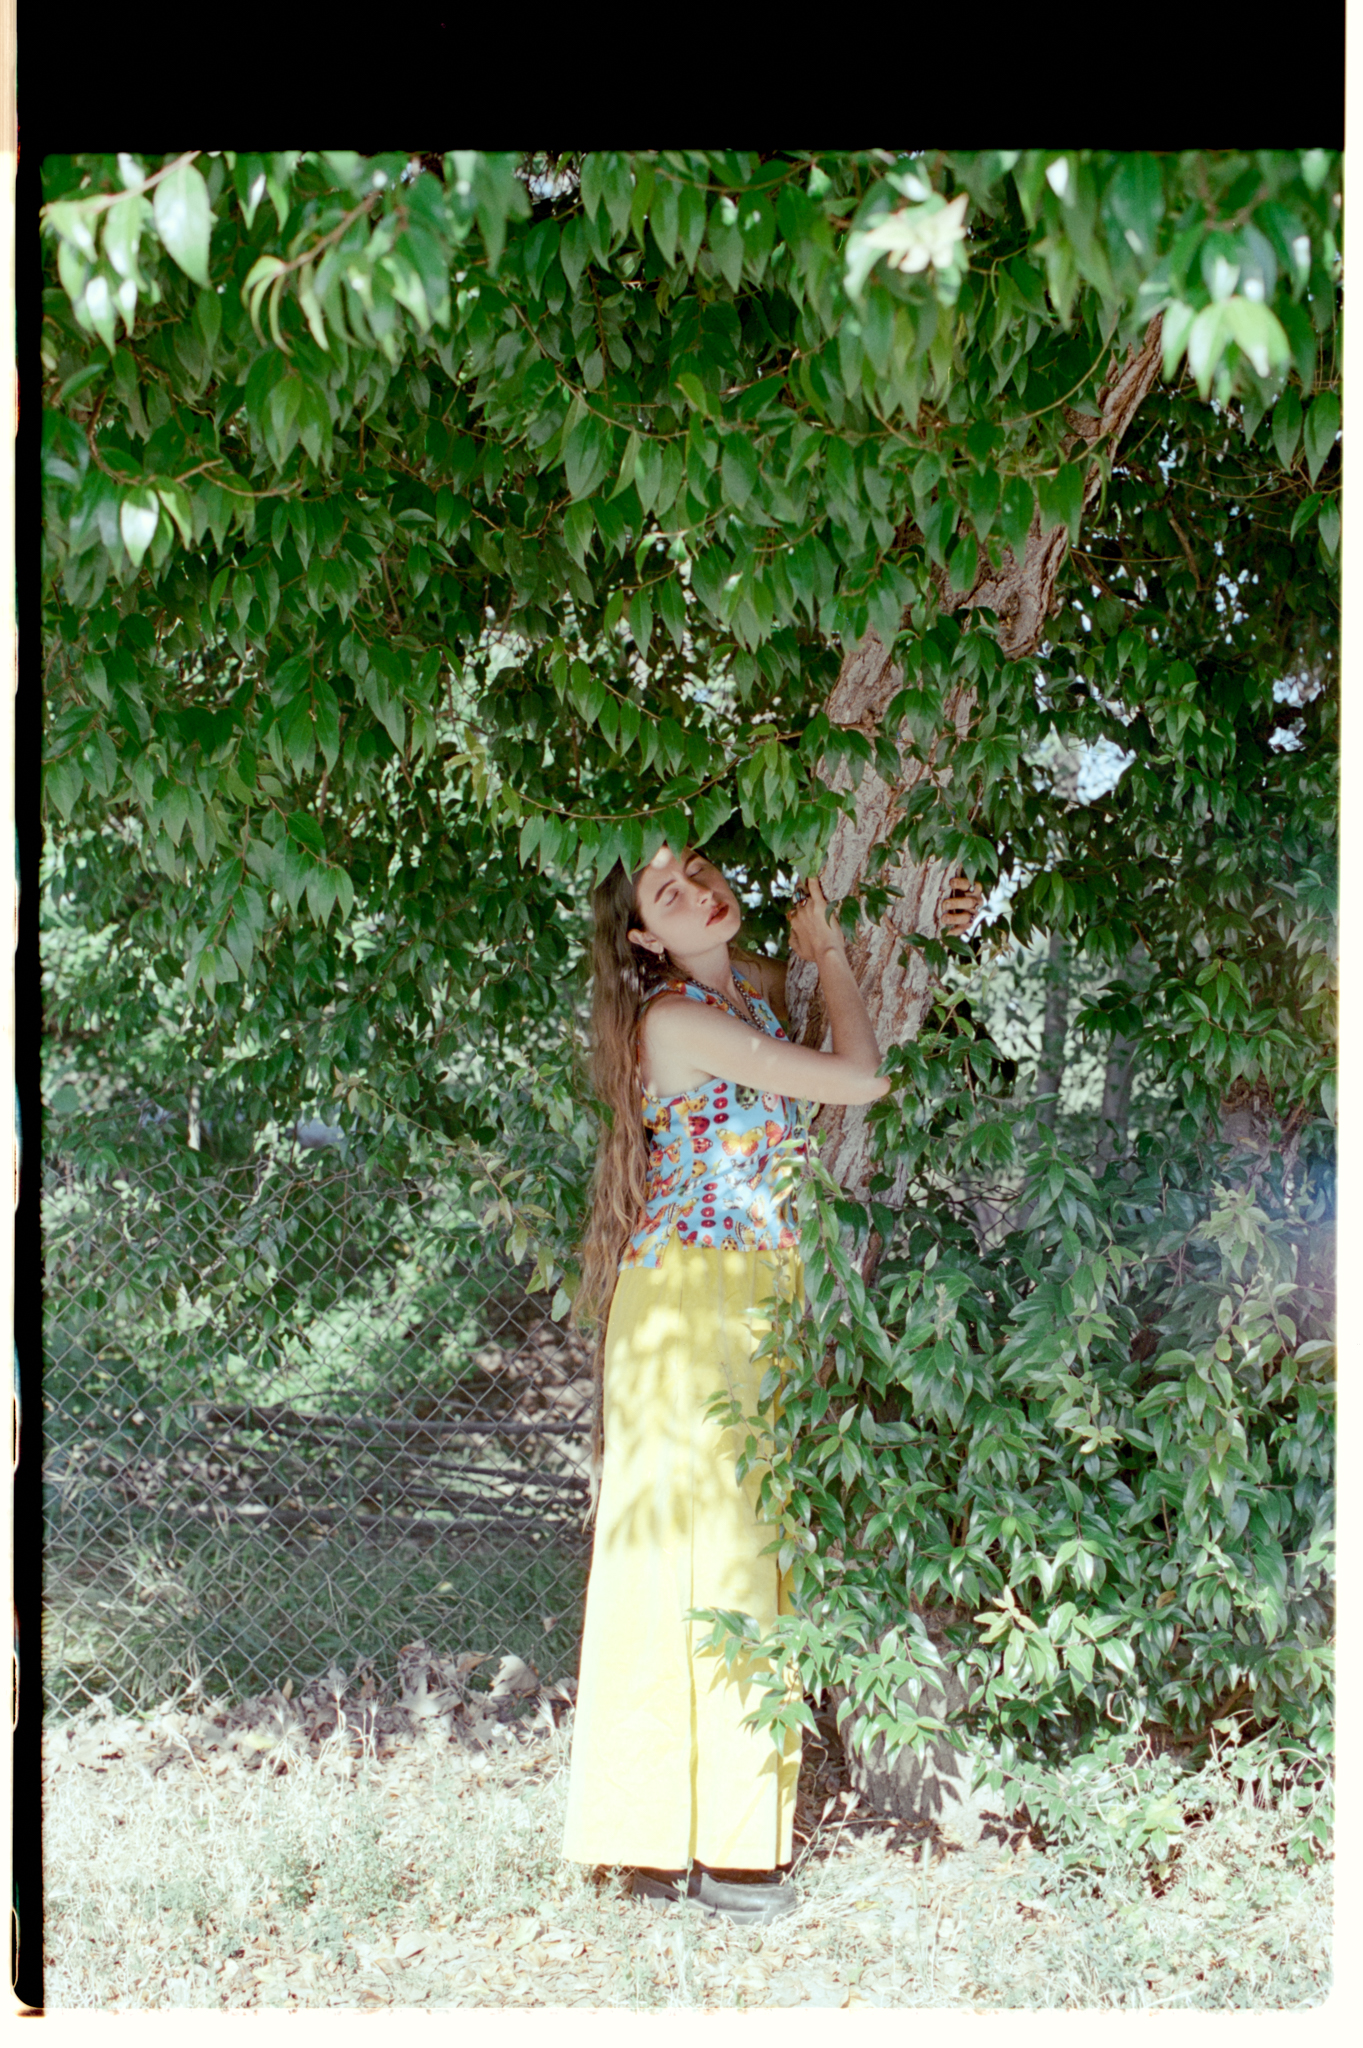
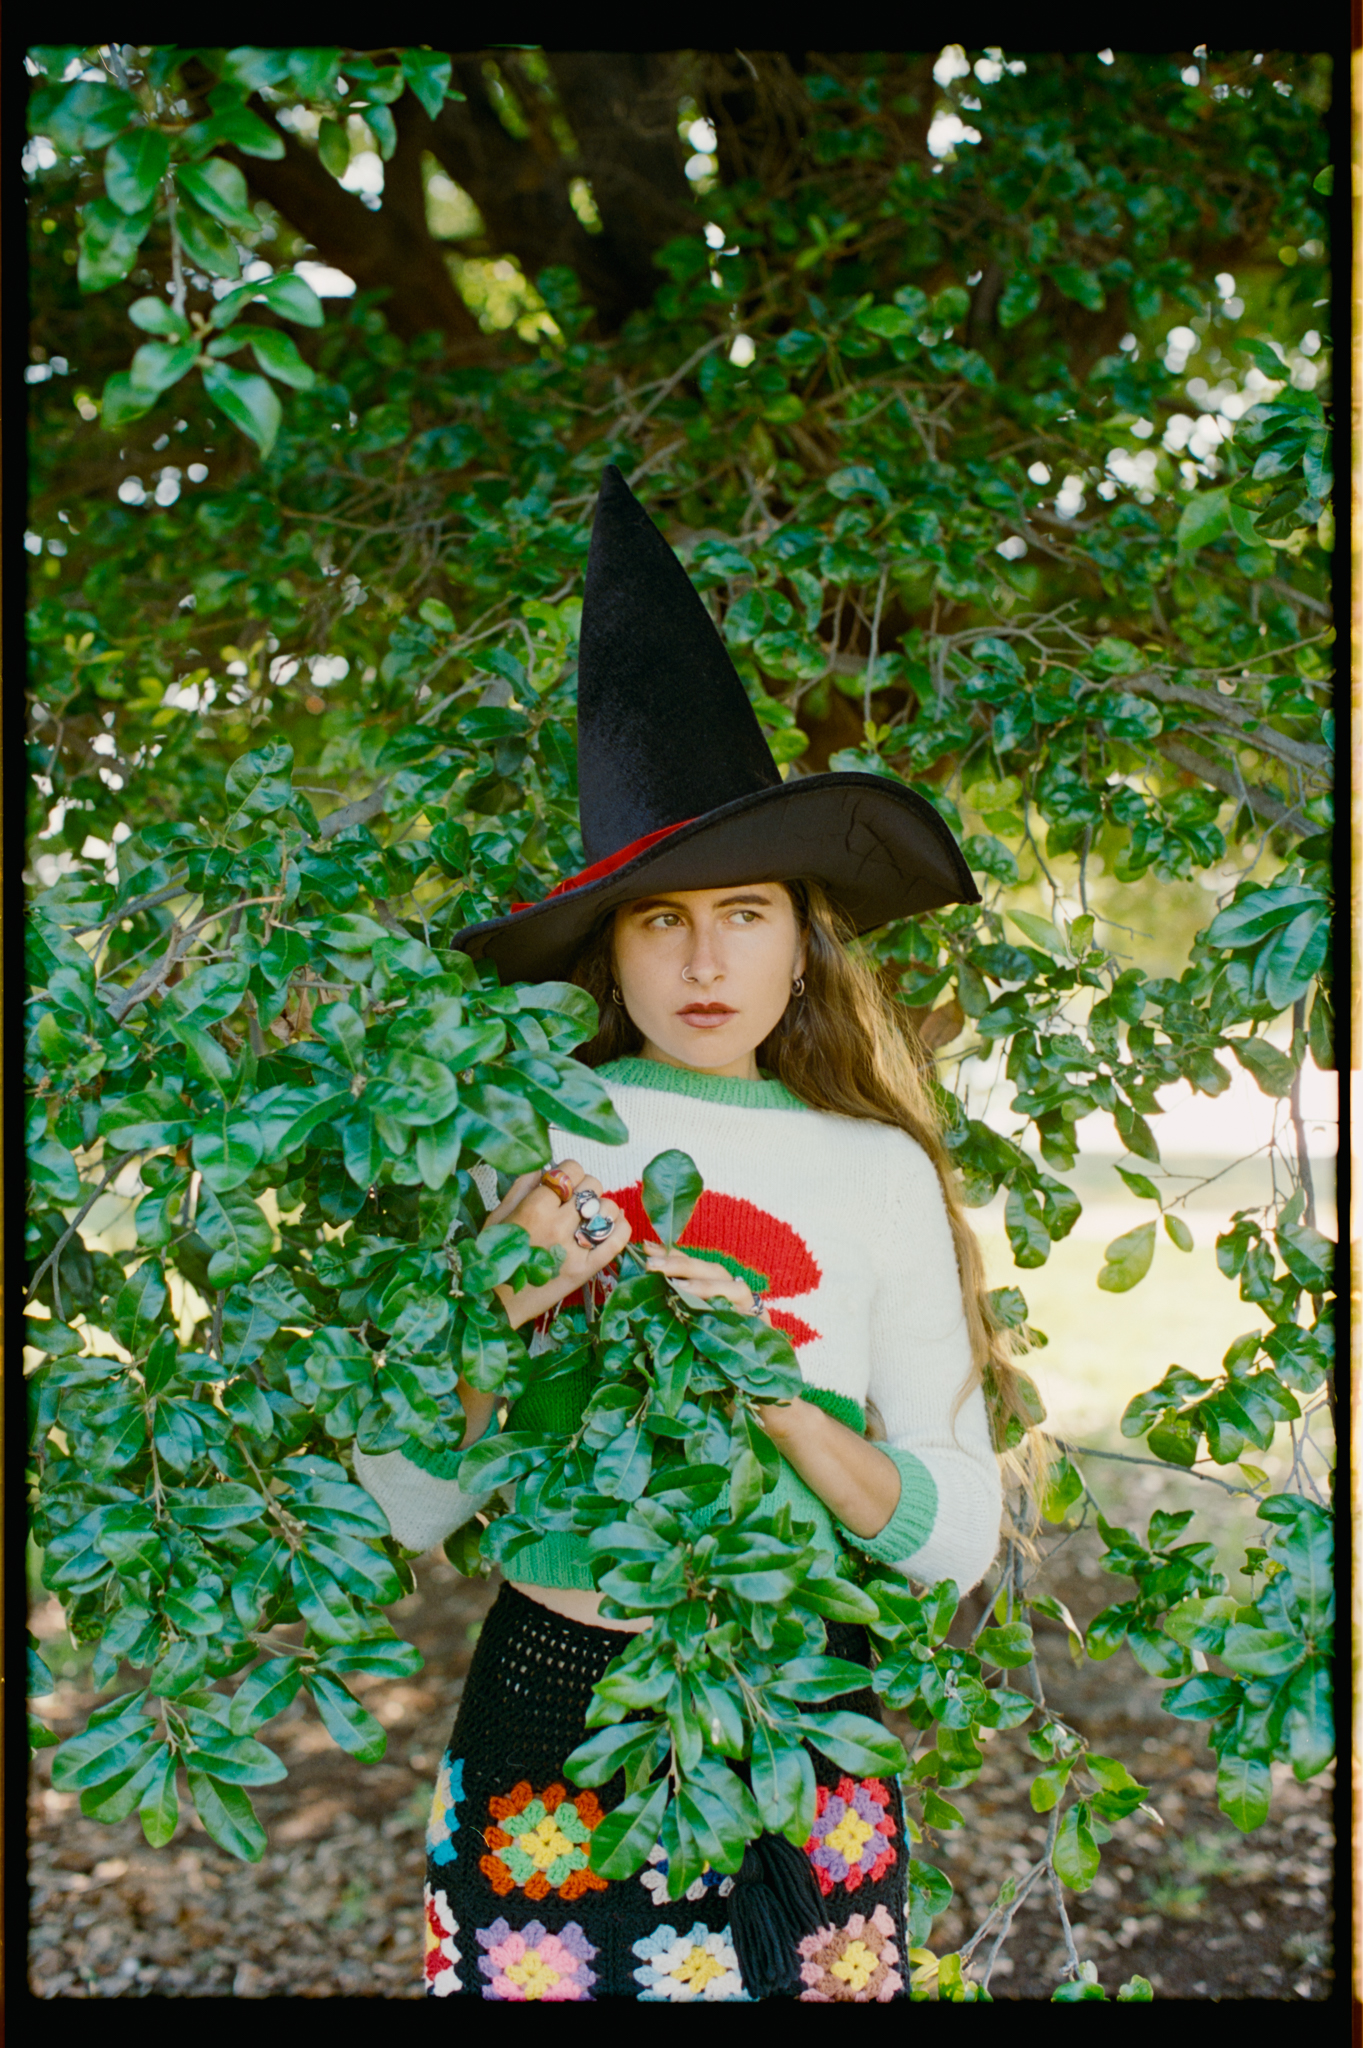
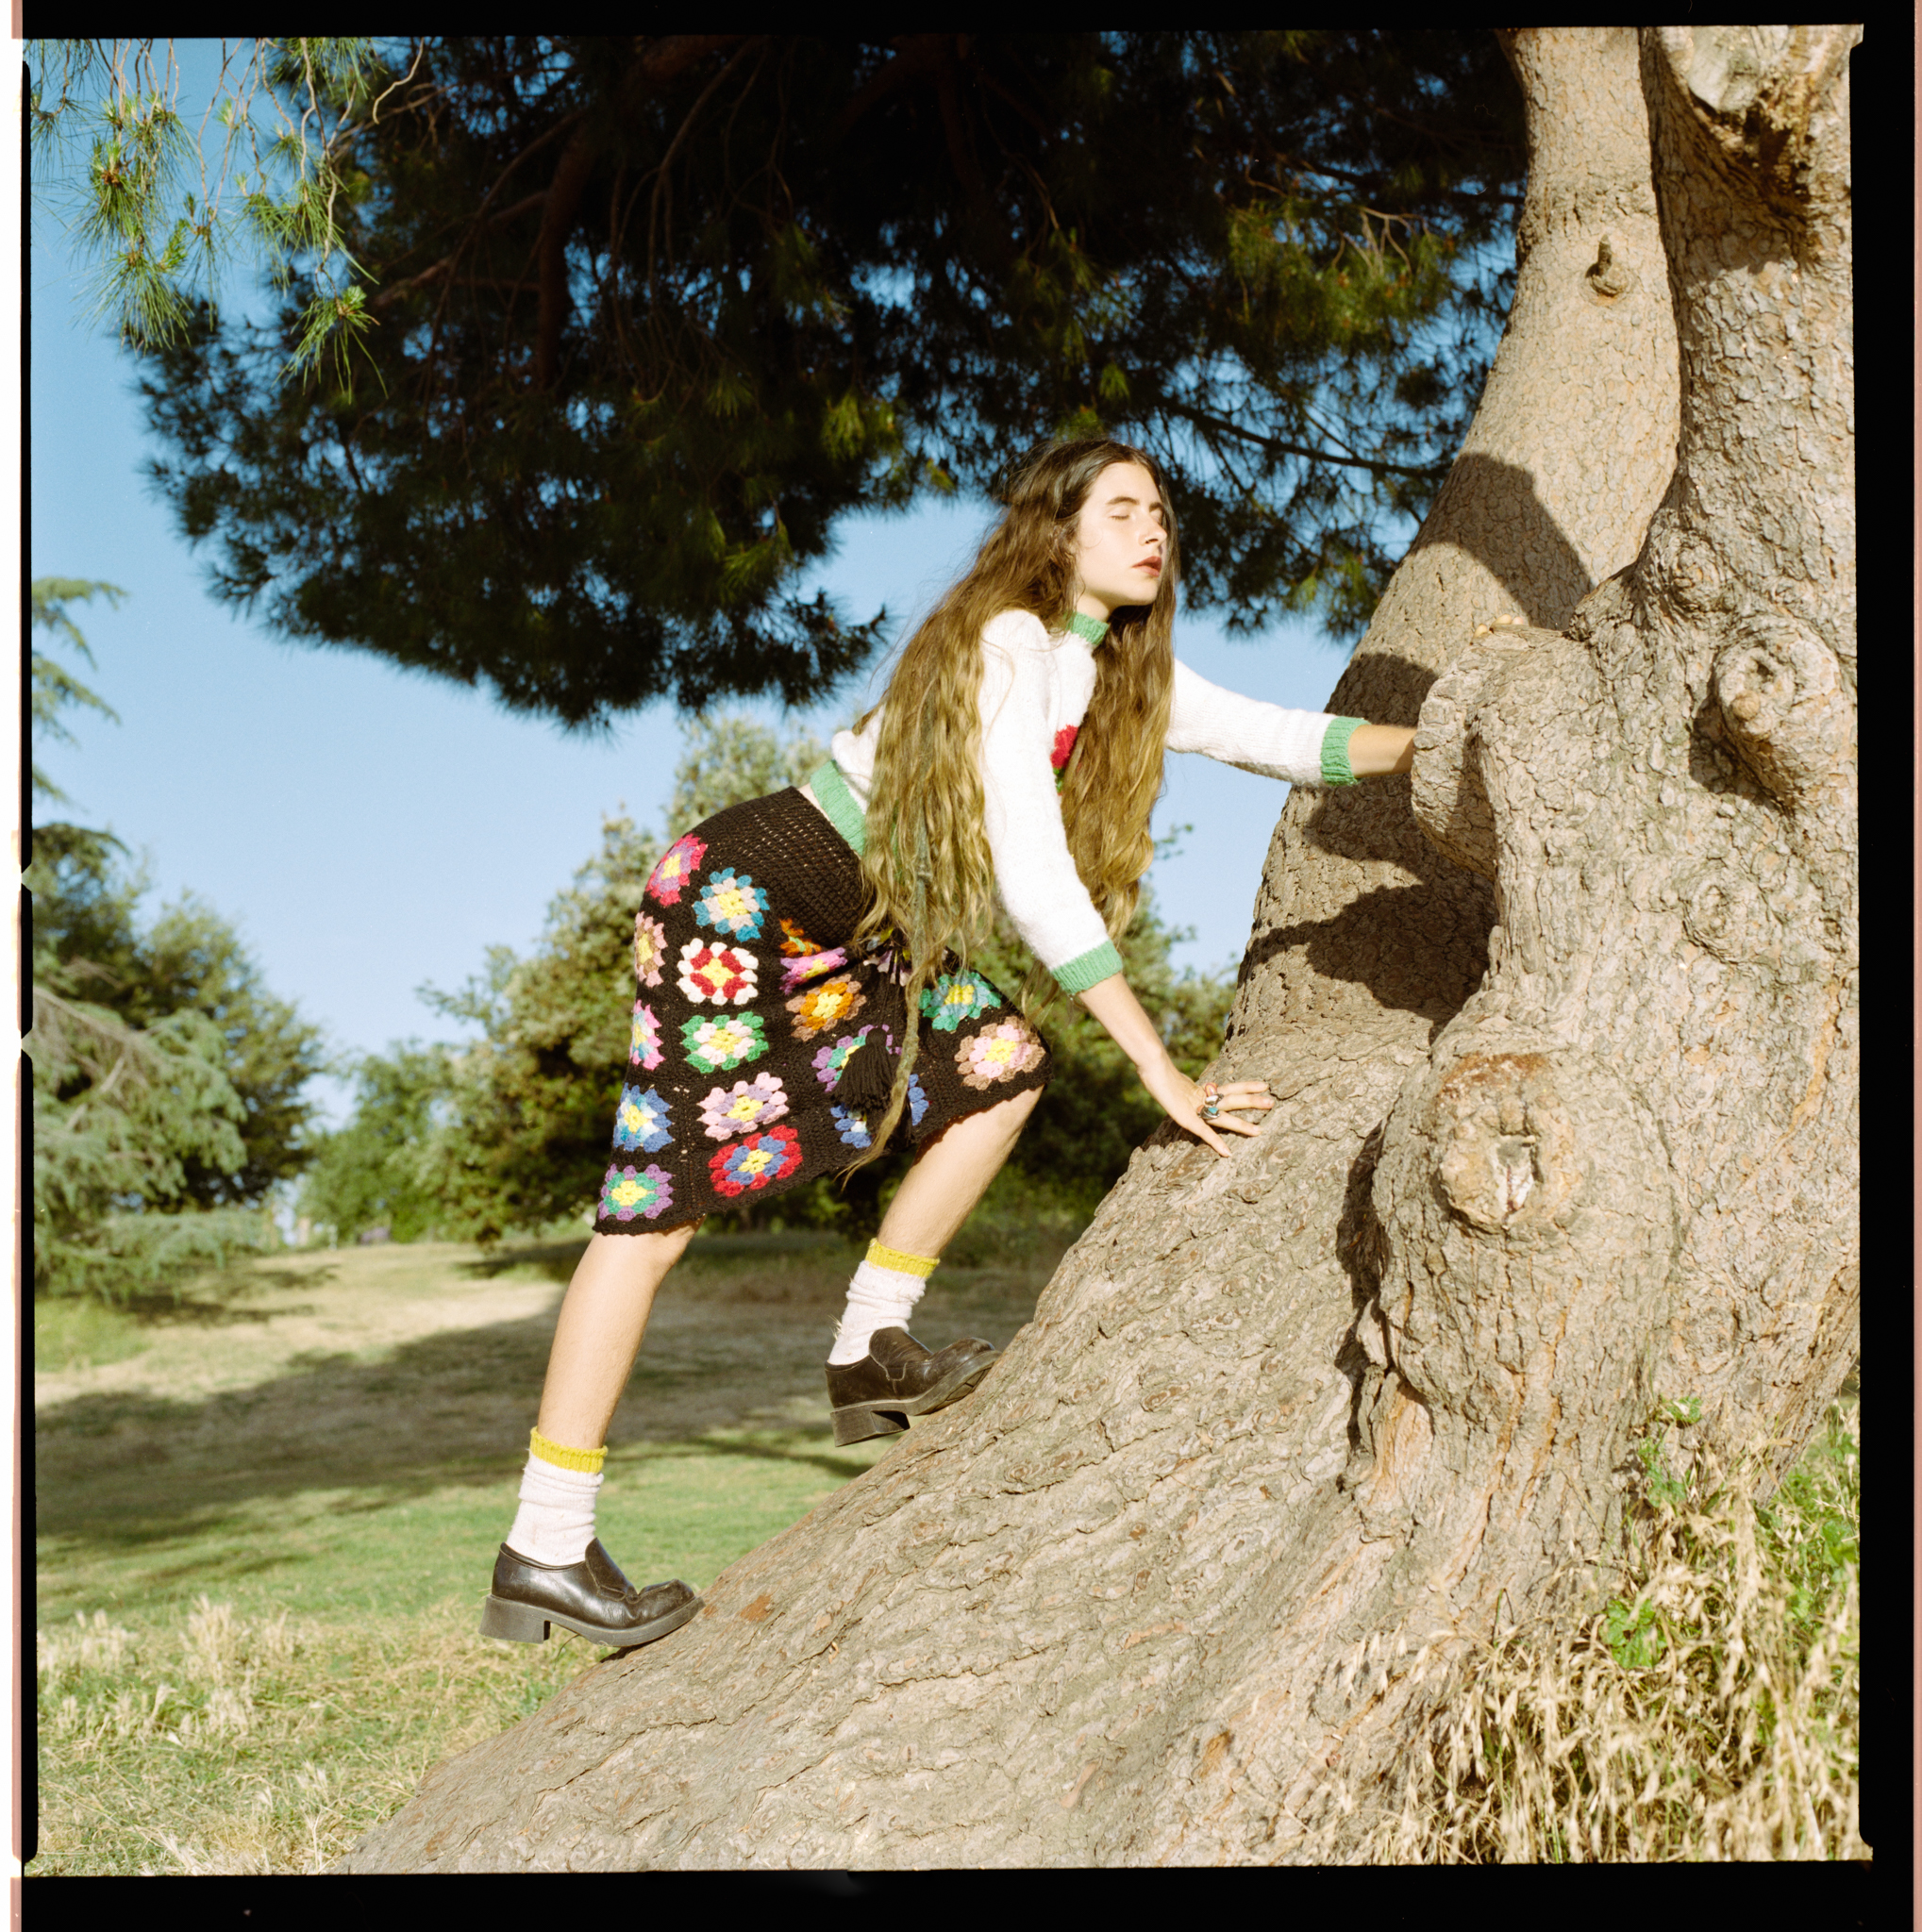
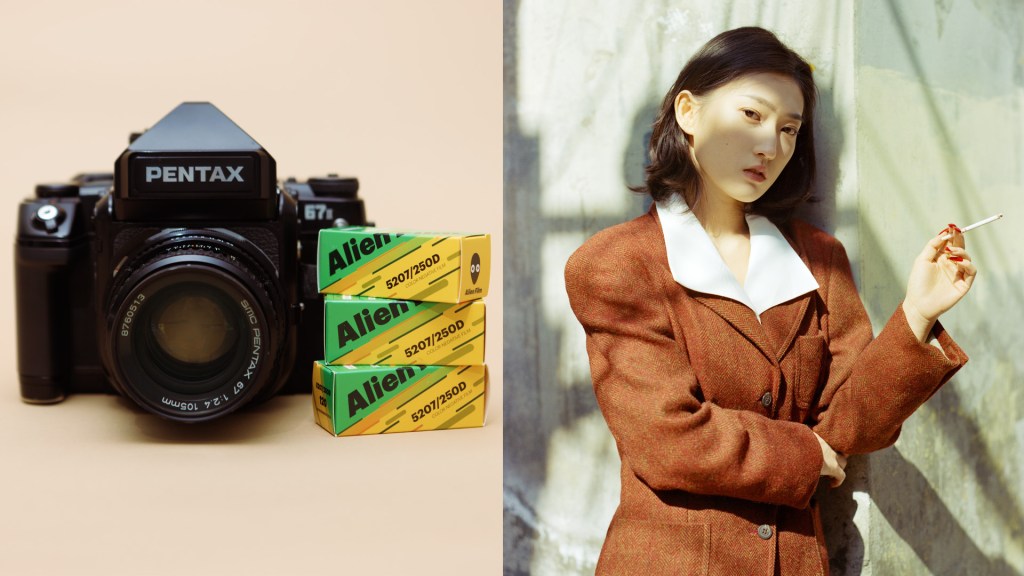
This is our model, Emily. We met up at a park around 4 pm; the sun was still pretty harsh. We picked some pretty colorful wardrobe so we can see how this film does with different colors.
This roll was shot with my Canon 1v with mostly the 50mm prime lens.


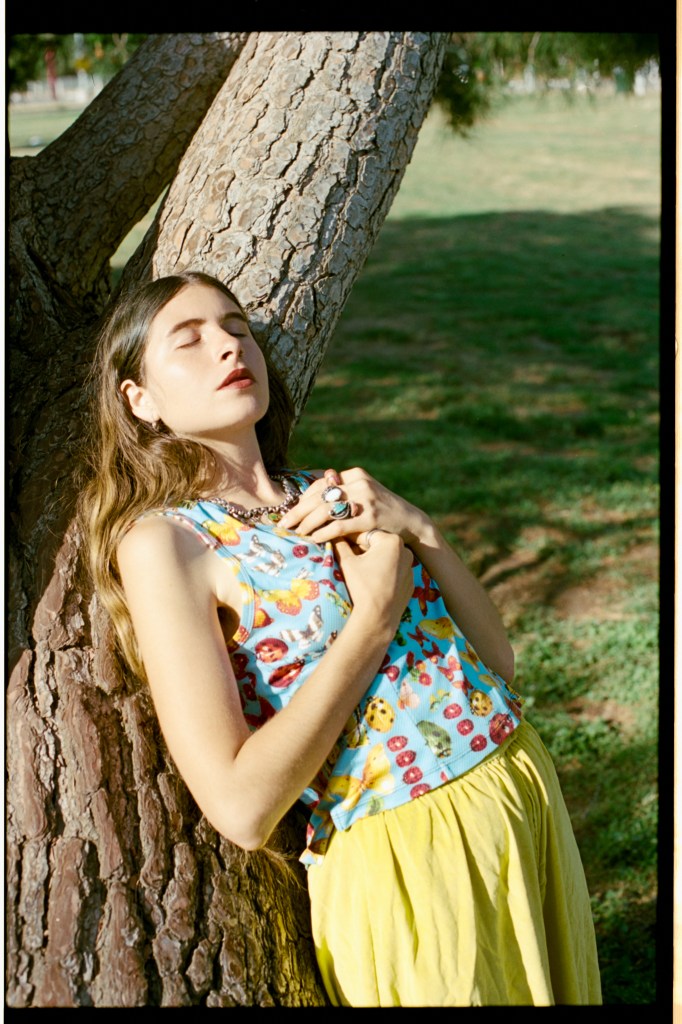
As you can see, this film does not have color masking. You see how regular Kodak film looks yellow and this is more transparent… and there is no frame number or anything imprinted on the film, and both sides of the film look the same, compared with regular Kodak film, there is the shining side and the matte side, therefore if you are scanning yourself, be aware of which side is facing up.
“Some scanners are confused and render a very red tone, this can be easily corrected when home scanning or when done by a more professional lab,” says on their website.
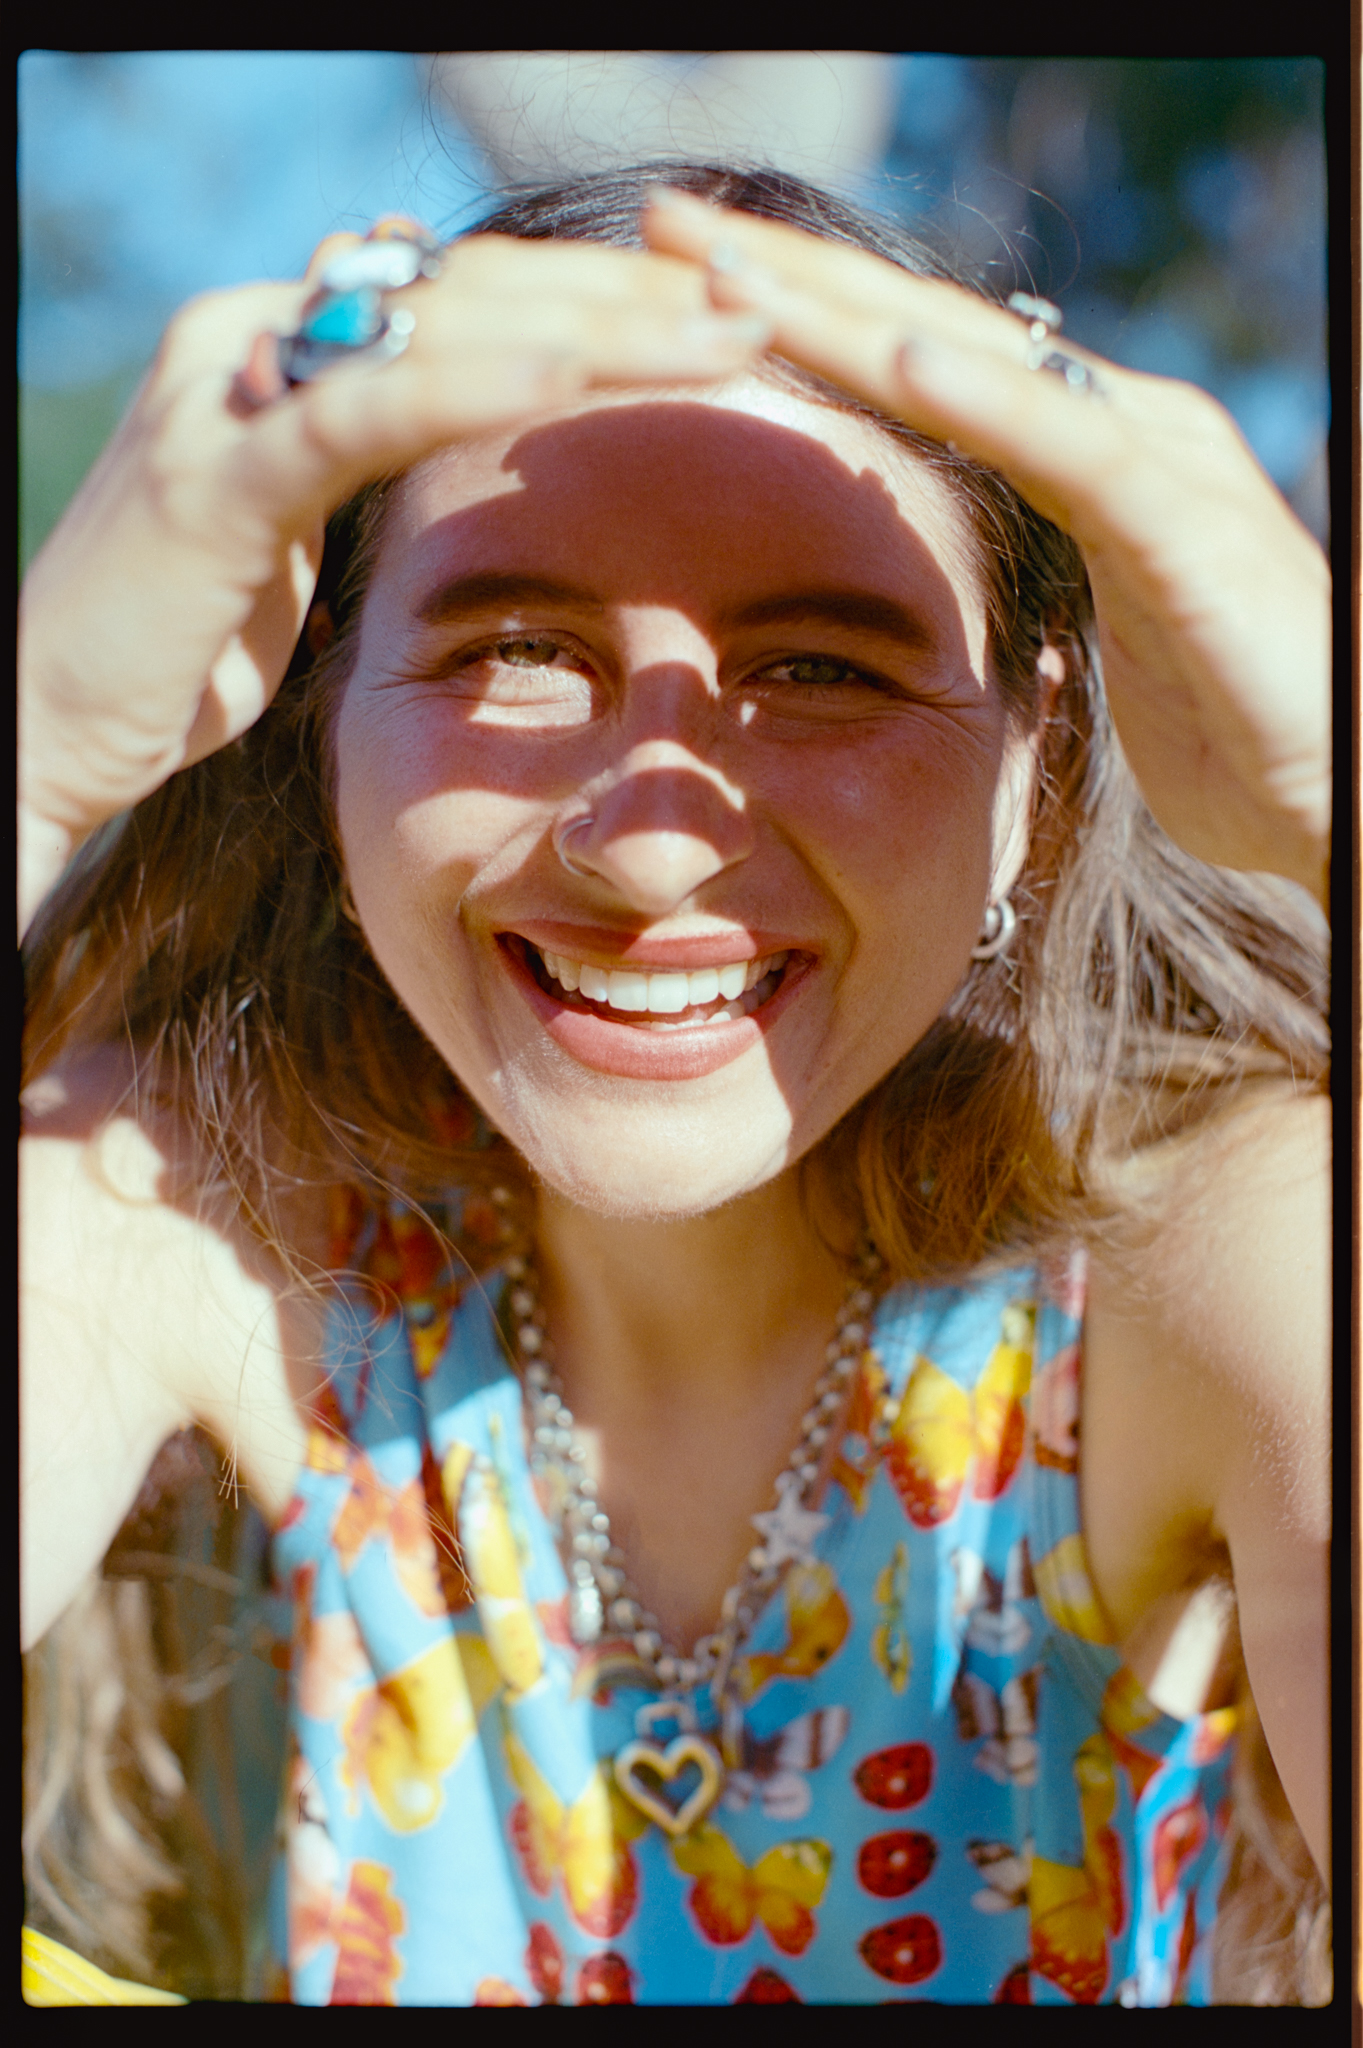
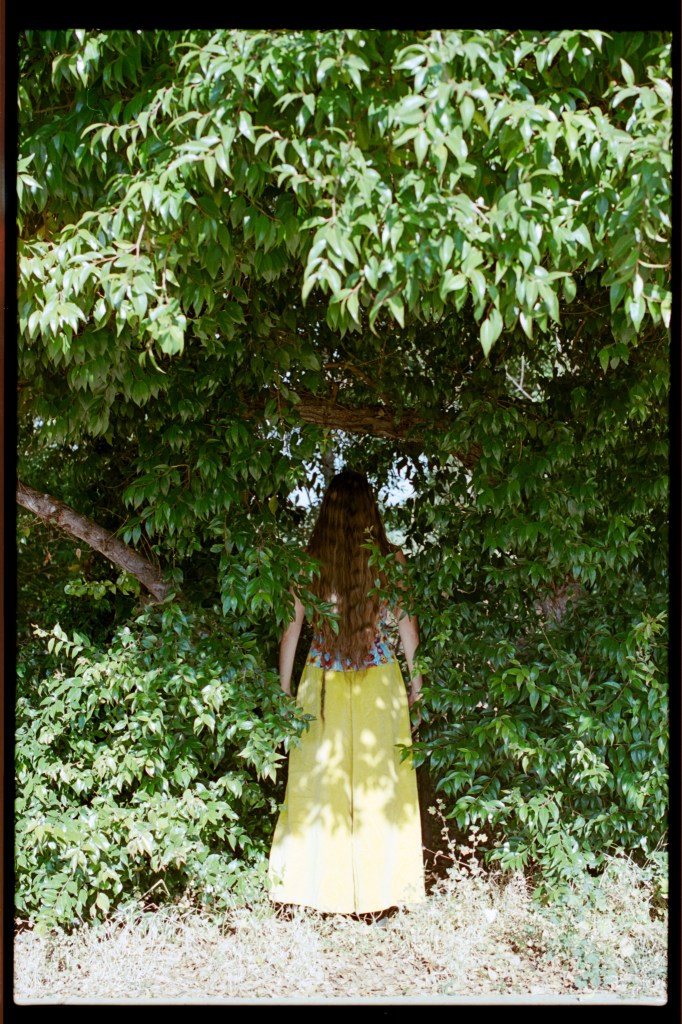
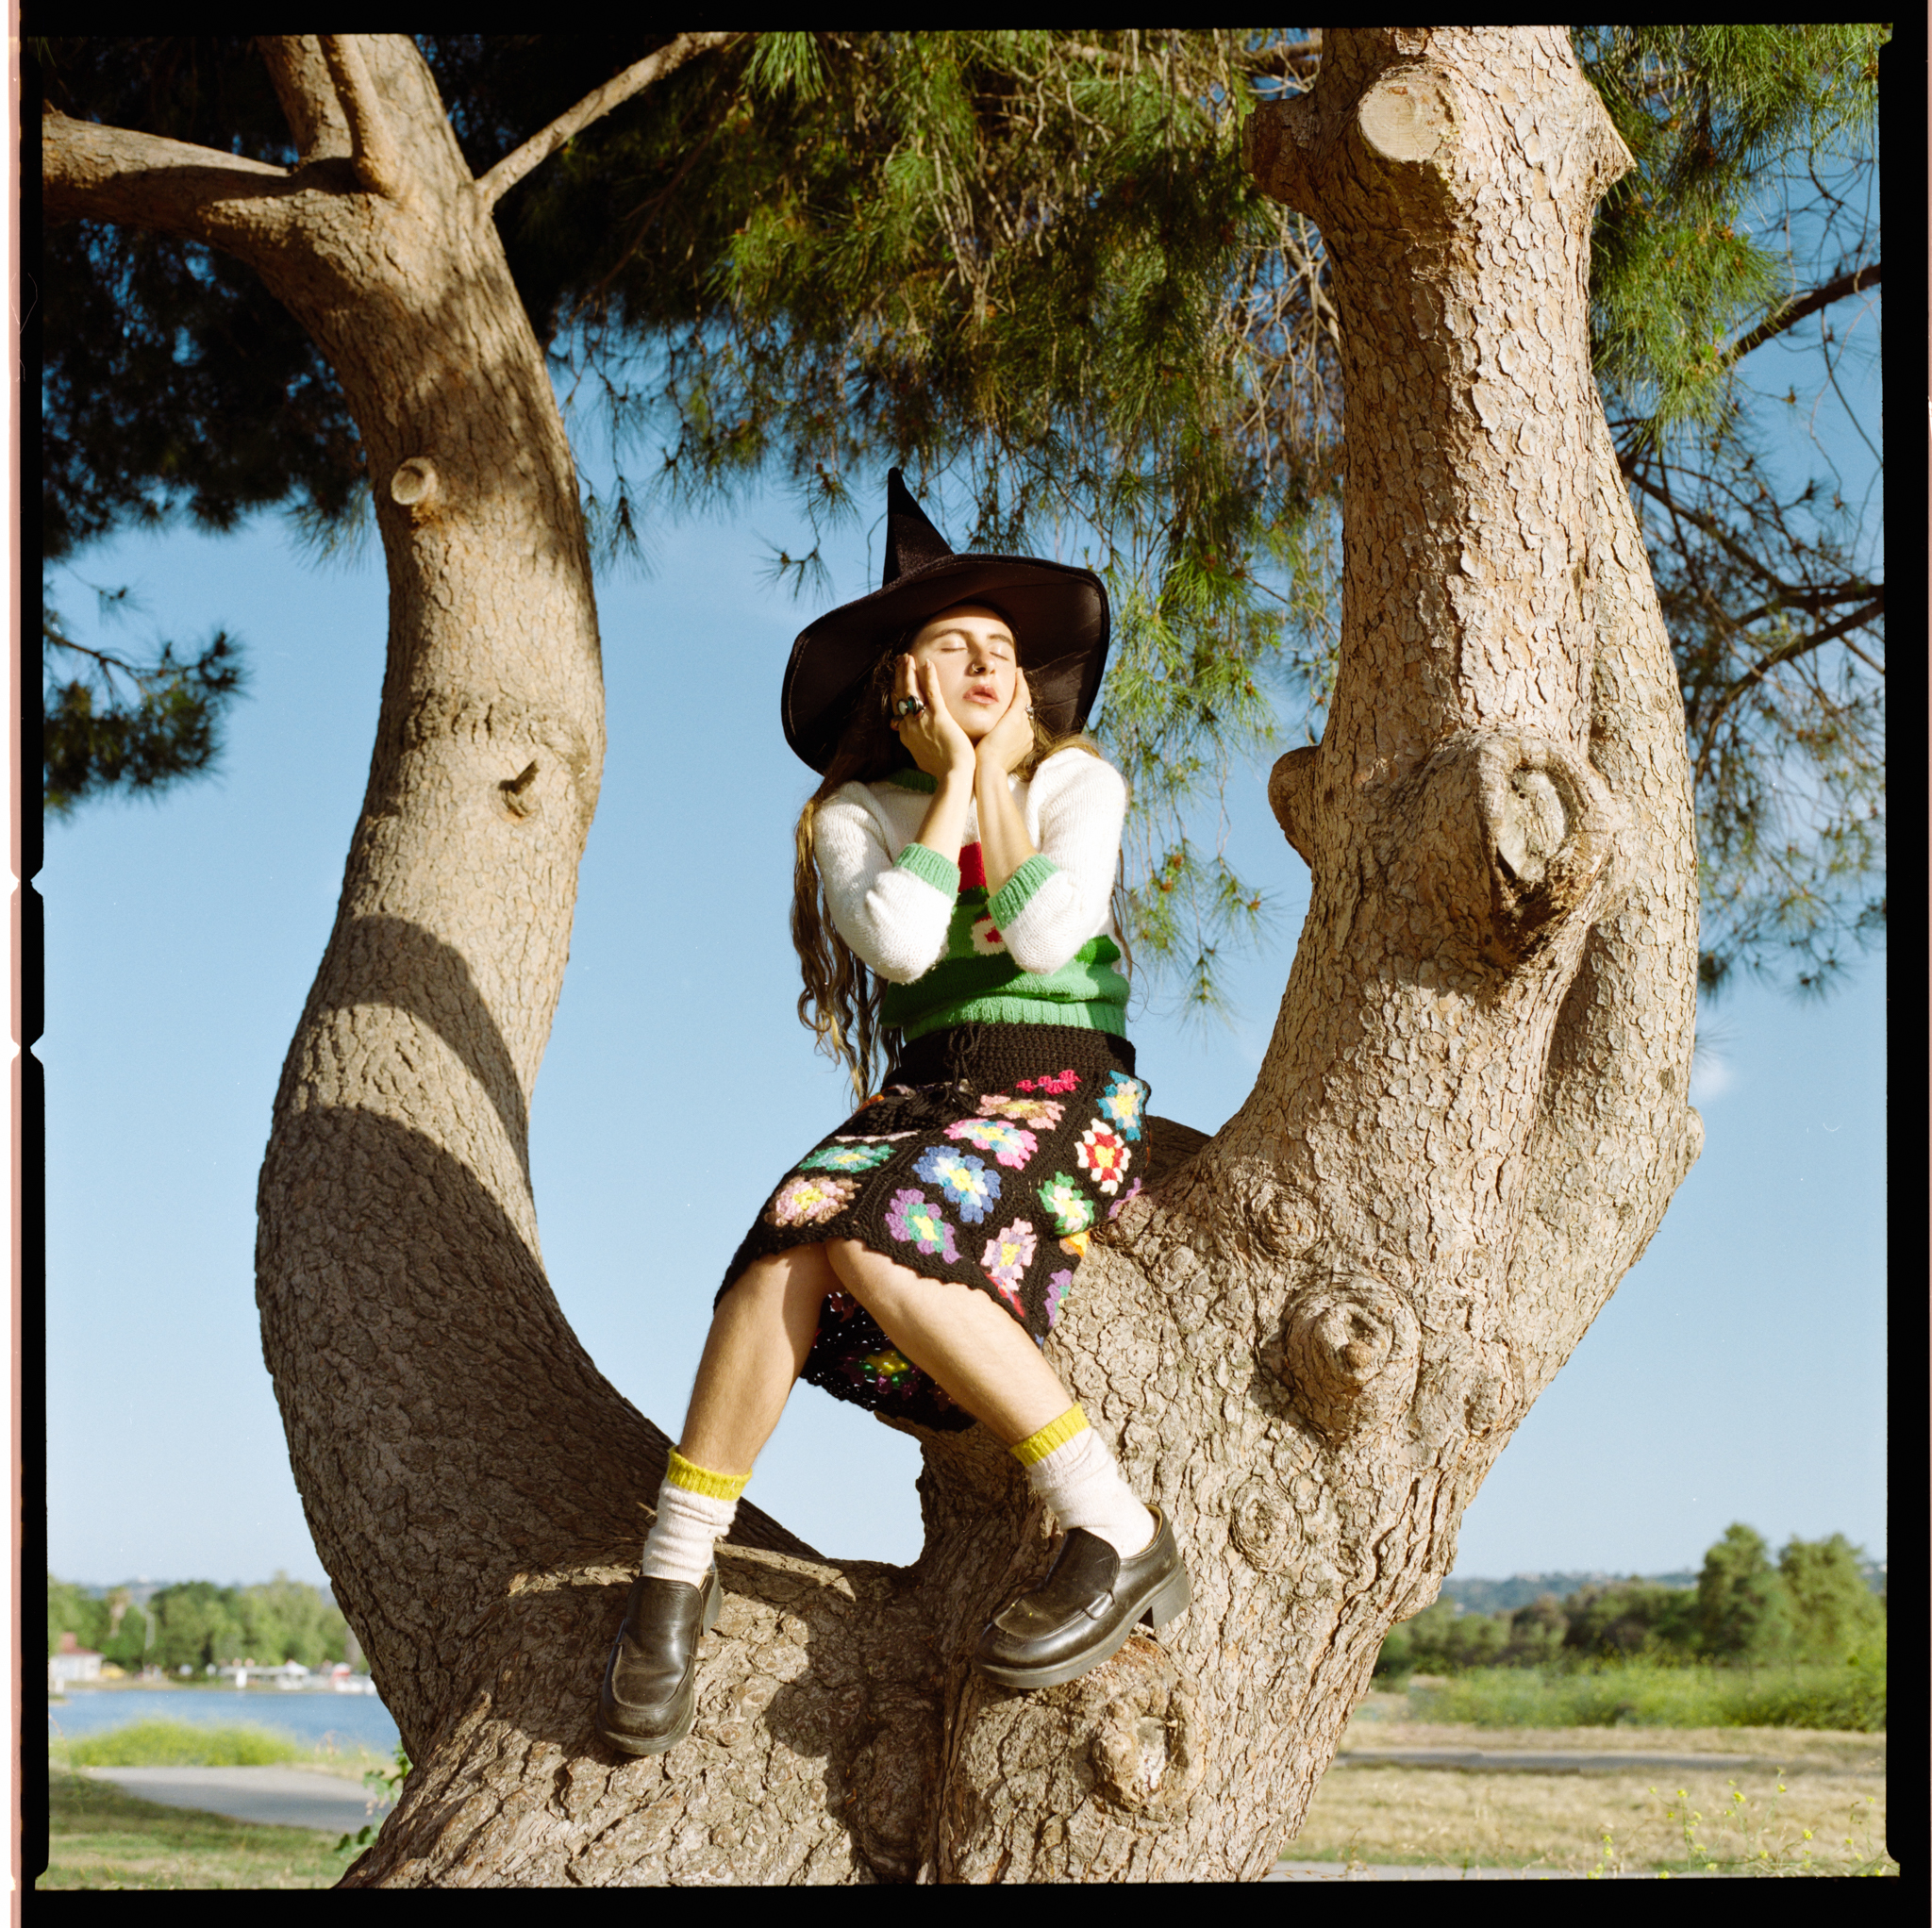
After scanning and a basic conversion with Negative Lab Pro, the color does look very odd to me. It’s overall very desaturated, with a lot of magenta… the green looks fairly green, and the red is pretty popping…
You could try different pre-colored settings with Negative Lab Pro and find your ideal color tone. After this, I also fine-tuned the skin color in PS.
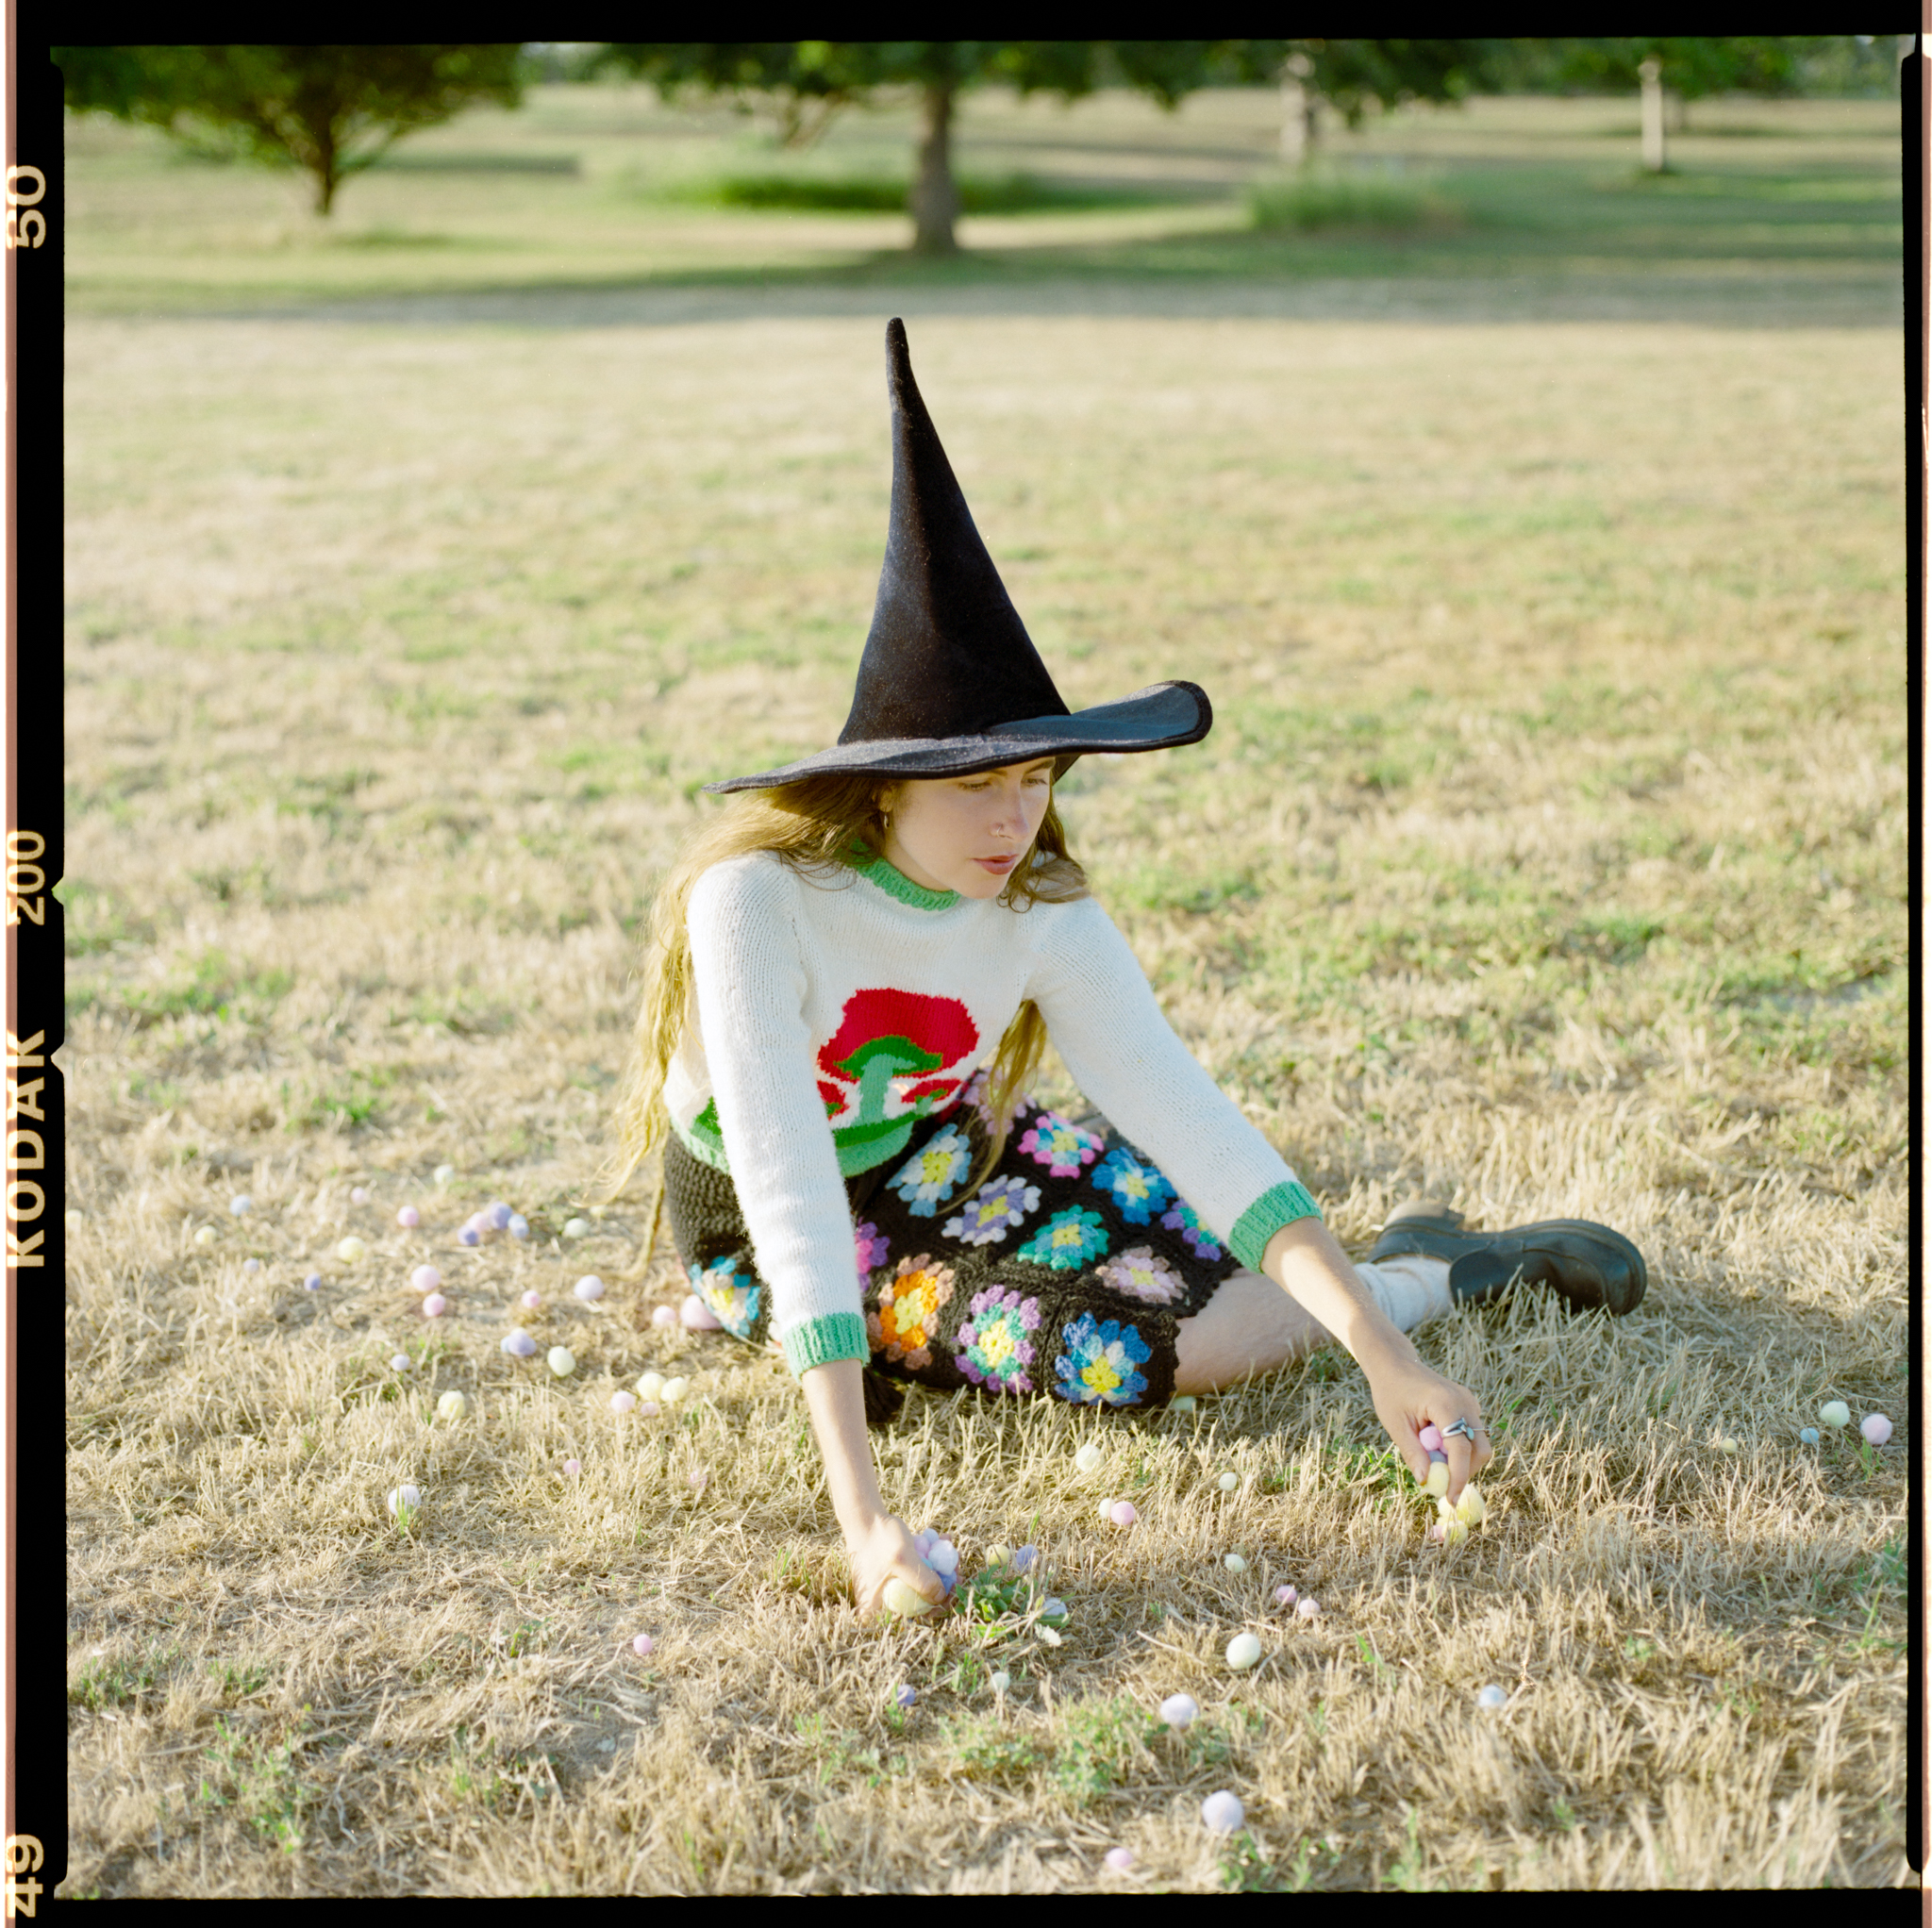
Only judging by this one roll I shot, it definitely takes a lot of editing work to get my ideal skin tone and overall color… After color editing, this film, how should I put it, “looks like film.”
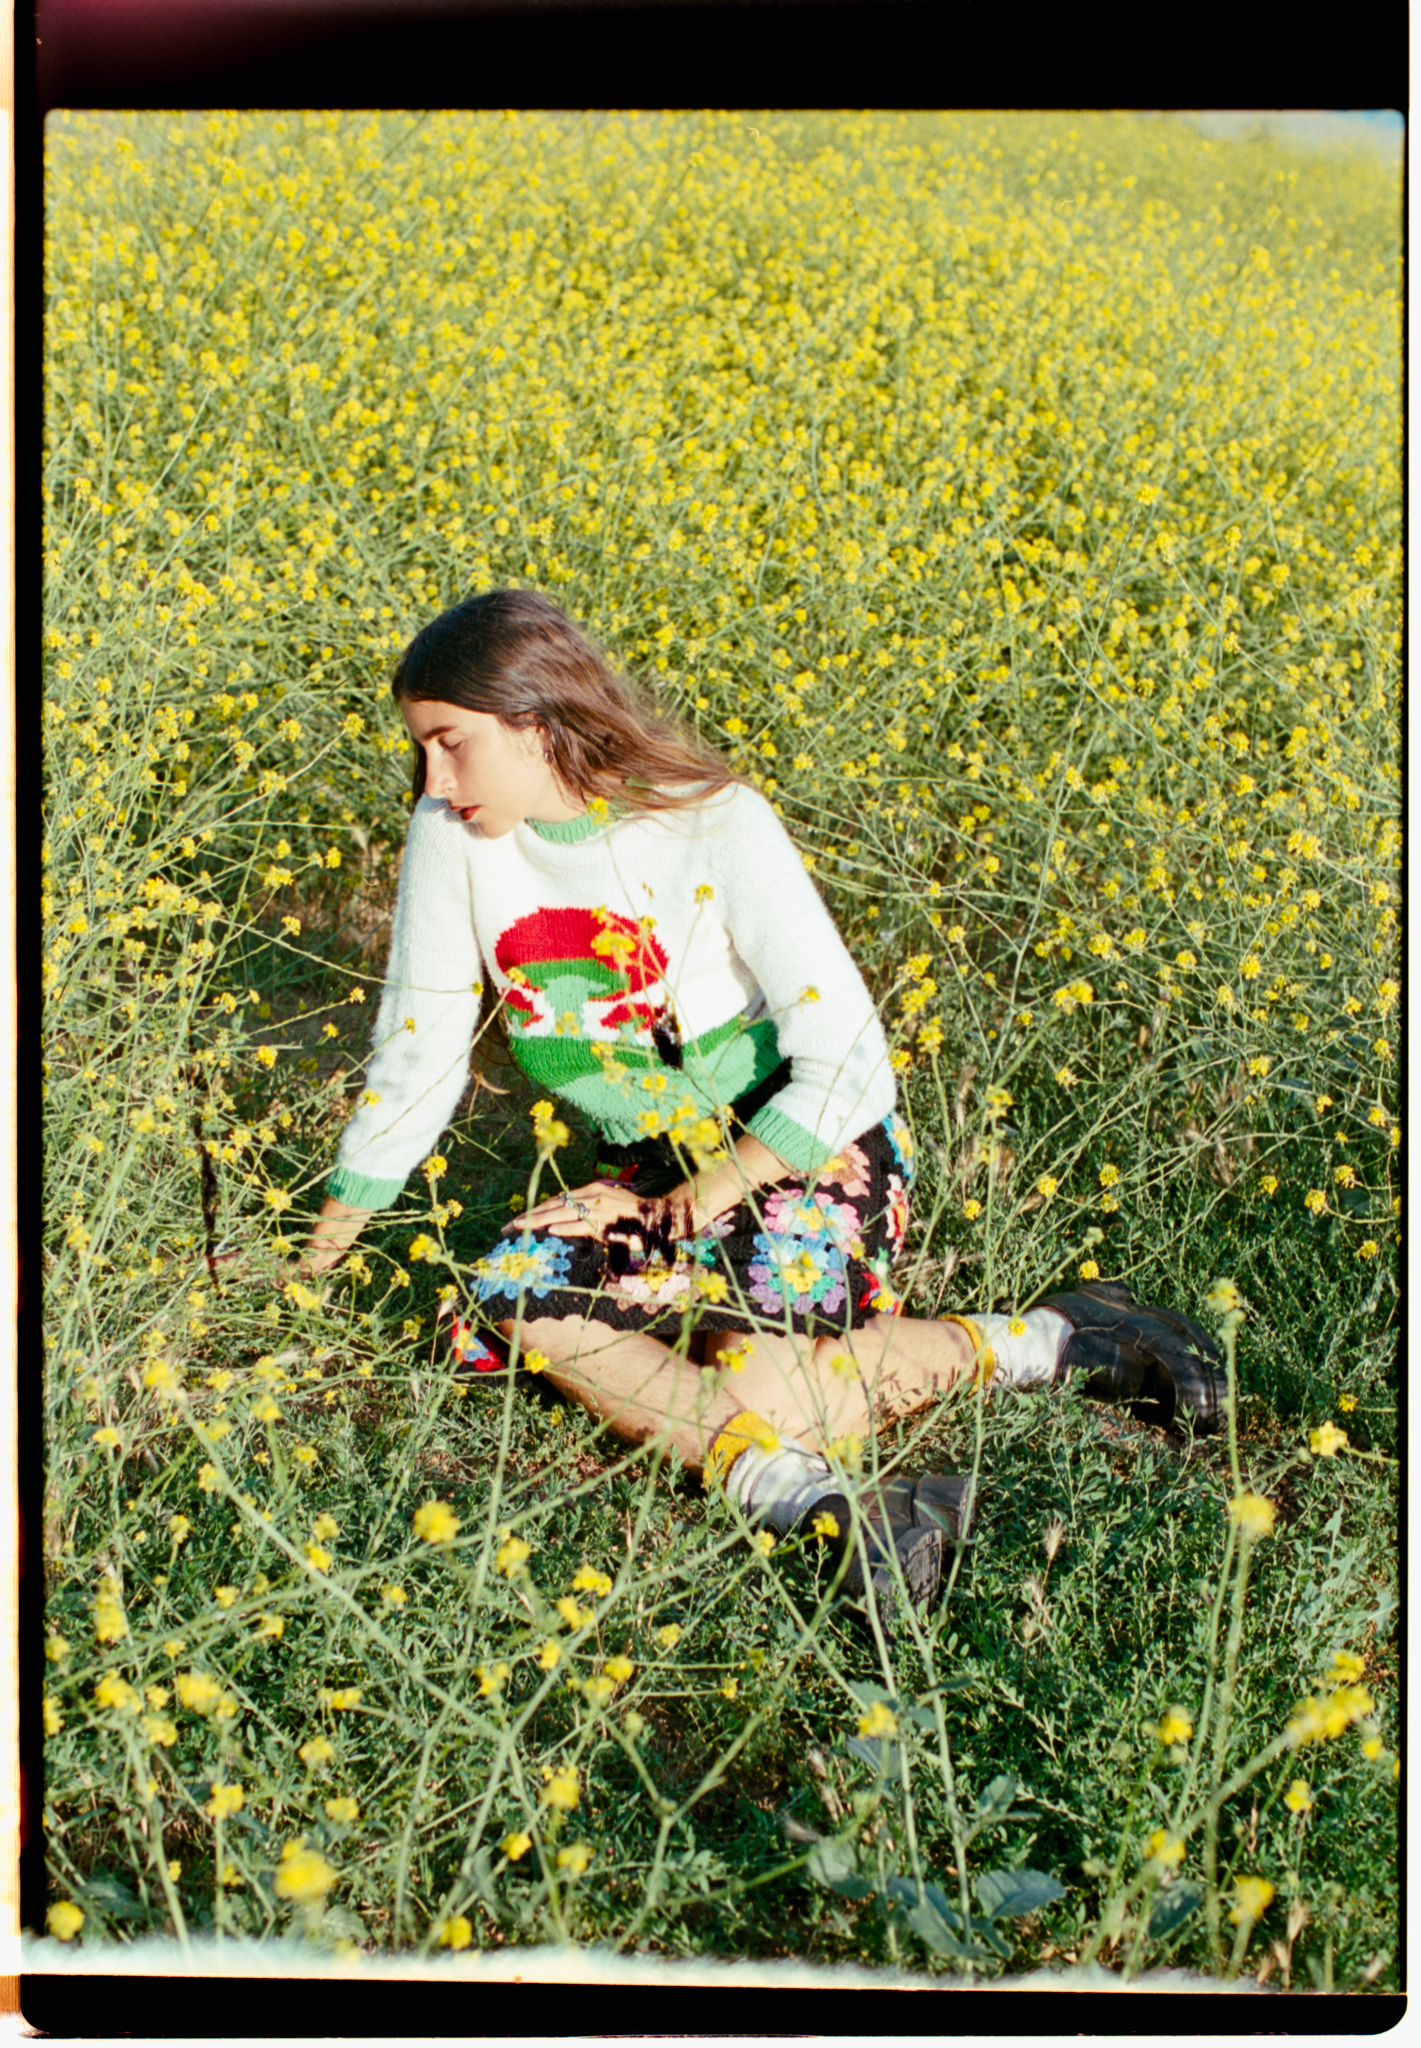


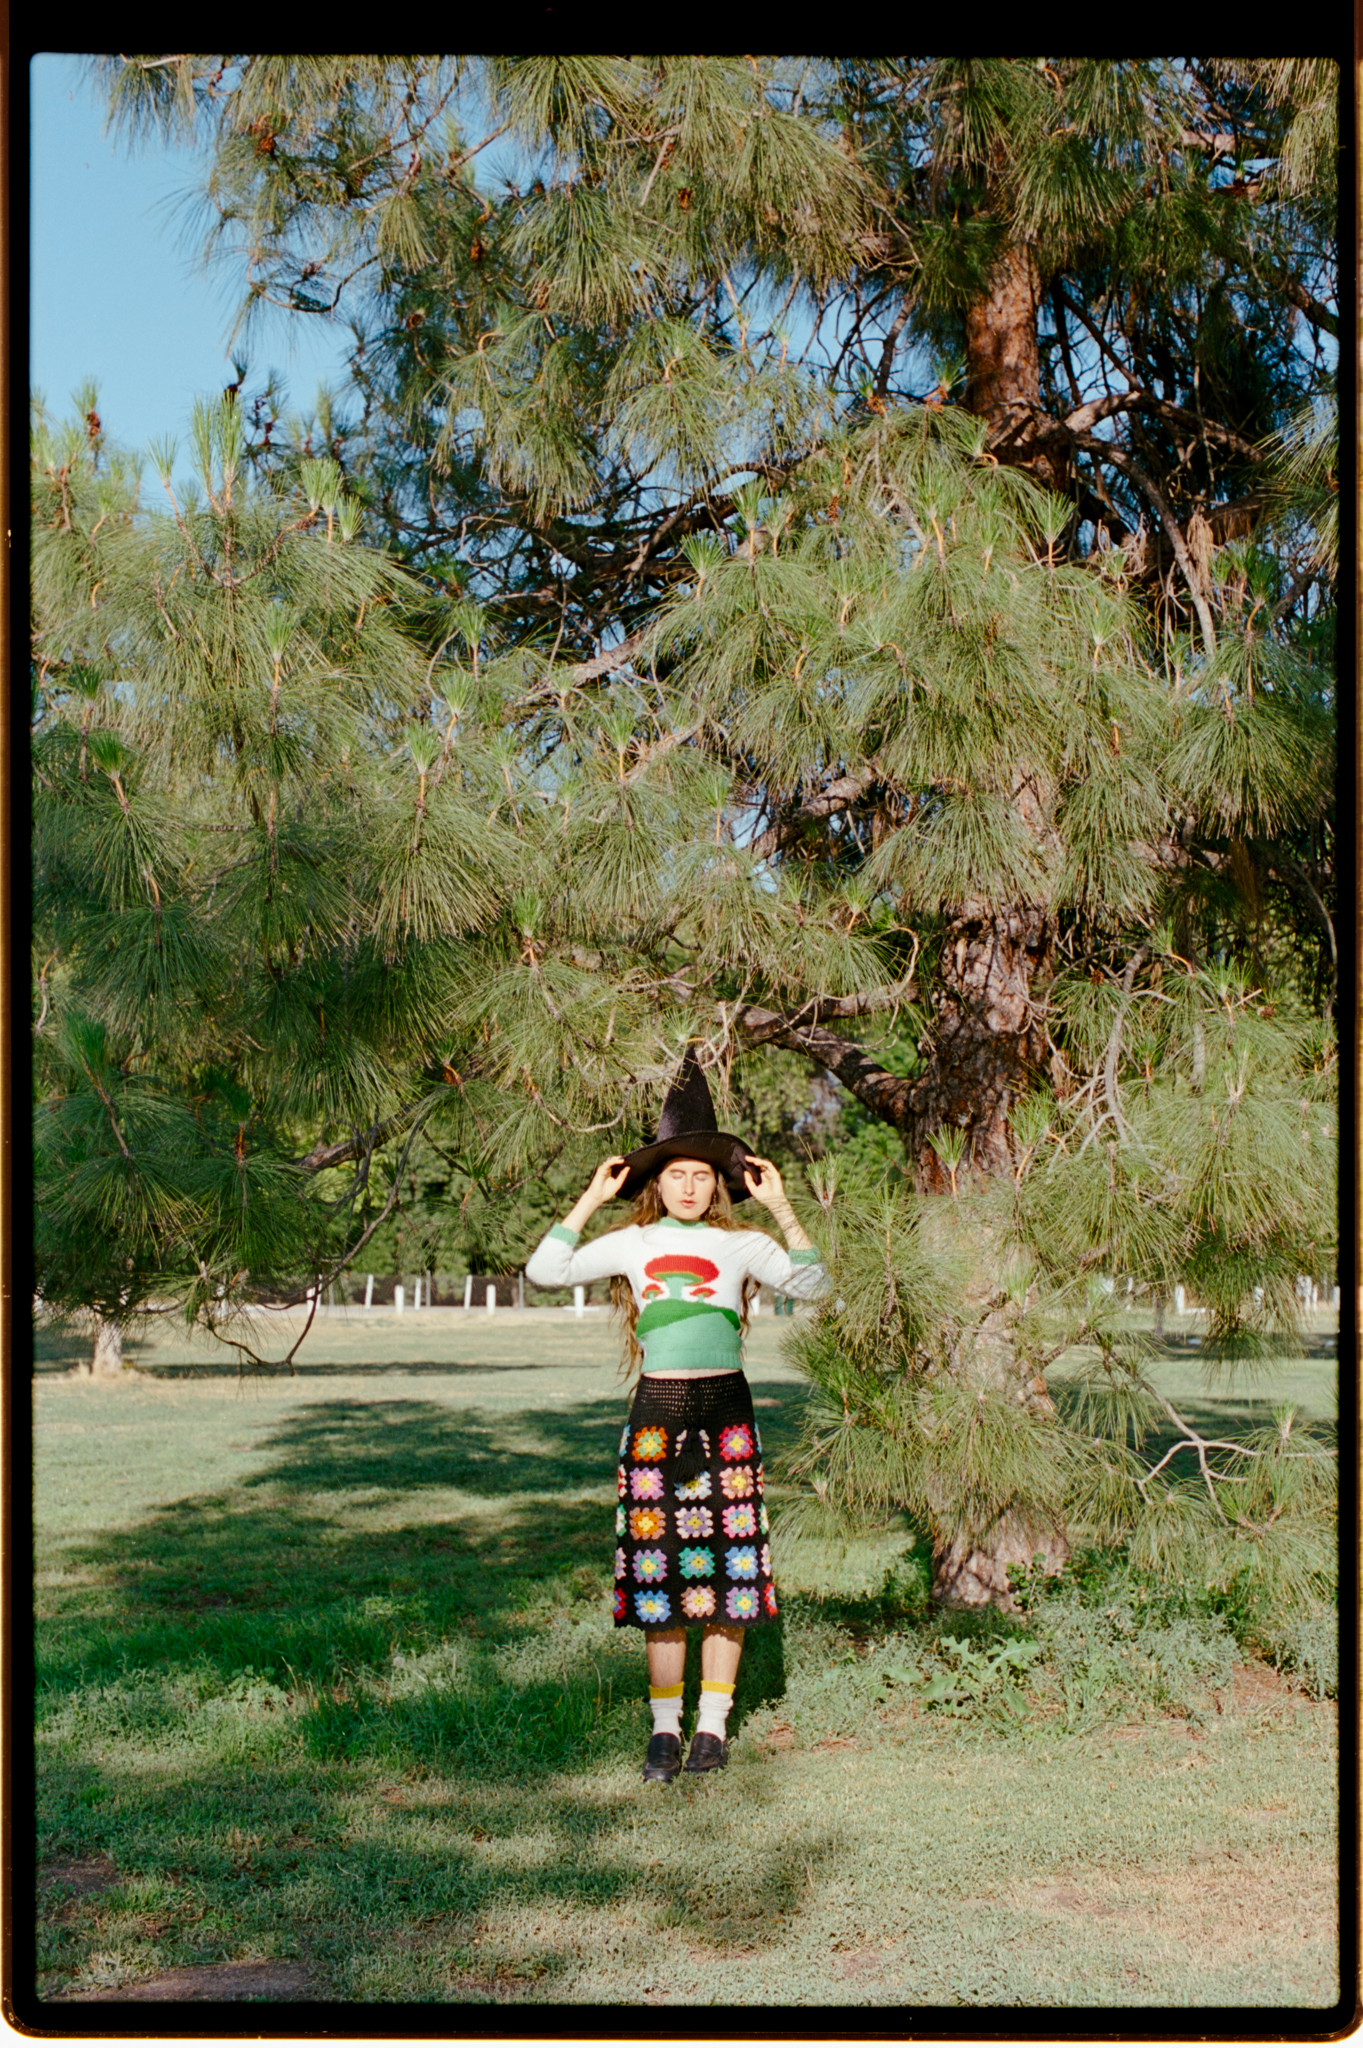
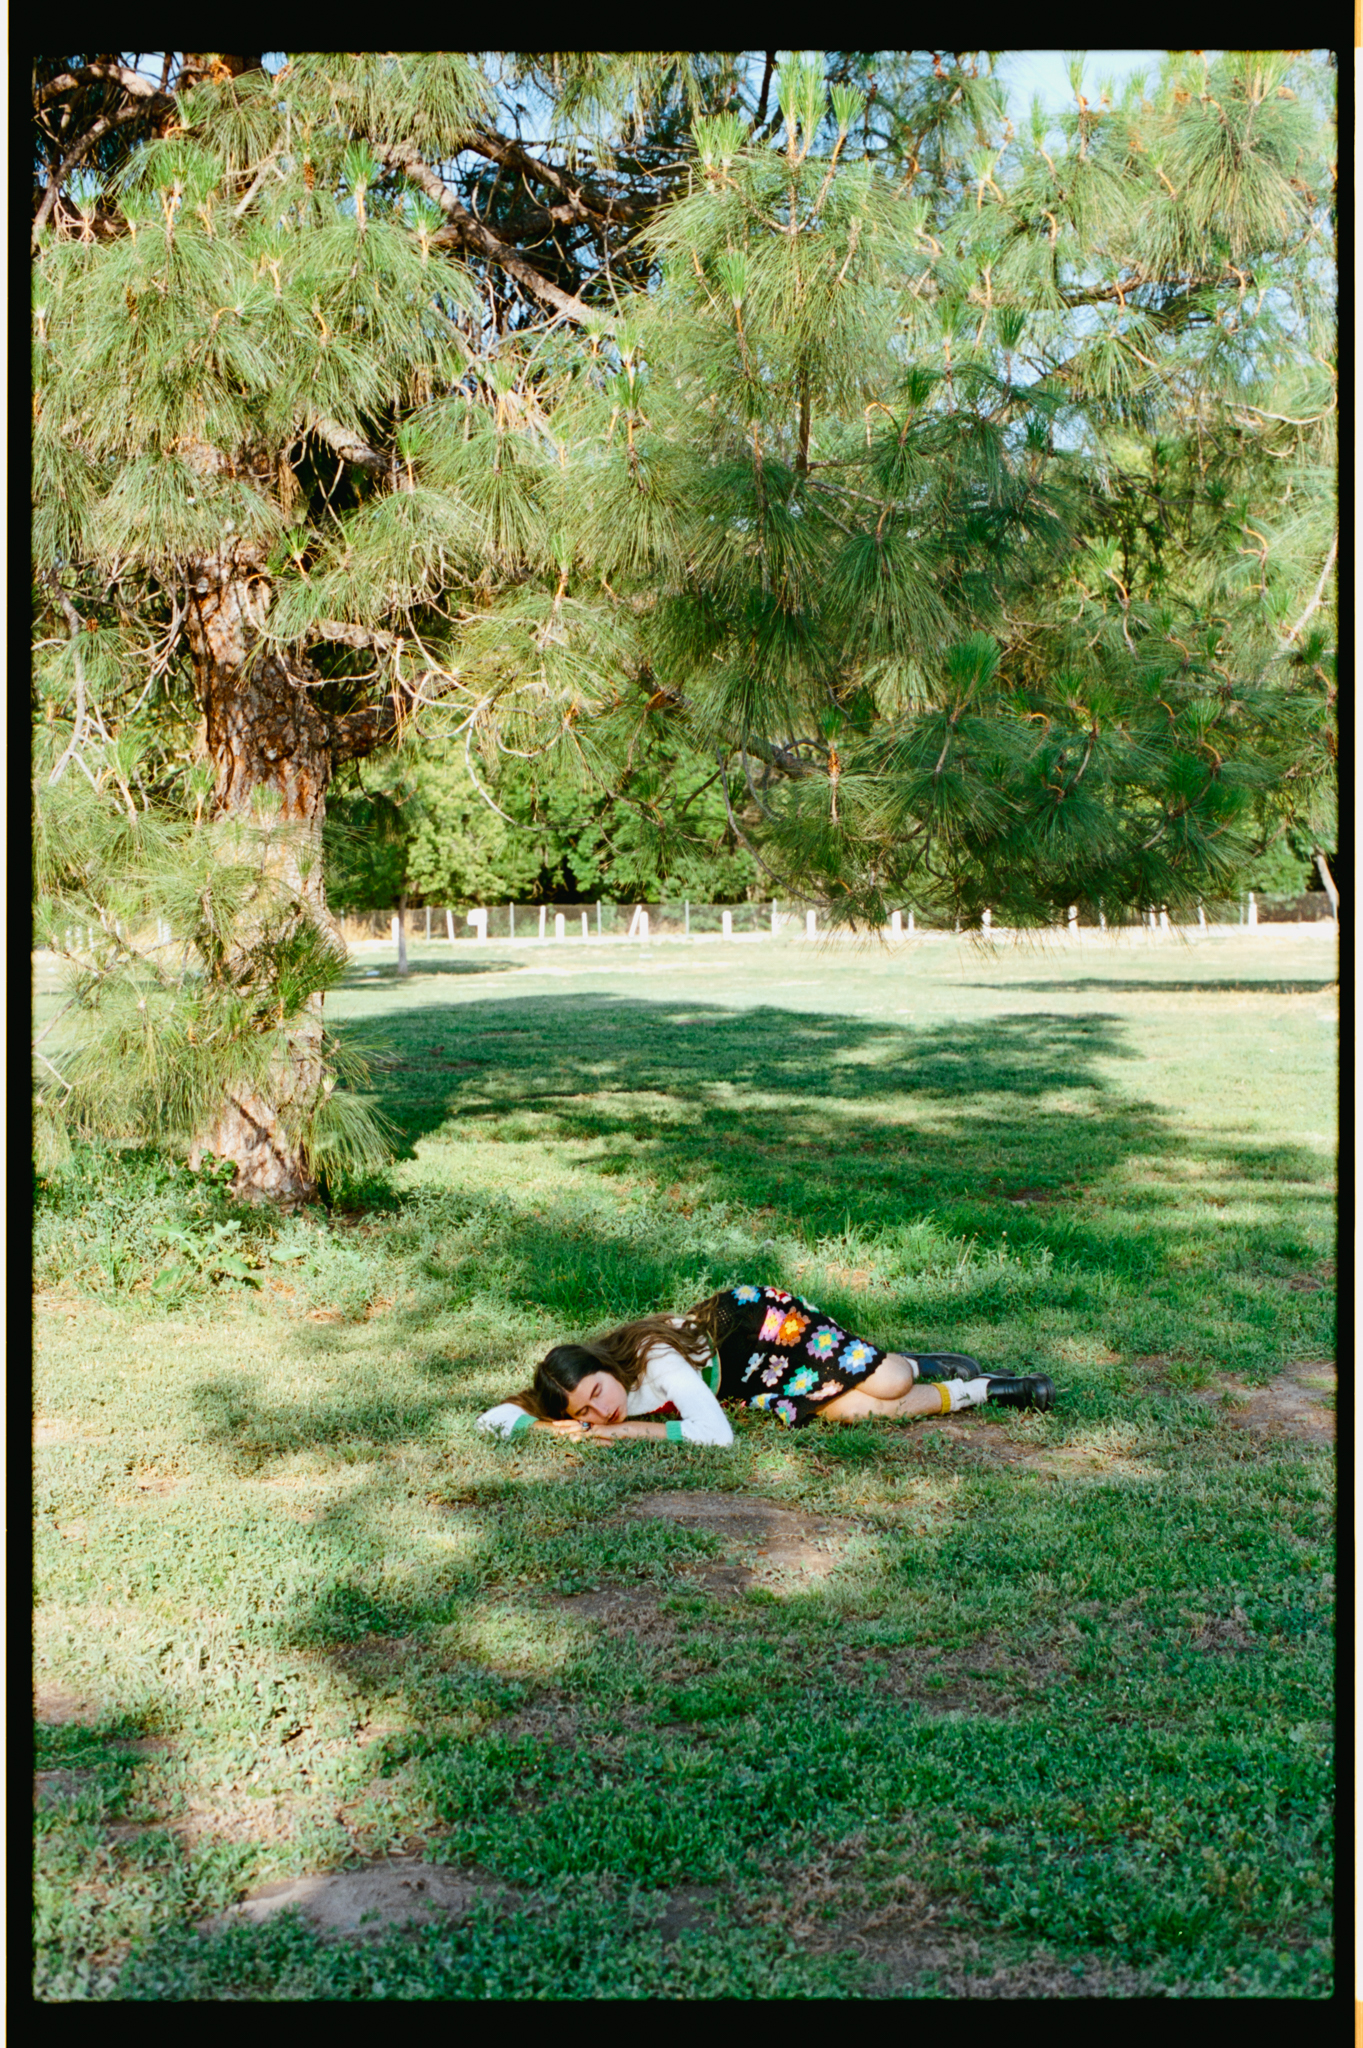

This film can give you that vintage, nostalgic, color-shifted look that we call the “film look.” Without editing, the film can appear somewhat flat, not very contrasty, and with pretty low saturation. But I’m surprised by how much editing it can actually handle. I mean, there’s quite a lot of room for color editing, that’s if you even want to spend the time editing your film scans.
Just to see the skin tone differences, I also shot a roll of Kodak Gold, I know, it’s illegal to compare 35mm to 120mm to start with, but if we solely look at the skin tone alone, I think films like Kodak Gold are much easier to work with. If you look at these two images, my straight-out-of-scanner file looks nearly identical to my edited final images. It’s cleaner, more consistent, and more accurate for me at least.


This film might not be a good choice for portraiture, but what about just everyday carry, lifestyle, street, travel casual photos.
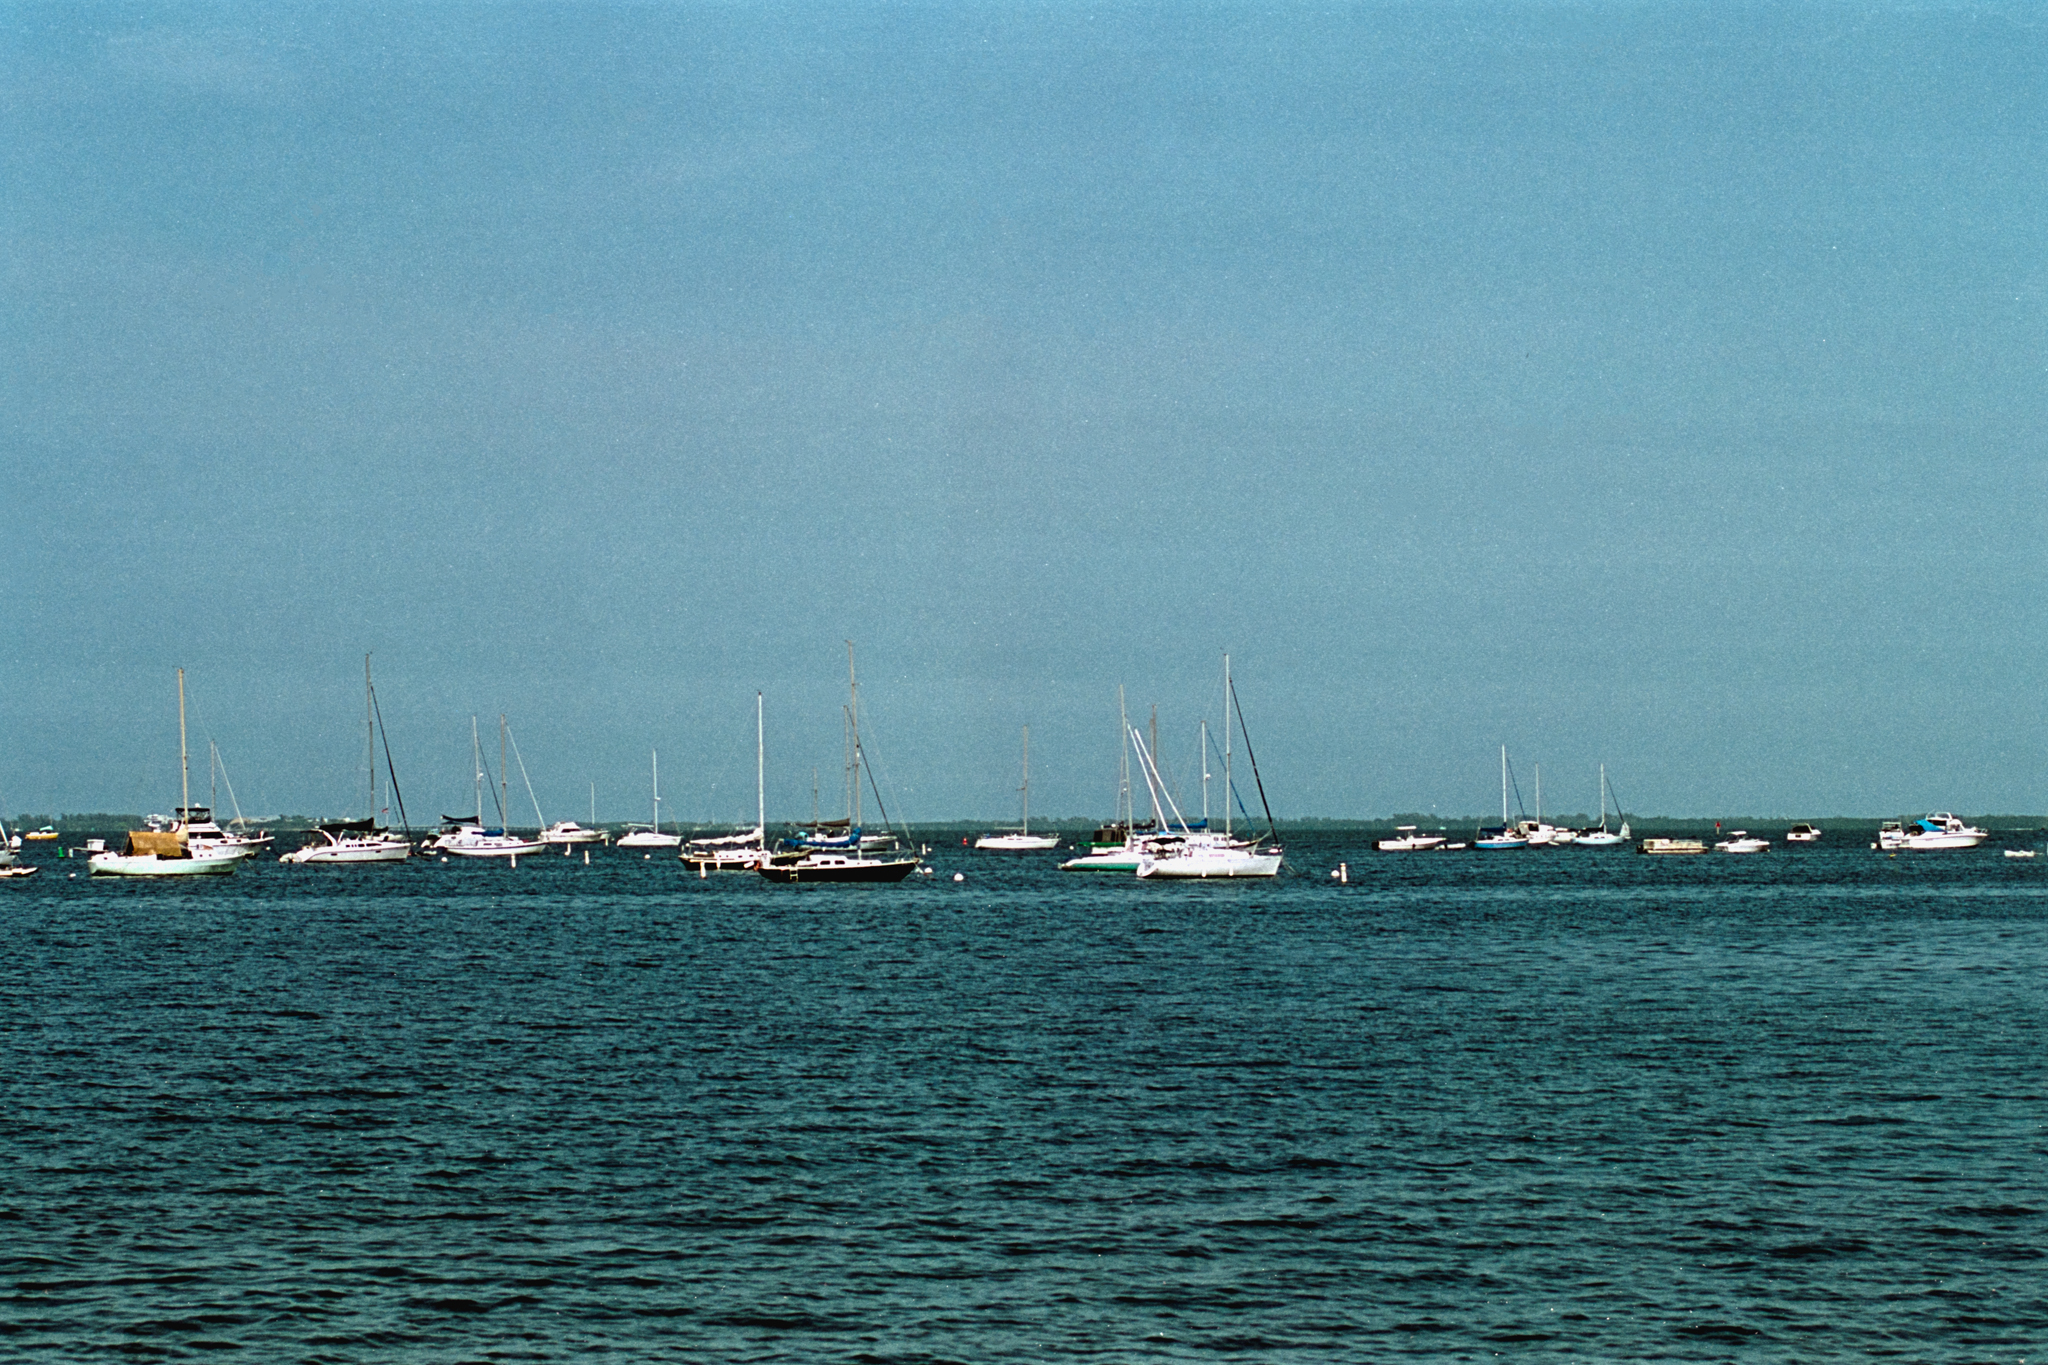
Then I shot my second roll with my Minolta X-700 in Miami.
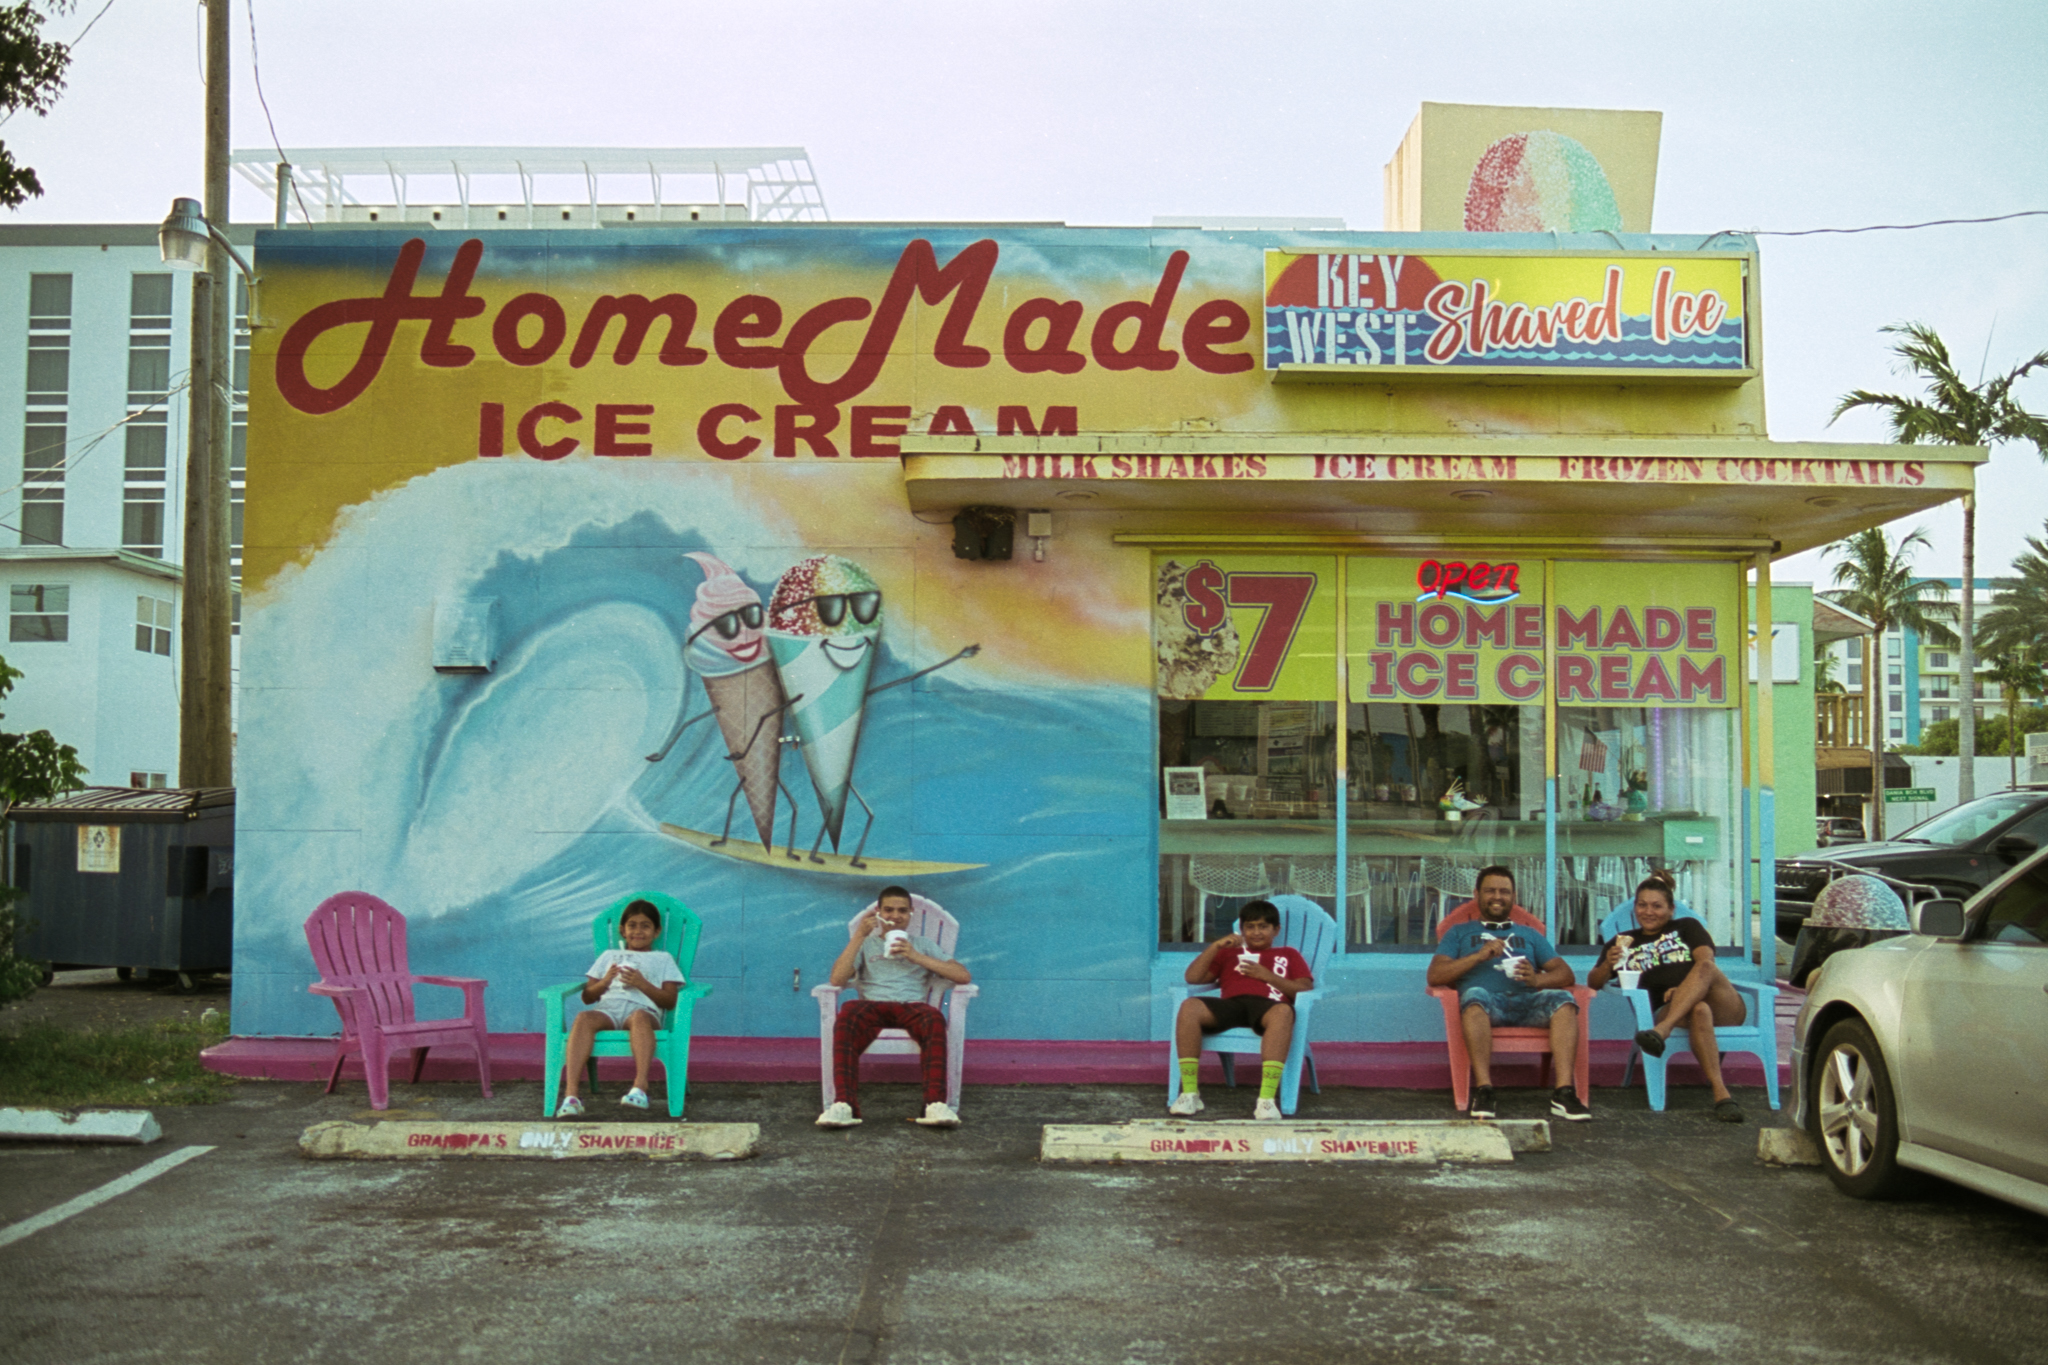
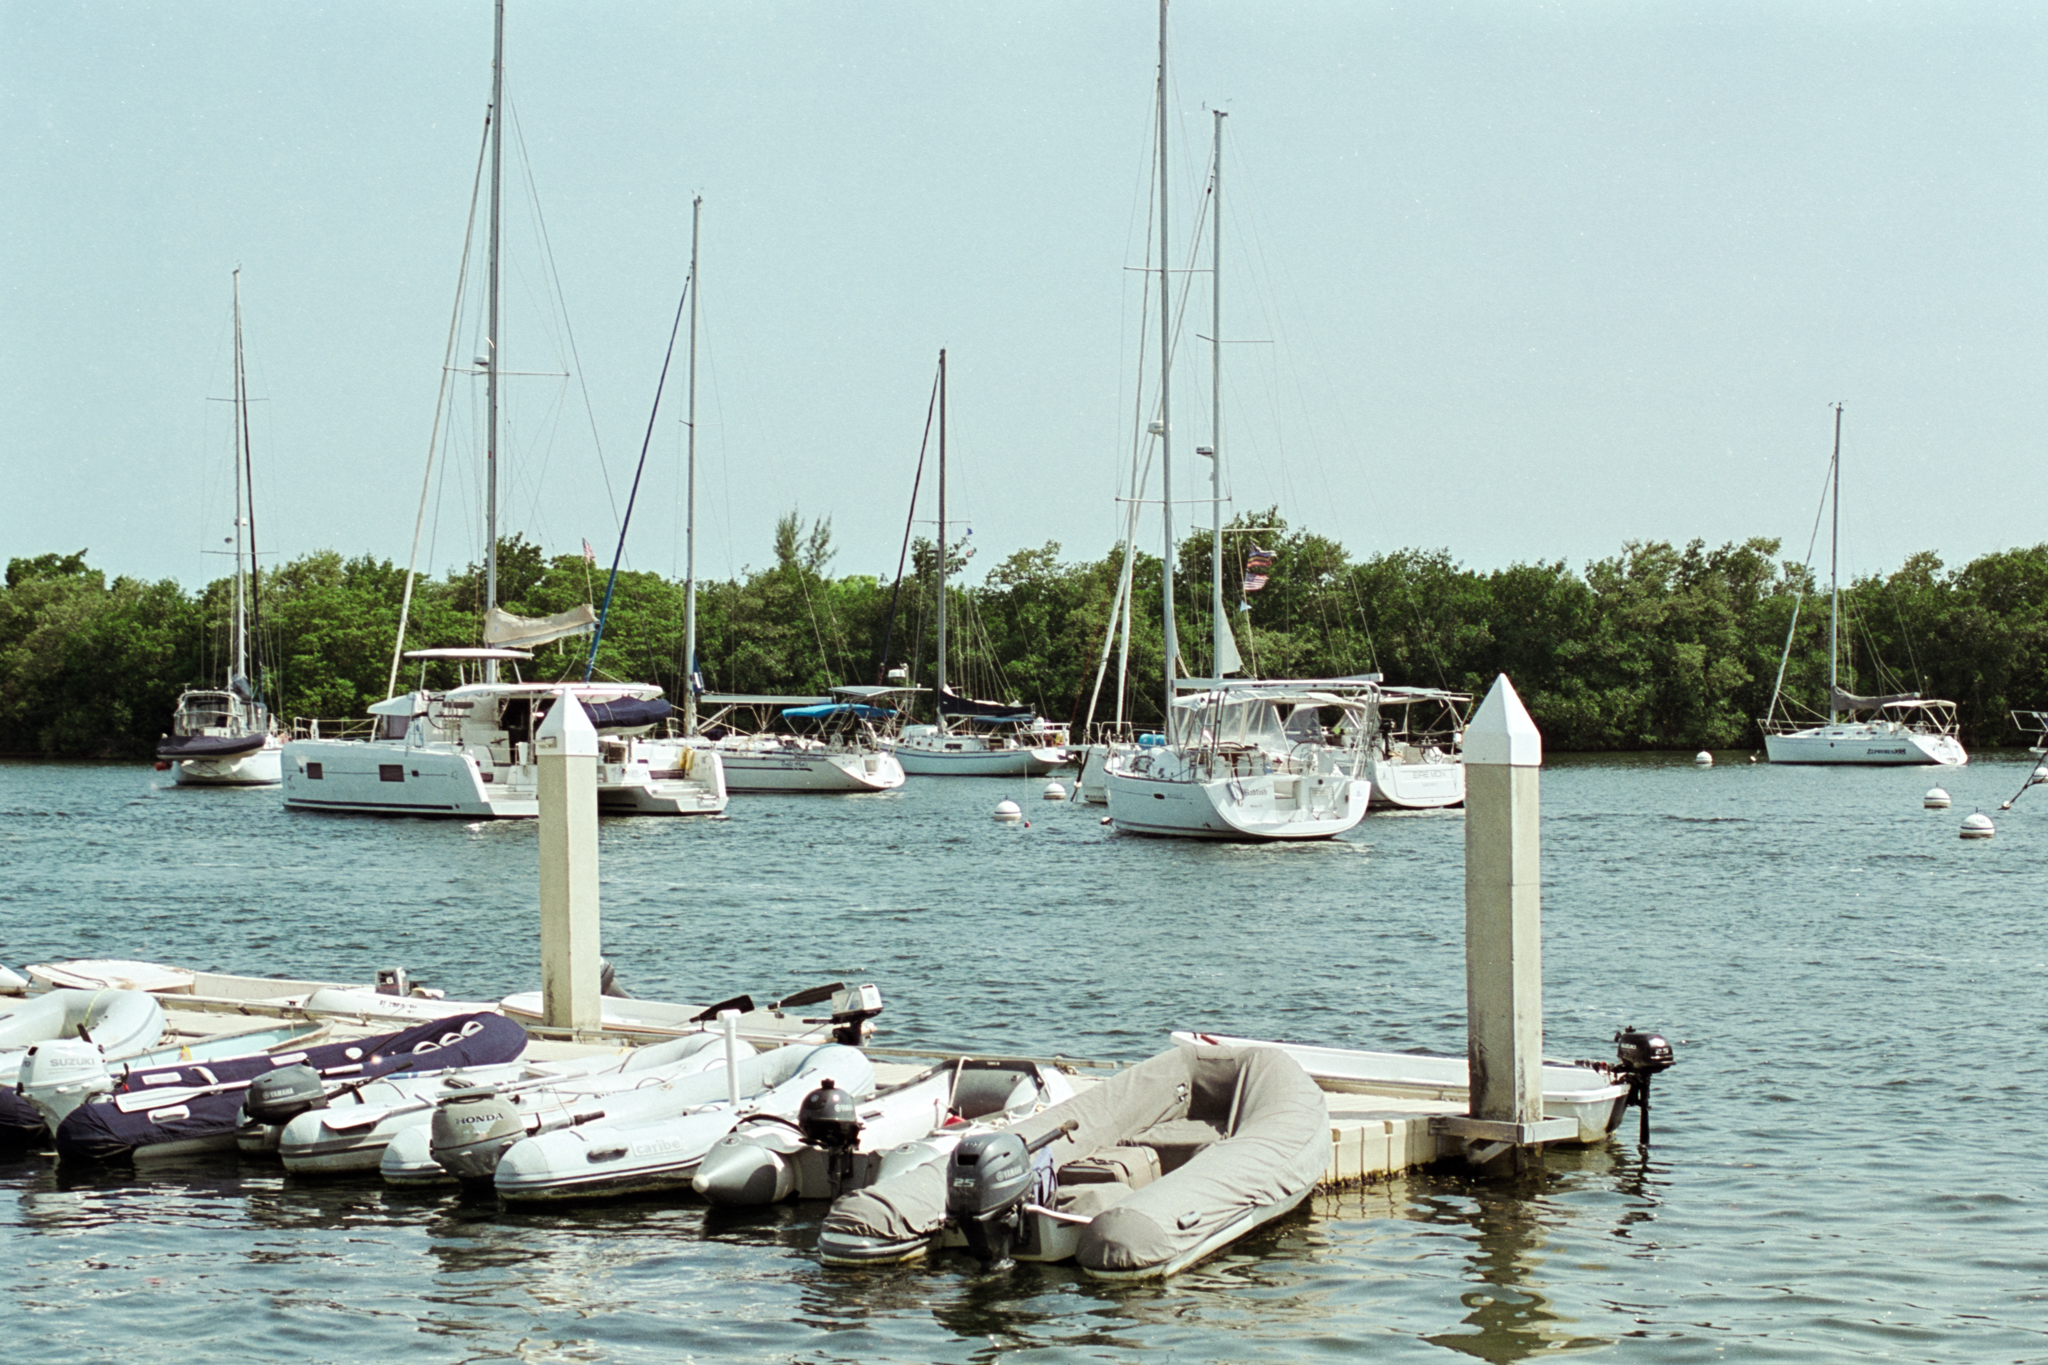
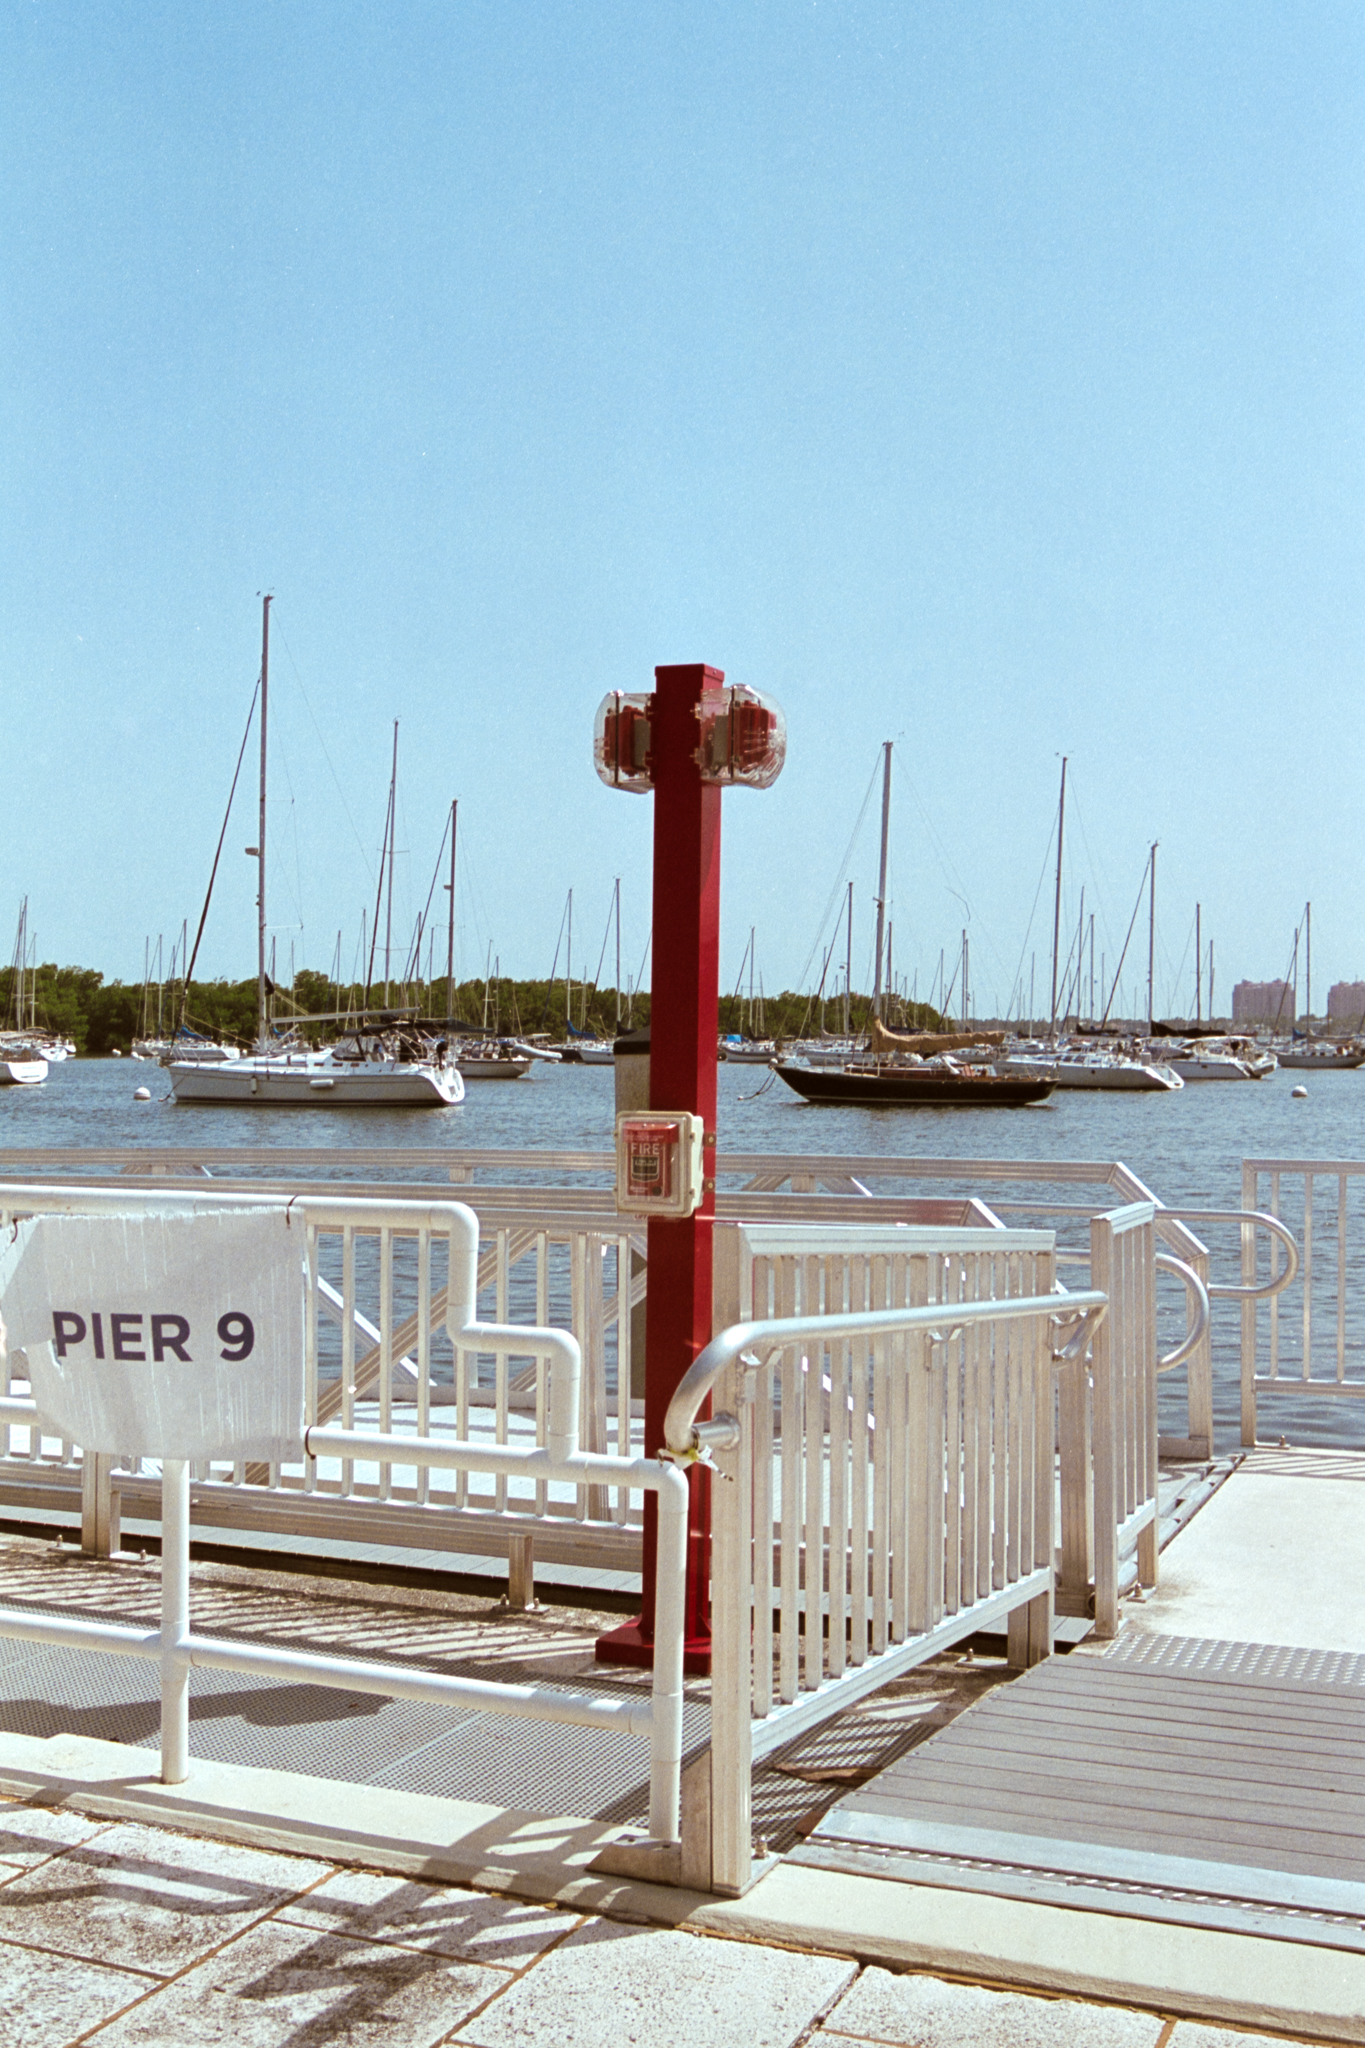
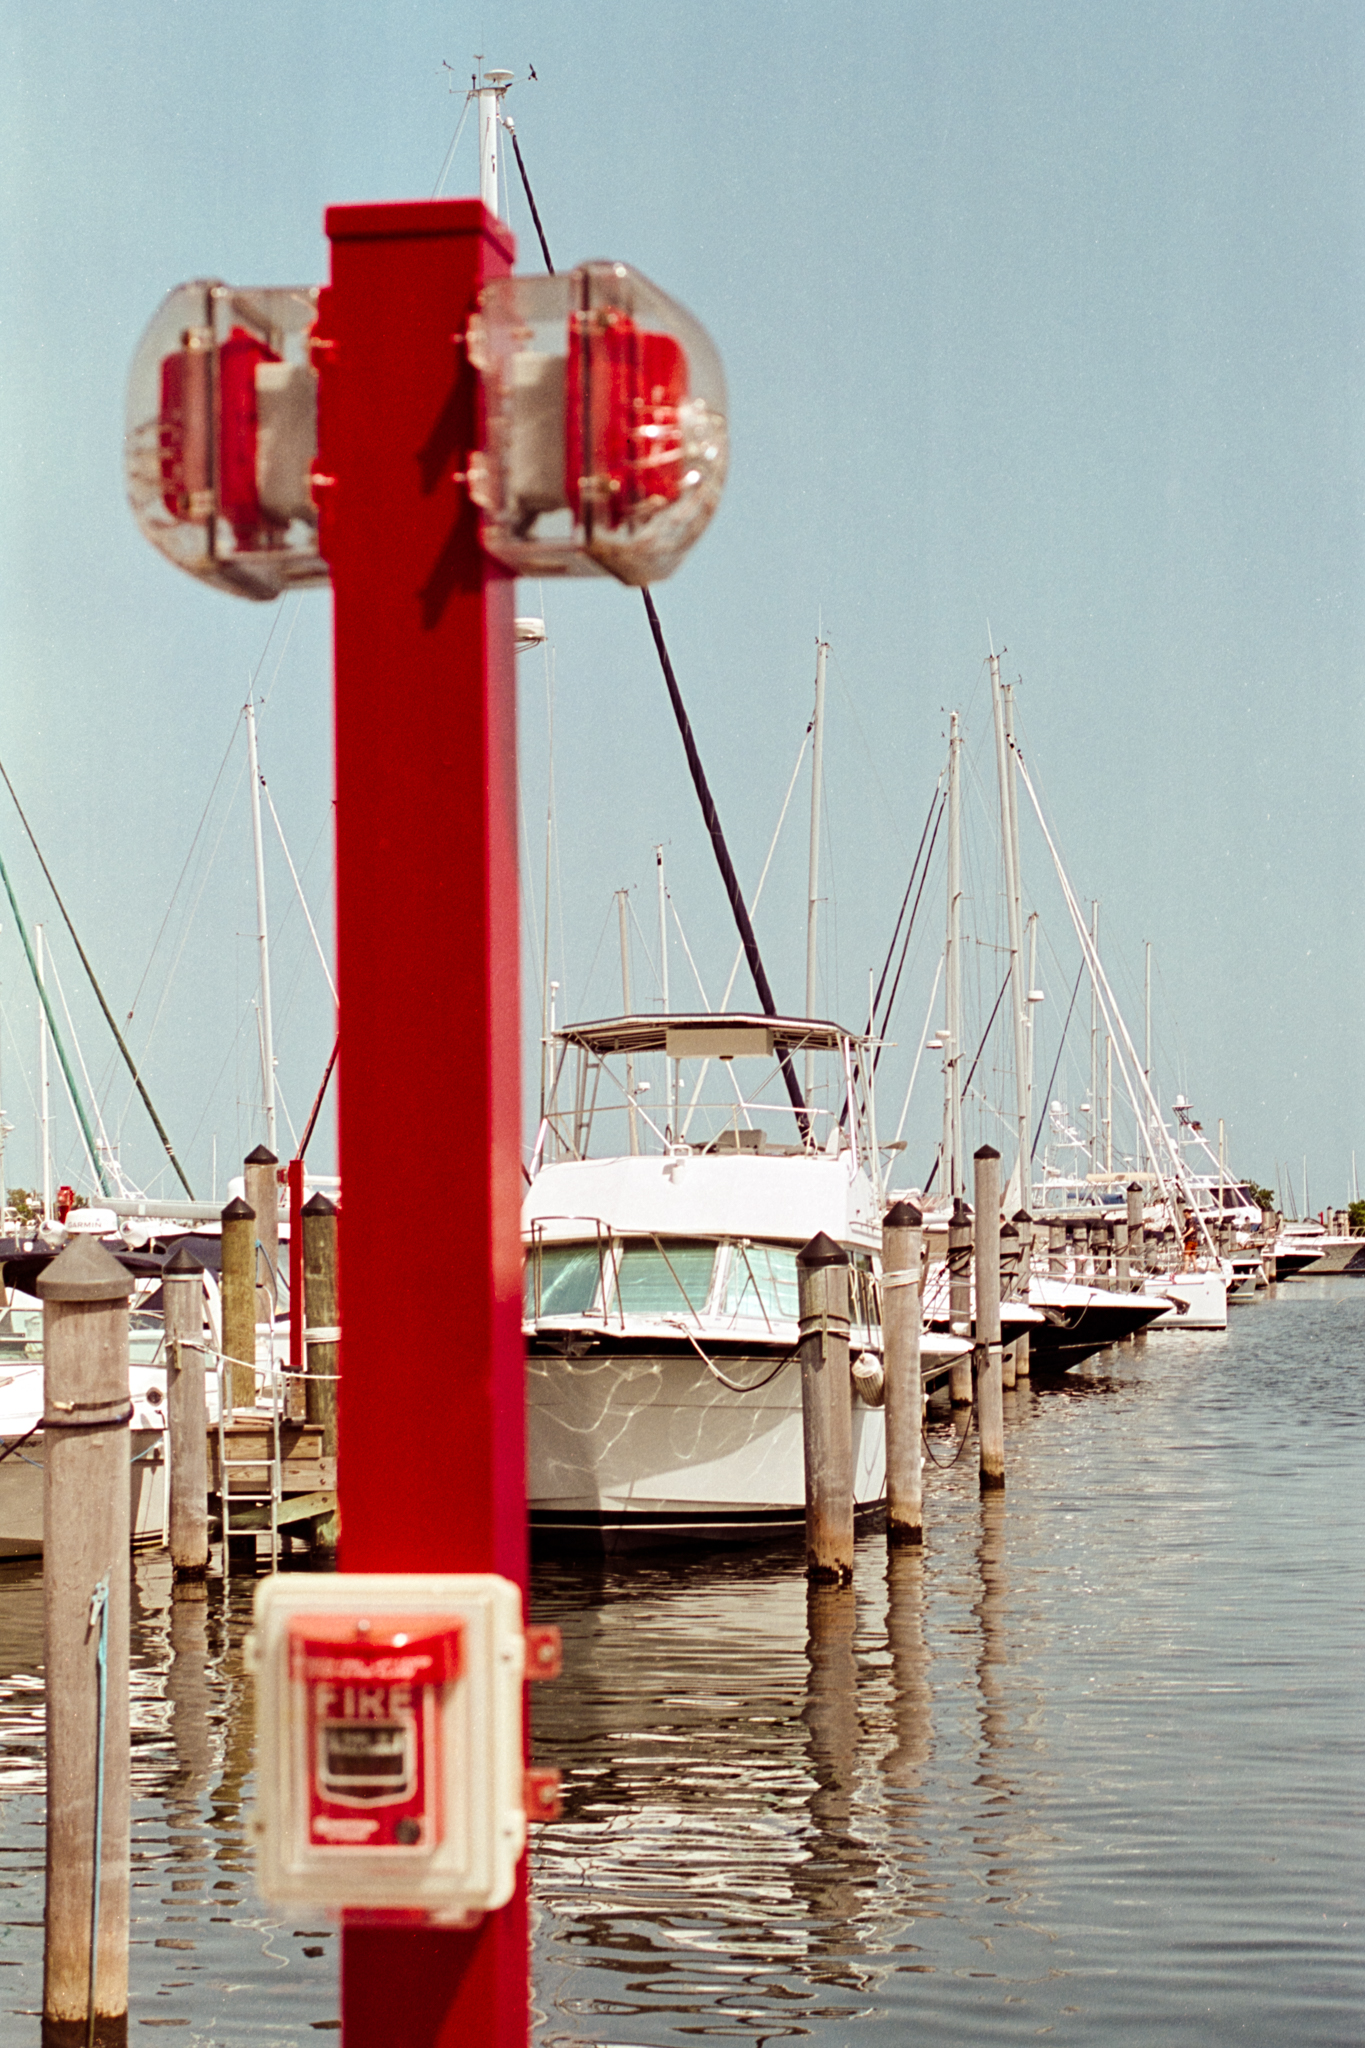
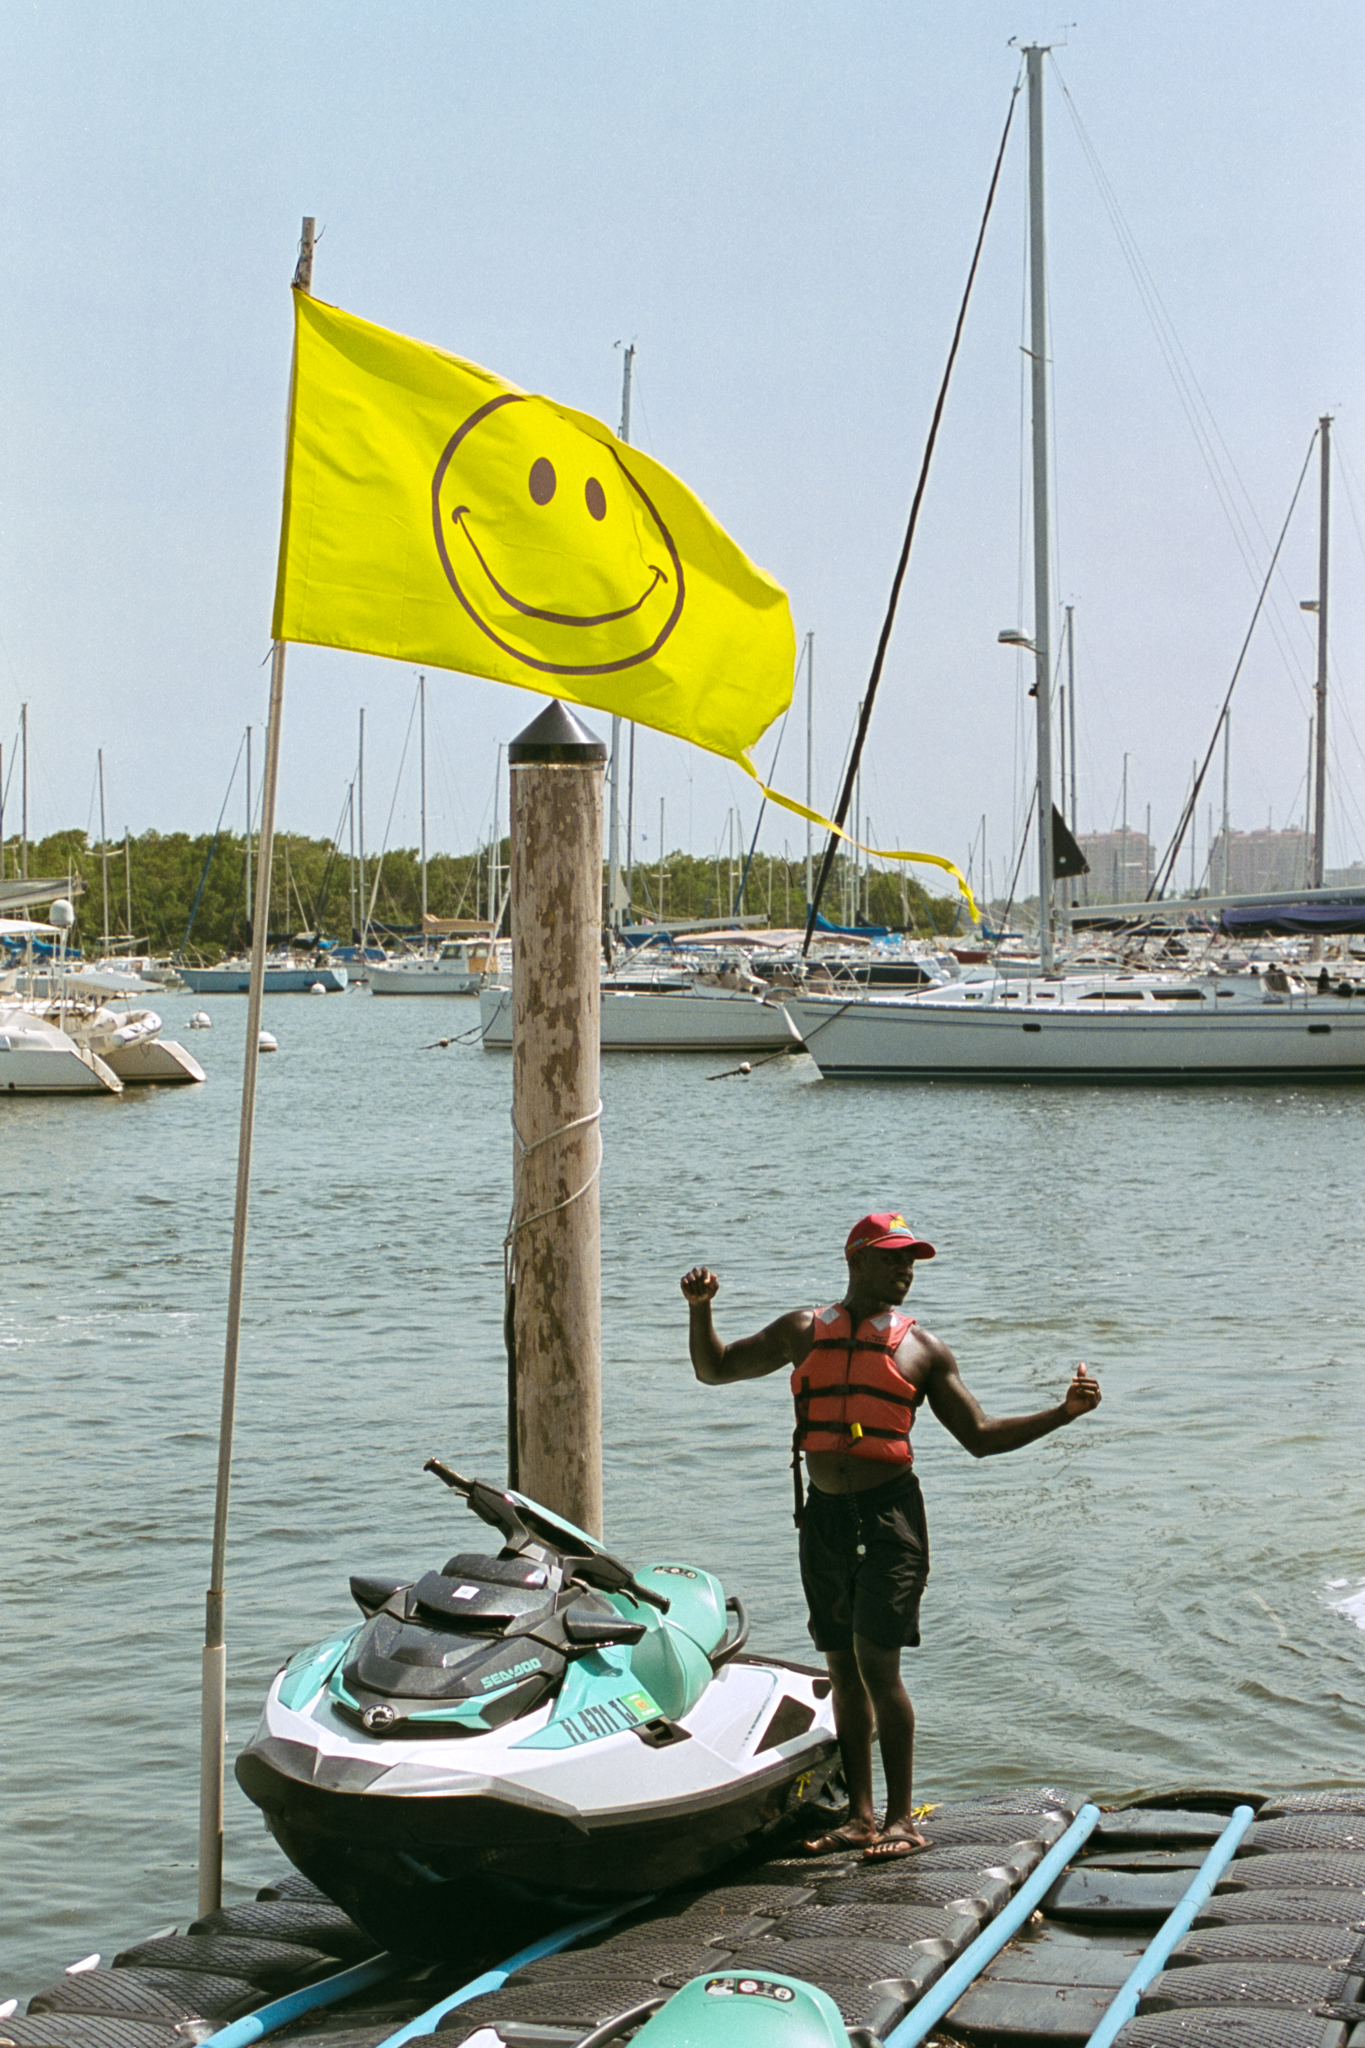
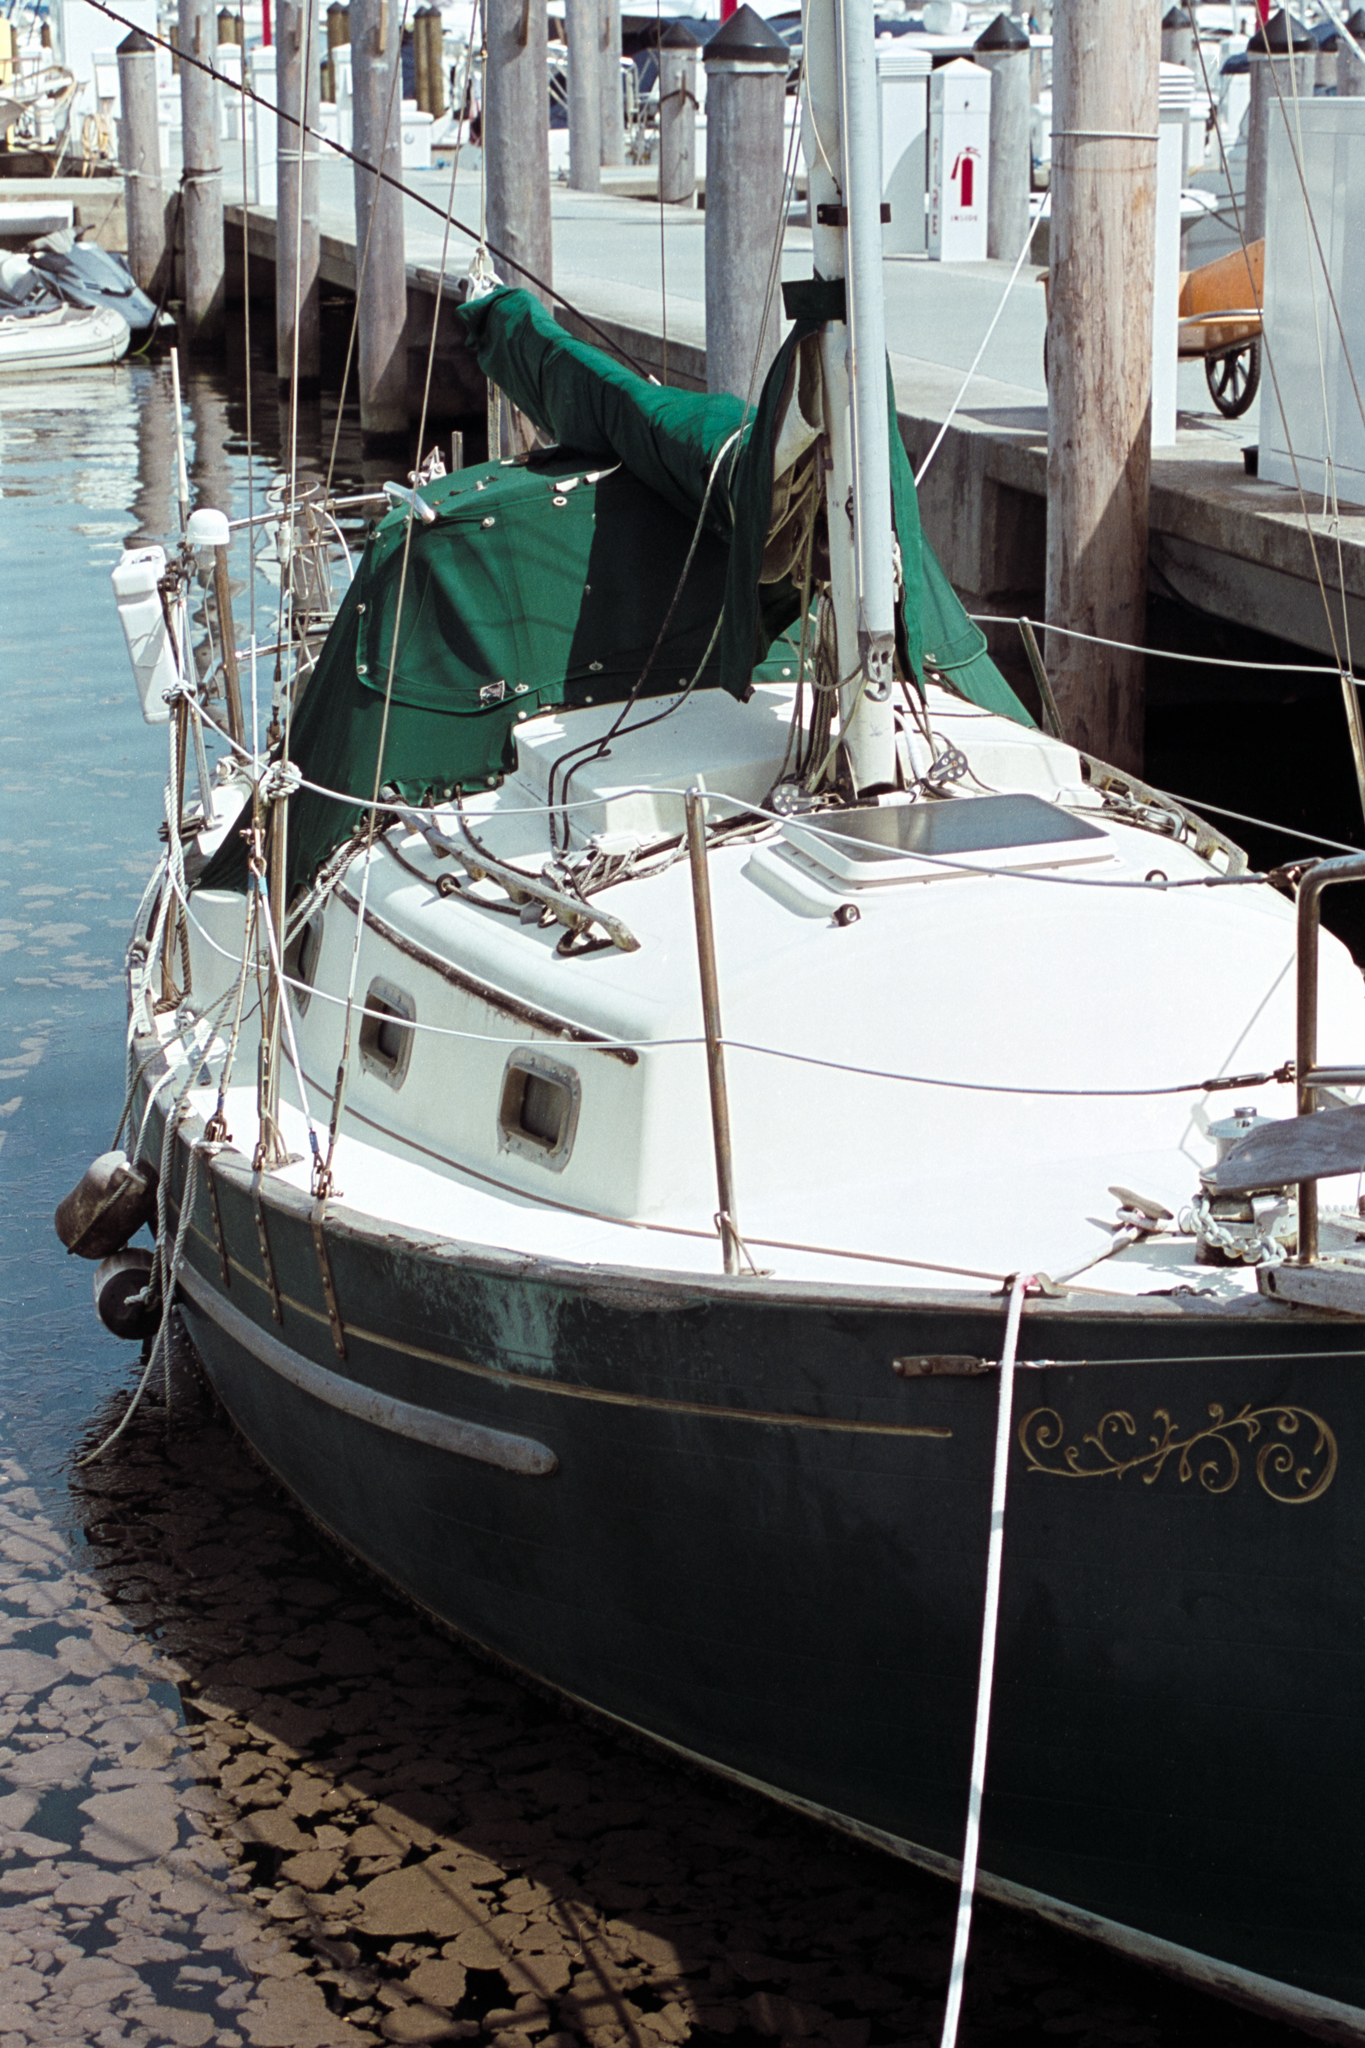

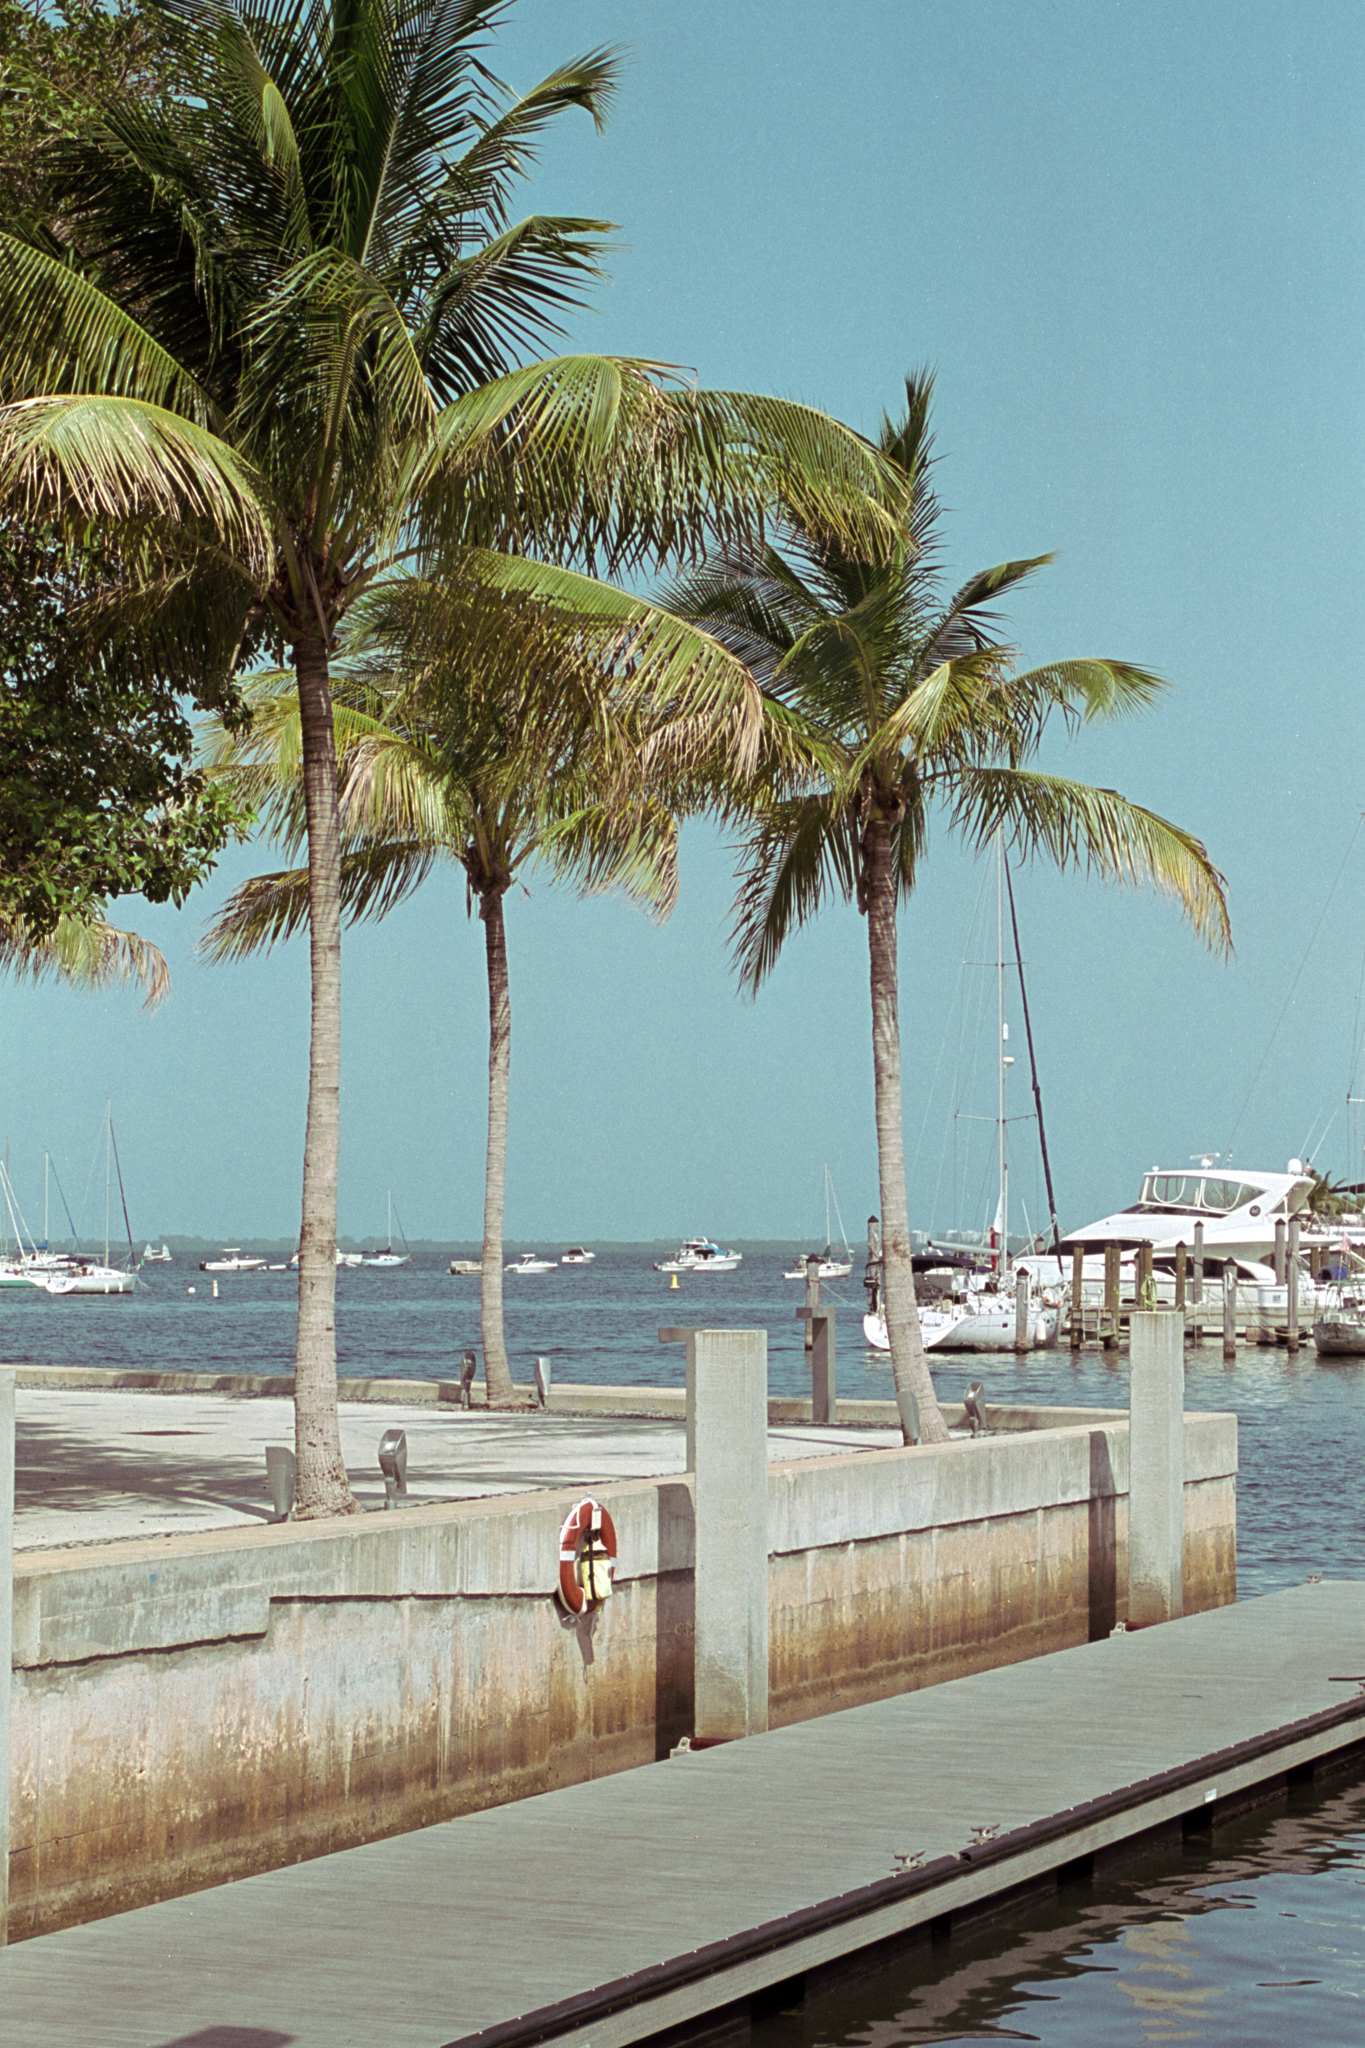

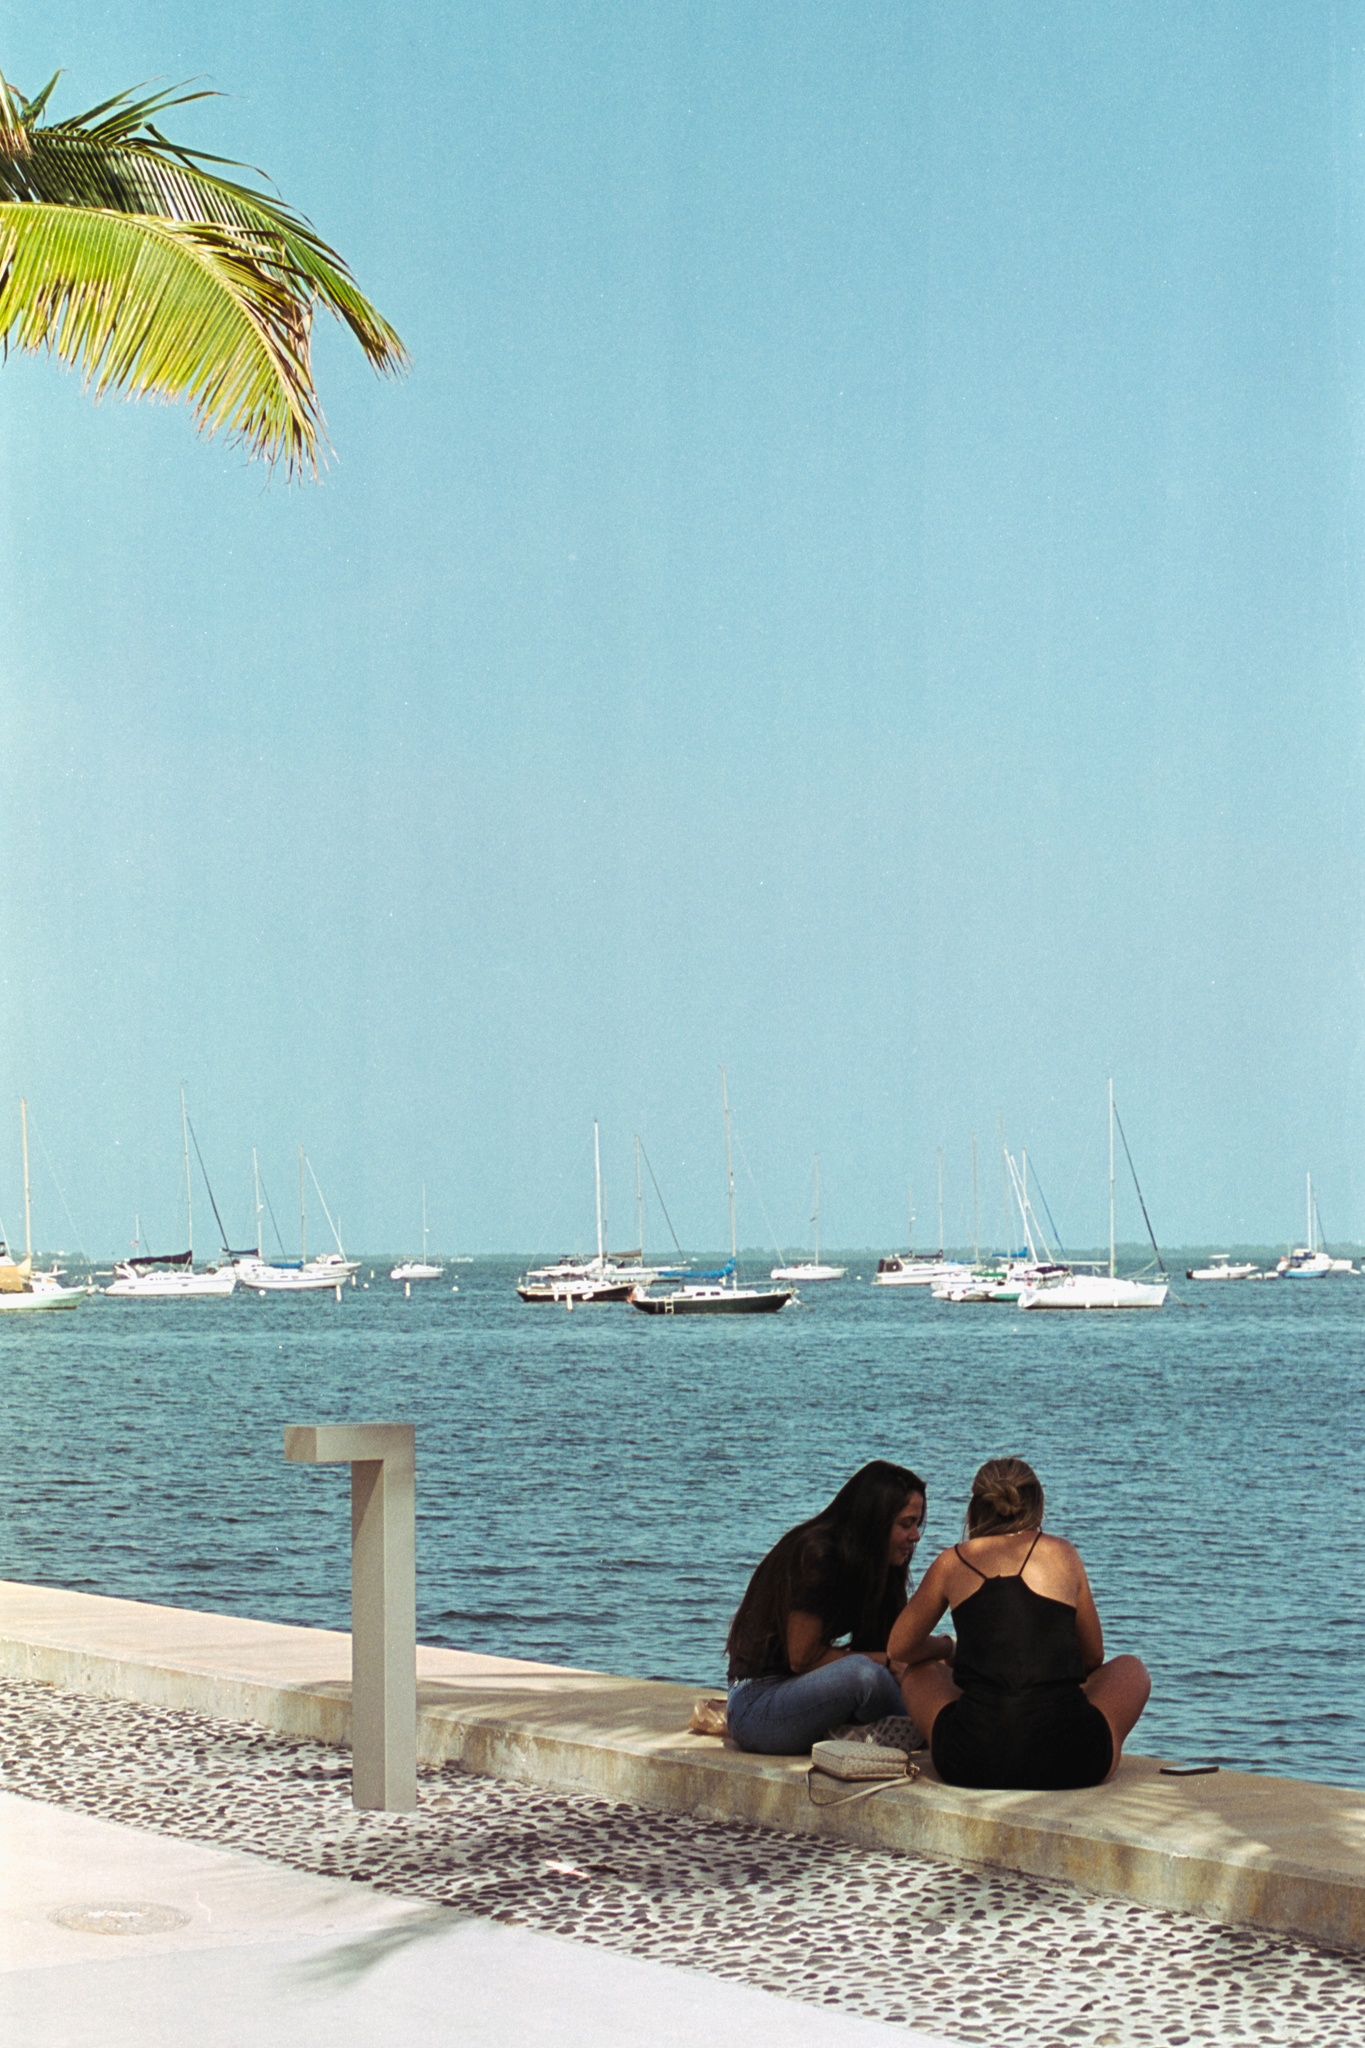
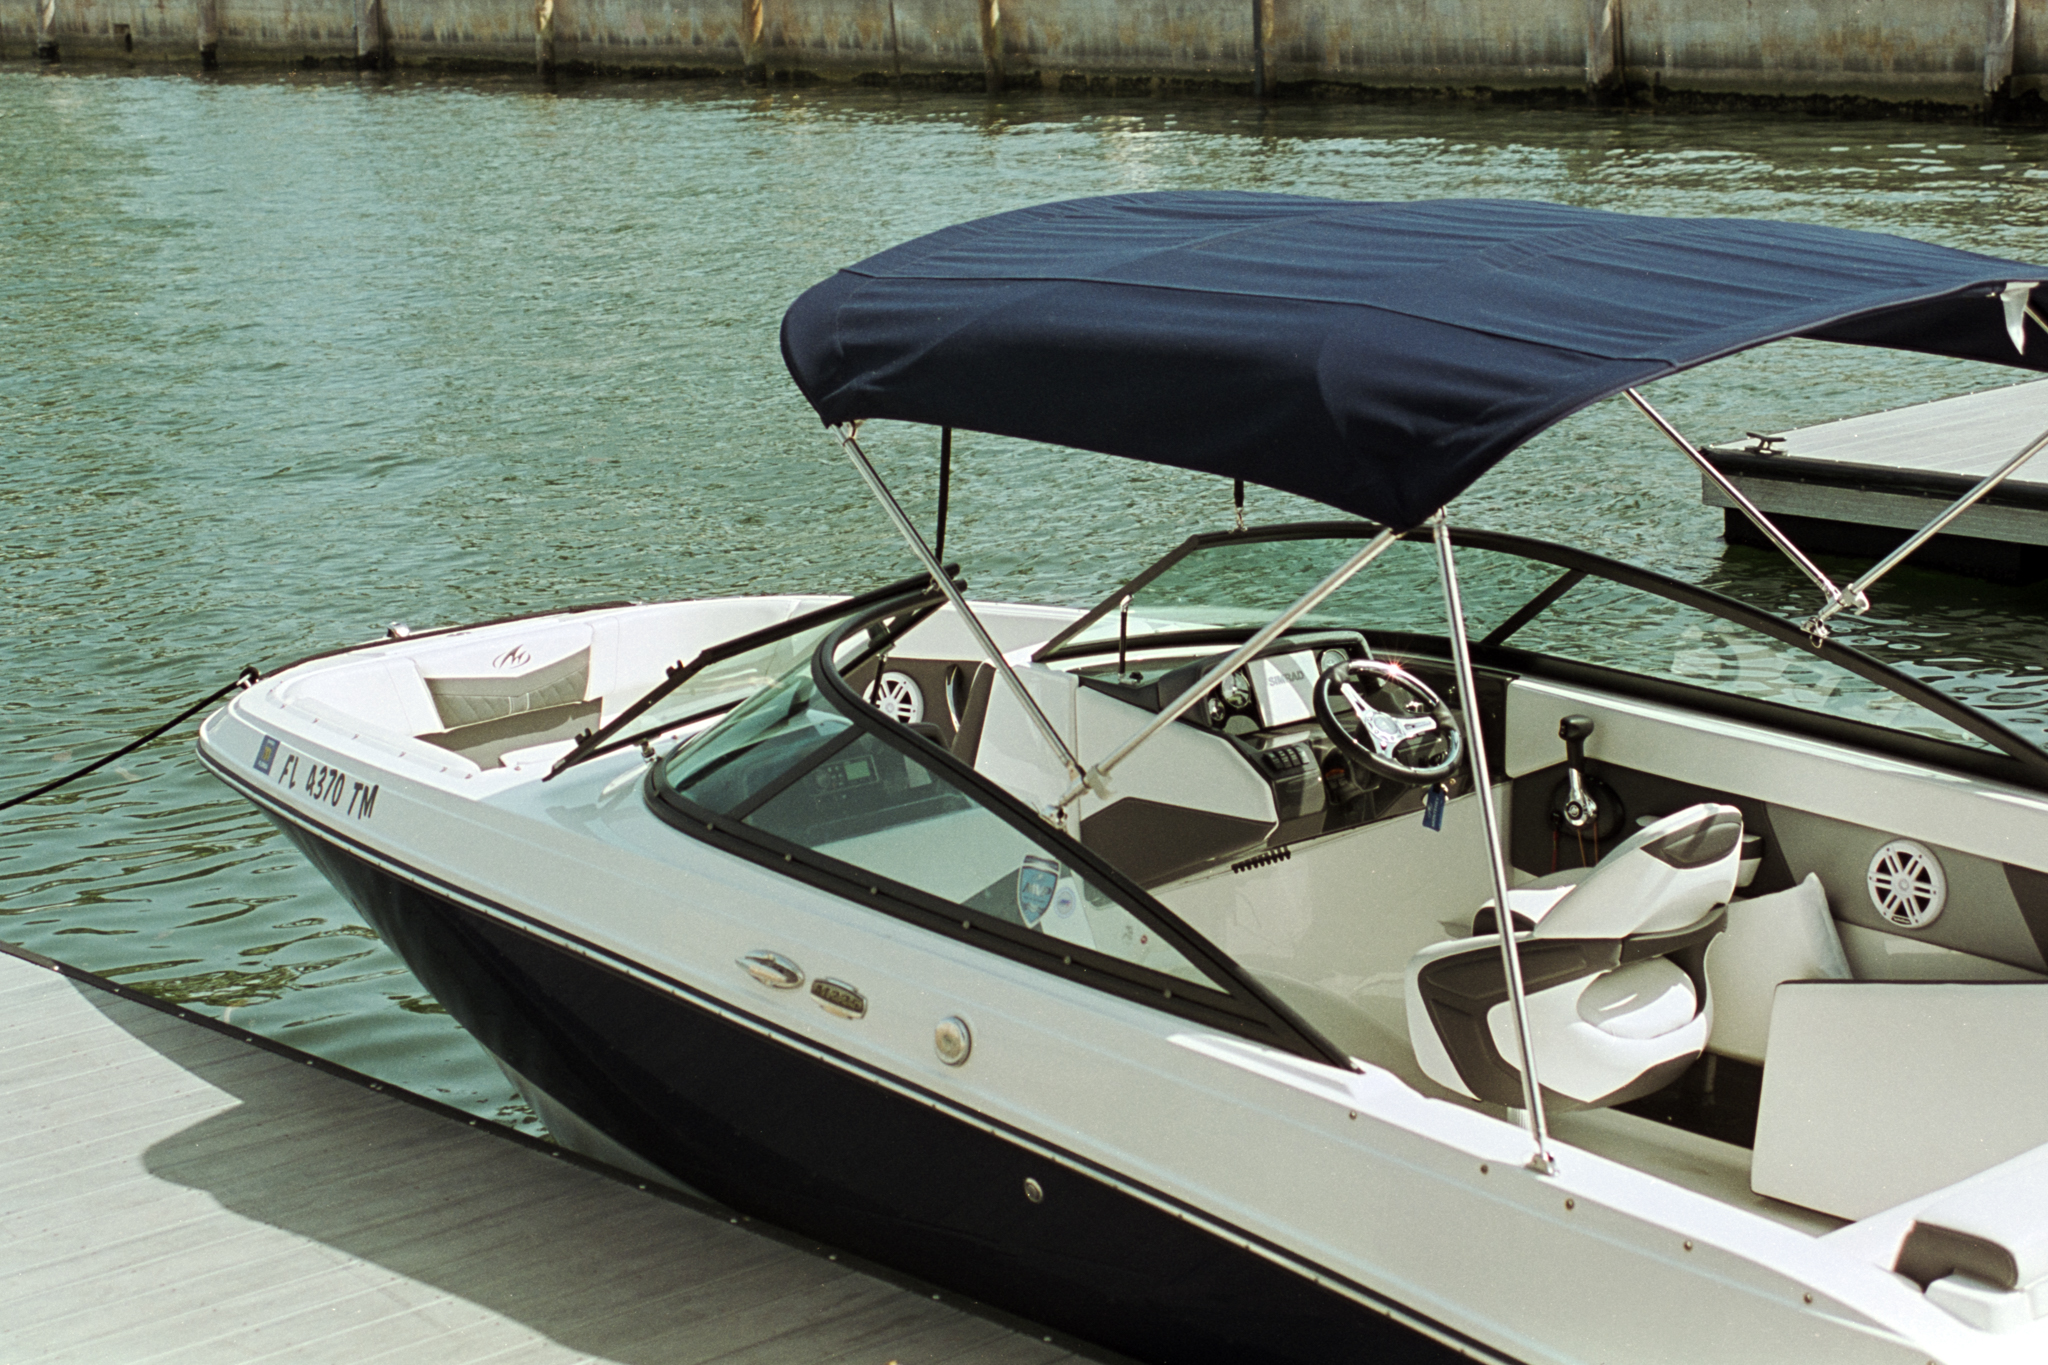
According to Kodak 2460 Data sheet, with this roll, I tried a more direct way to convert the negative. After color balancing the negative, just go to tone curve, and invert each curve according to the histogram. The color actually turned out not too bad. It’s still pretty flat, but the base looks pretty good, it can be easily edited. I boosted the contrast a little bit, added a little bit of saturation, some of these look pretty decent.
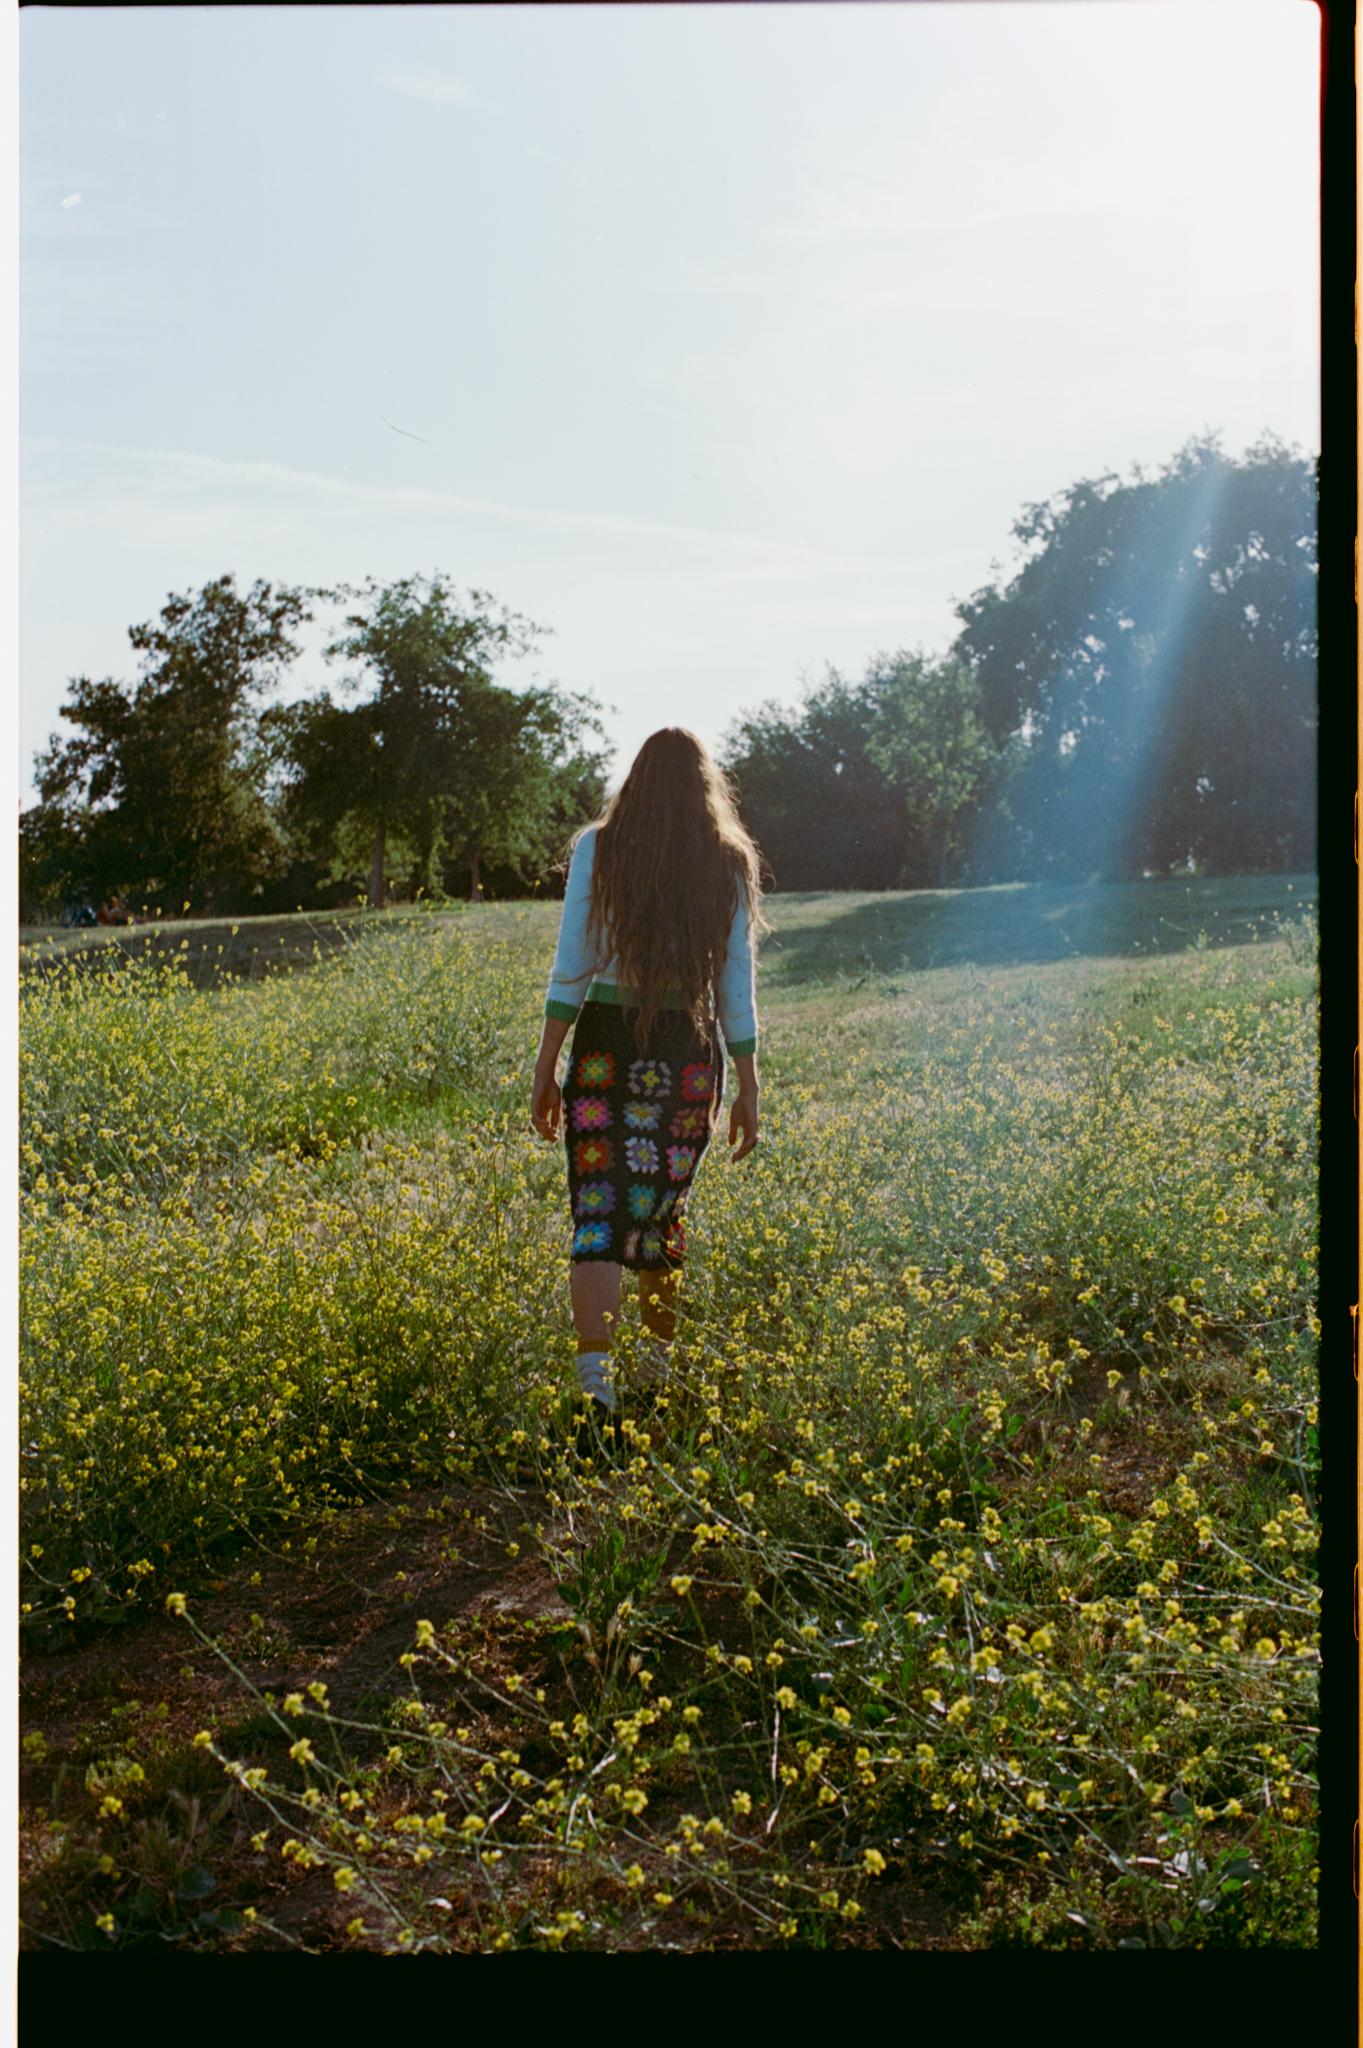
This film has a lot of green cast in it, and it can render red very well. They look like old film, the color reminds me of old travel photos my parents took when I was a kid. So, if you are into the vintage nostalgic tone, you can give this film a try.
OVERALL
To be honest, I don’t see myself shooting a lot of this film. I don’t shoot a whole lot of 100 speed film to begin with. When I was in Miami, one night we were eating at this cute diner, I was trying to take a shot of the neon sign, without a tripod, it’s just not doable. That’s why for everyday casual photos, I’d rather use 400 speed films…
I think this is really for people who like the vintage old film look and only planning to shoot during bright daytime or using flashlight.
Also, this used to be a cheaper film option, when KODAK’s price skyrocketed. As of the time I’m making this video, the film price cooled down quite a bit, the more consumer-level film like Kodak Gold 200 and the Ultramax 400 are around $11 per roll. Price-wise, respooled film lost the advantage… but it’s always good to have more options, it’s always fun to try something different, right?
Alright, thanks to Reflx Lab again for sending me these films to test out. This is it for this week’s video, hope you enjoy it. Click that subscribe button for more Sam tries photography stuff videos. This is Sam, I’ll see you next time. Bye.


Leave a comment