Hey everyone, it’s Sam! Today, we’re testing out the Cinestill 50D with our model, Huihui. I’ve been eagerly anticipating shooting with this film. Unlike the previous shoot, this time I scanned all my films by myself, which was a very interesting learning curve. Let’s dive in!

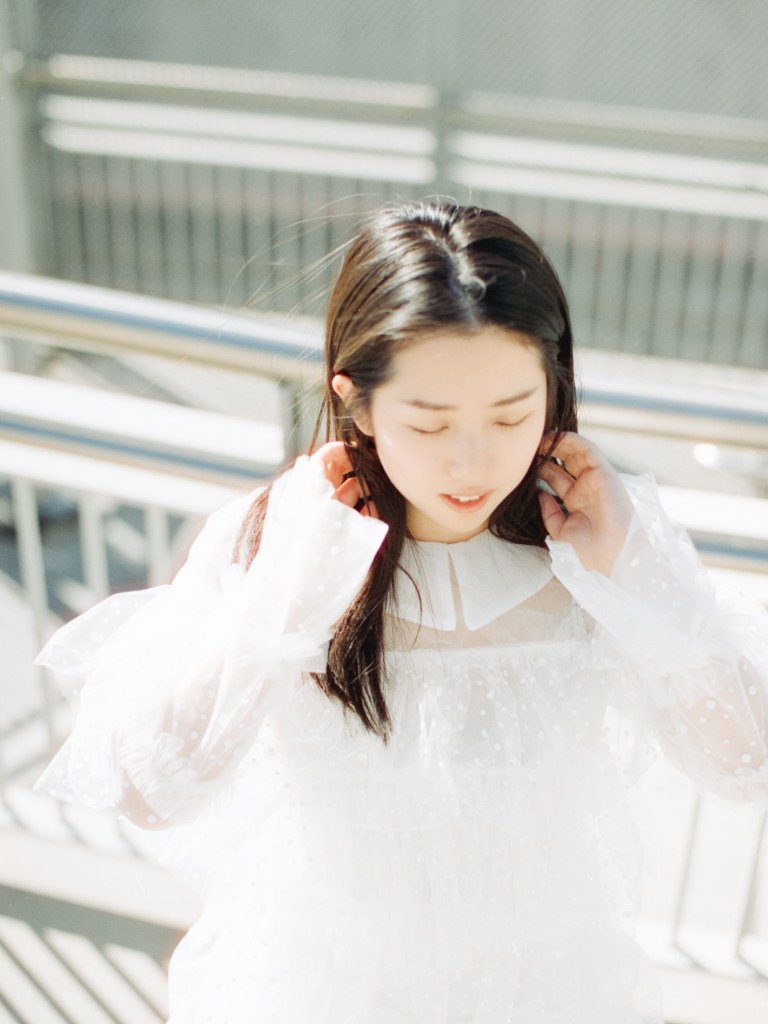
I used to prefer shooting in the shade for its softer light, resulting in softer skin tones. However, since starting to shoot film, I’ve realized the importance of shooting in the sun.
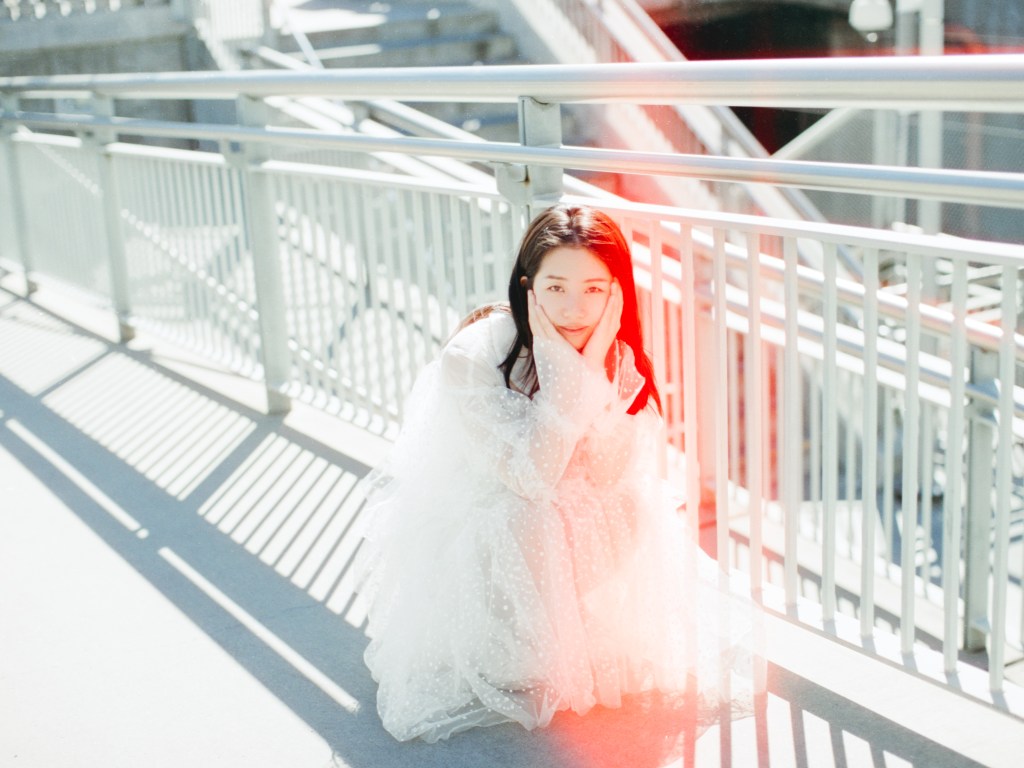
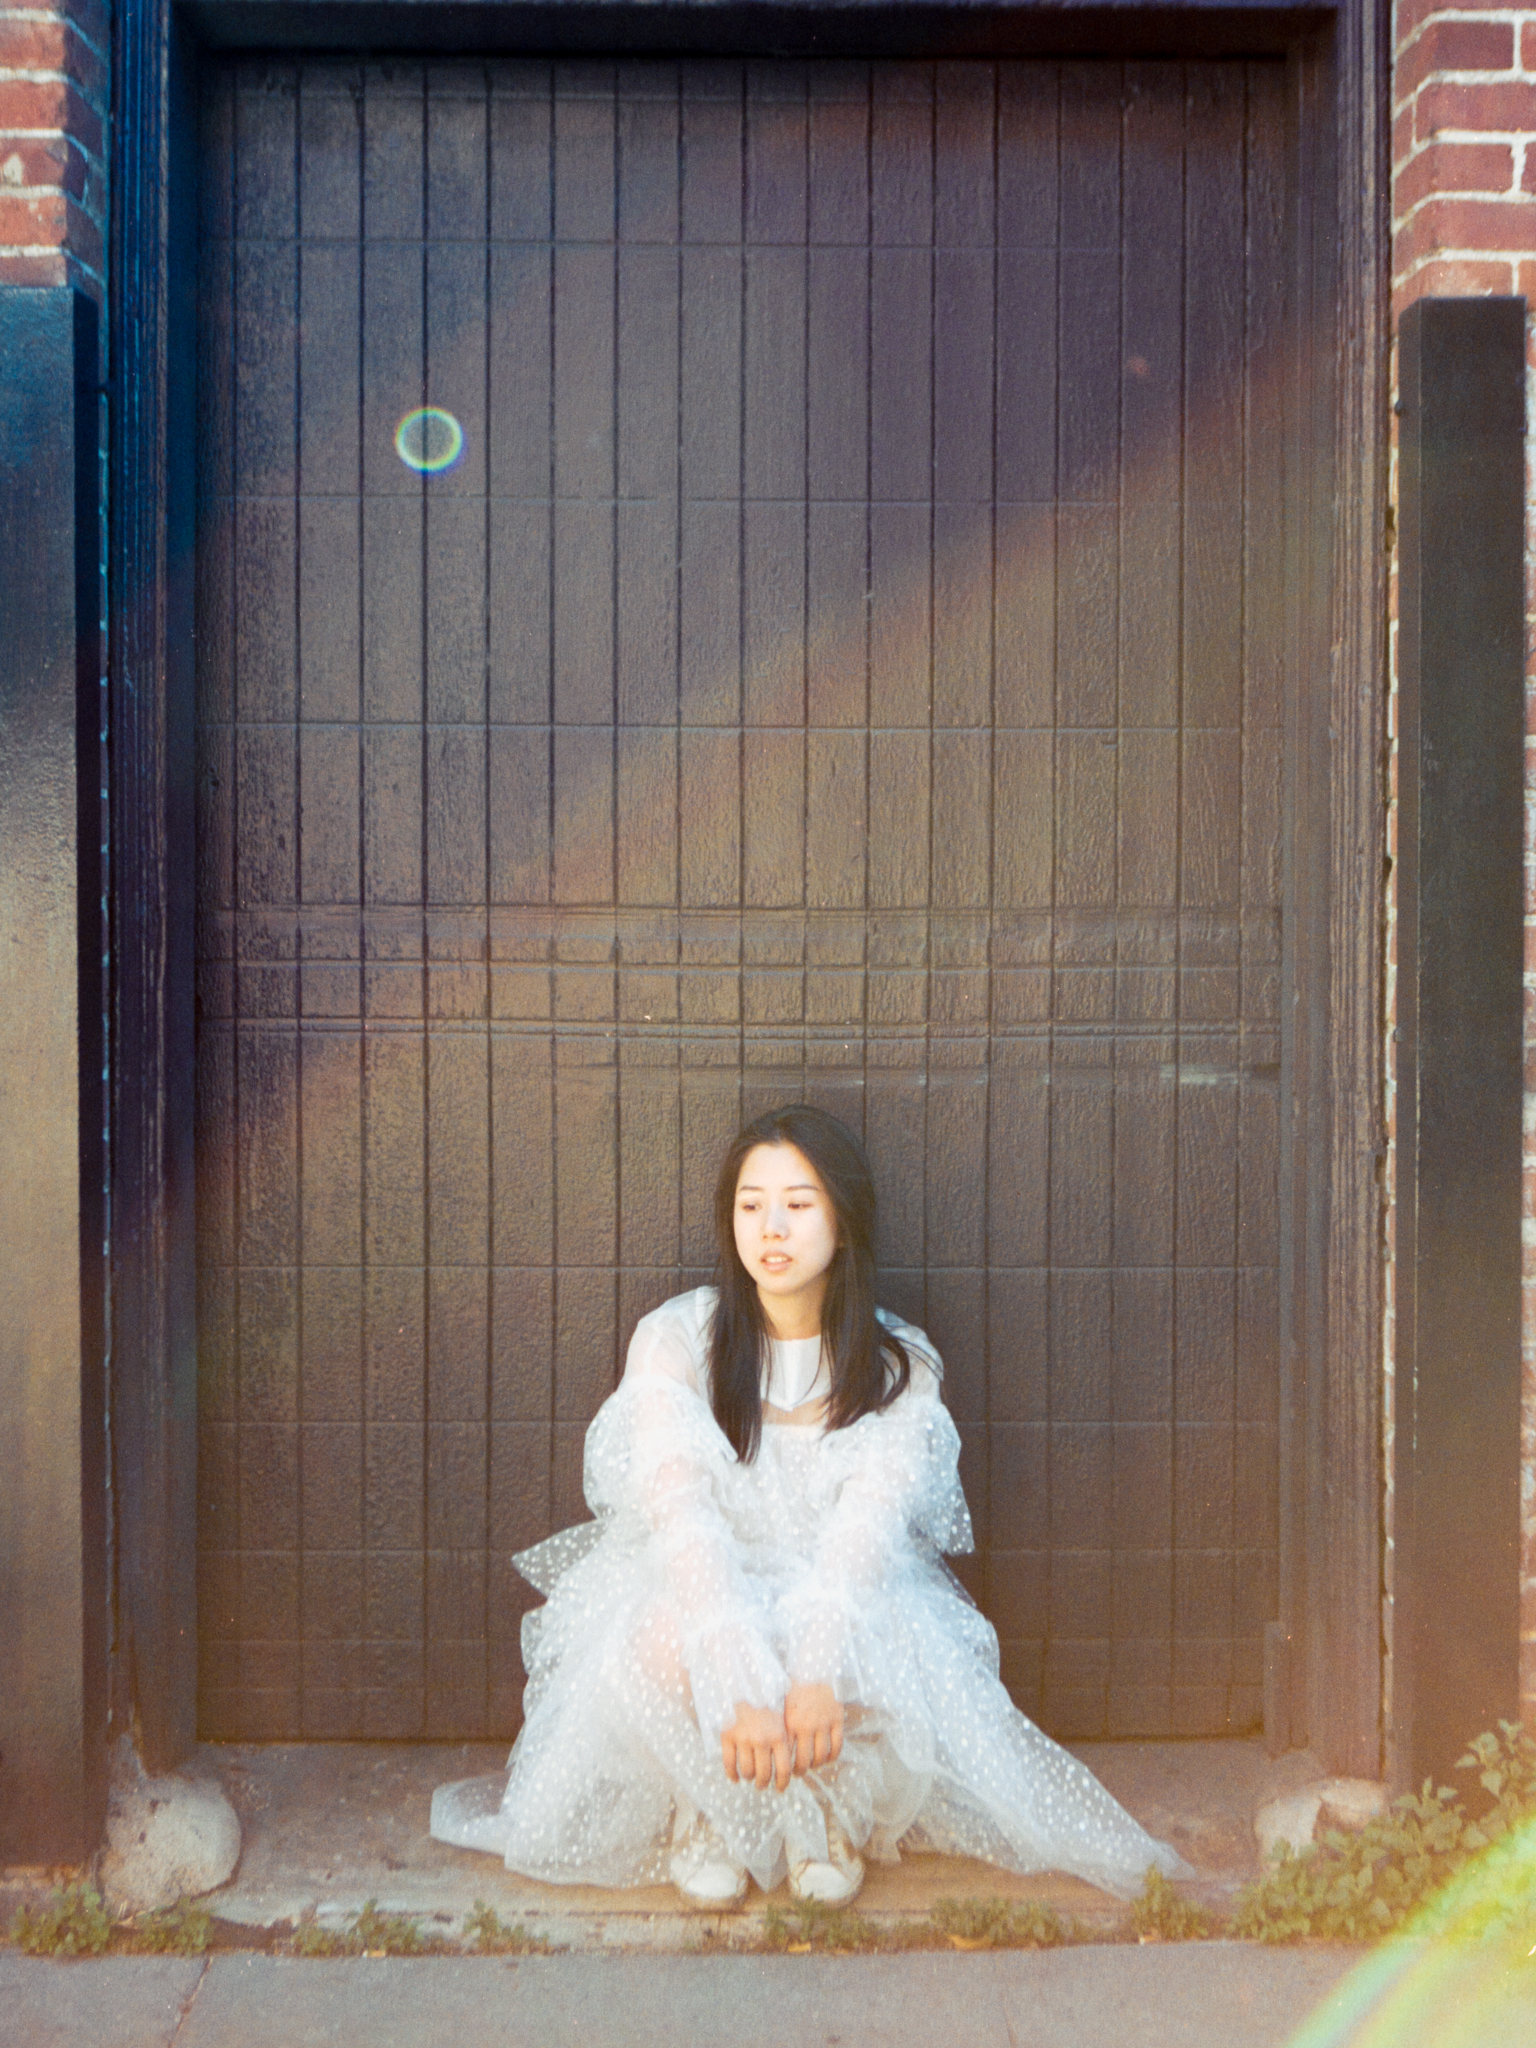
Around 3 pm one afternoon, I finally got to try out the long-awaited Cinestill 50D. A few weeks ago, I tried the Cinestill 800T, and you can check out that video on my channel as well. I had been looking forward to trying the 50D, knowing that halation is a prominent feature of this film. I purposely chose to wear a white dress, hoping to capture some glow.
On my first shot, I experienced a light leak, but only in that one shot. It couldn’t have been my camera, and the film was fresh, so it wasn’t my fault, right? It turned out to be a common issue known as “light piping.” This type of light leak can be caused by various factors, such as film packaging or loading errors. Cinestill being a more sensitive type of film, the chances of getting light piping are higher. I should have been more careful; it says on the box, “load in subdued light,” but I didn’t read it. So, I guess it’s still my fault then?
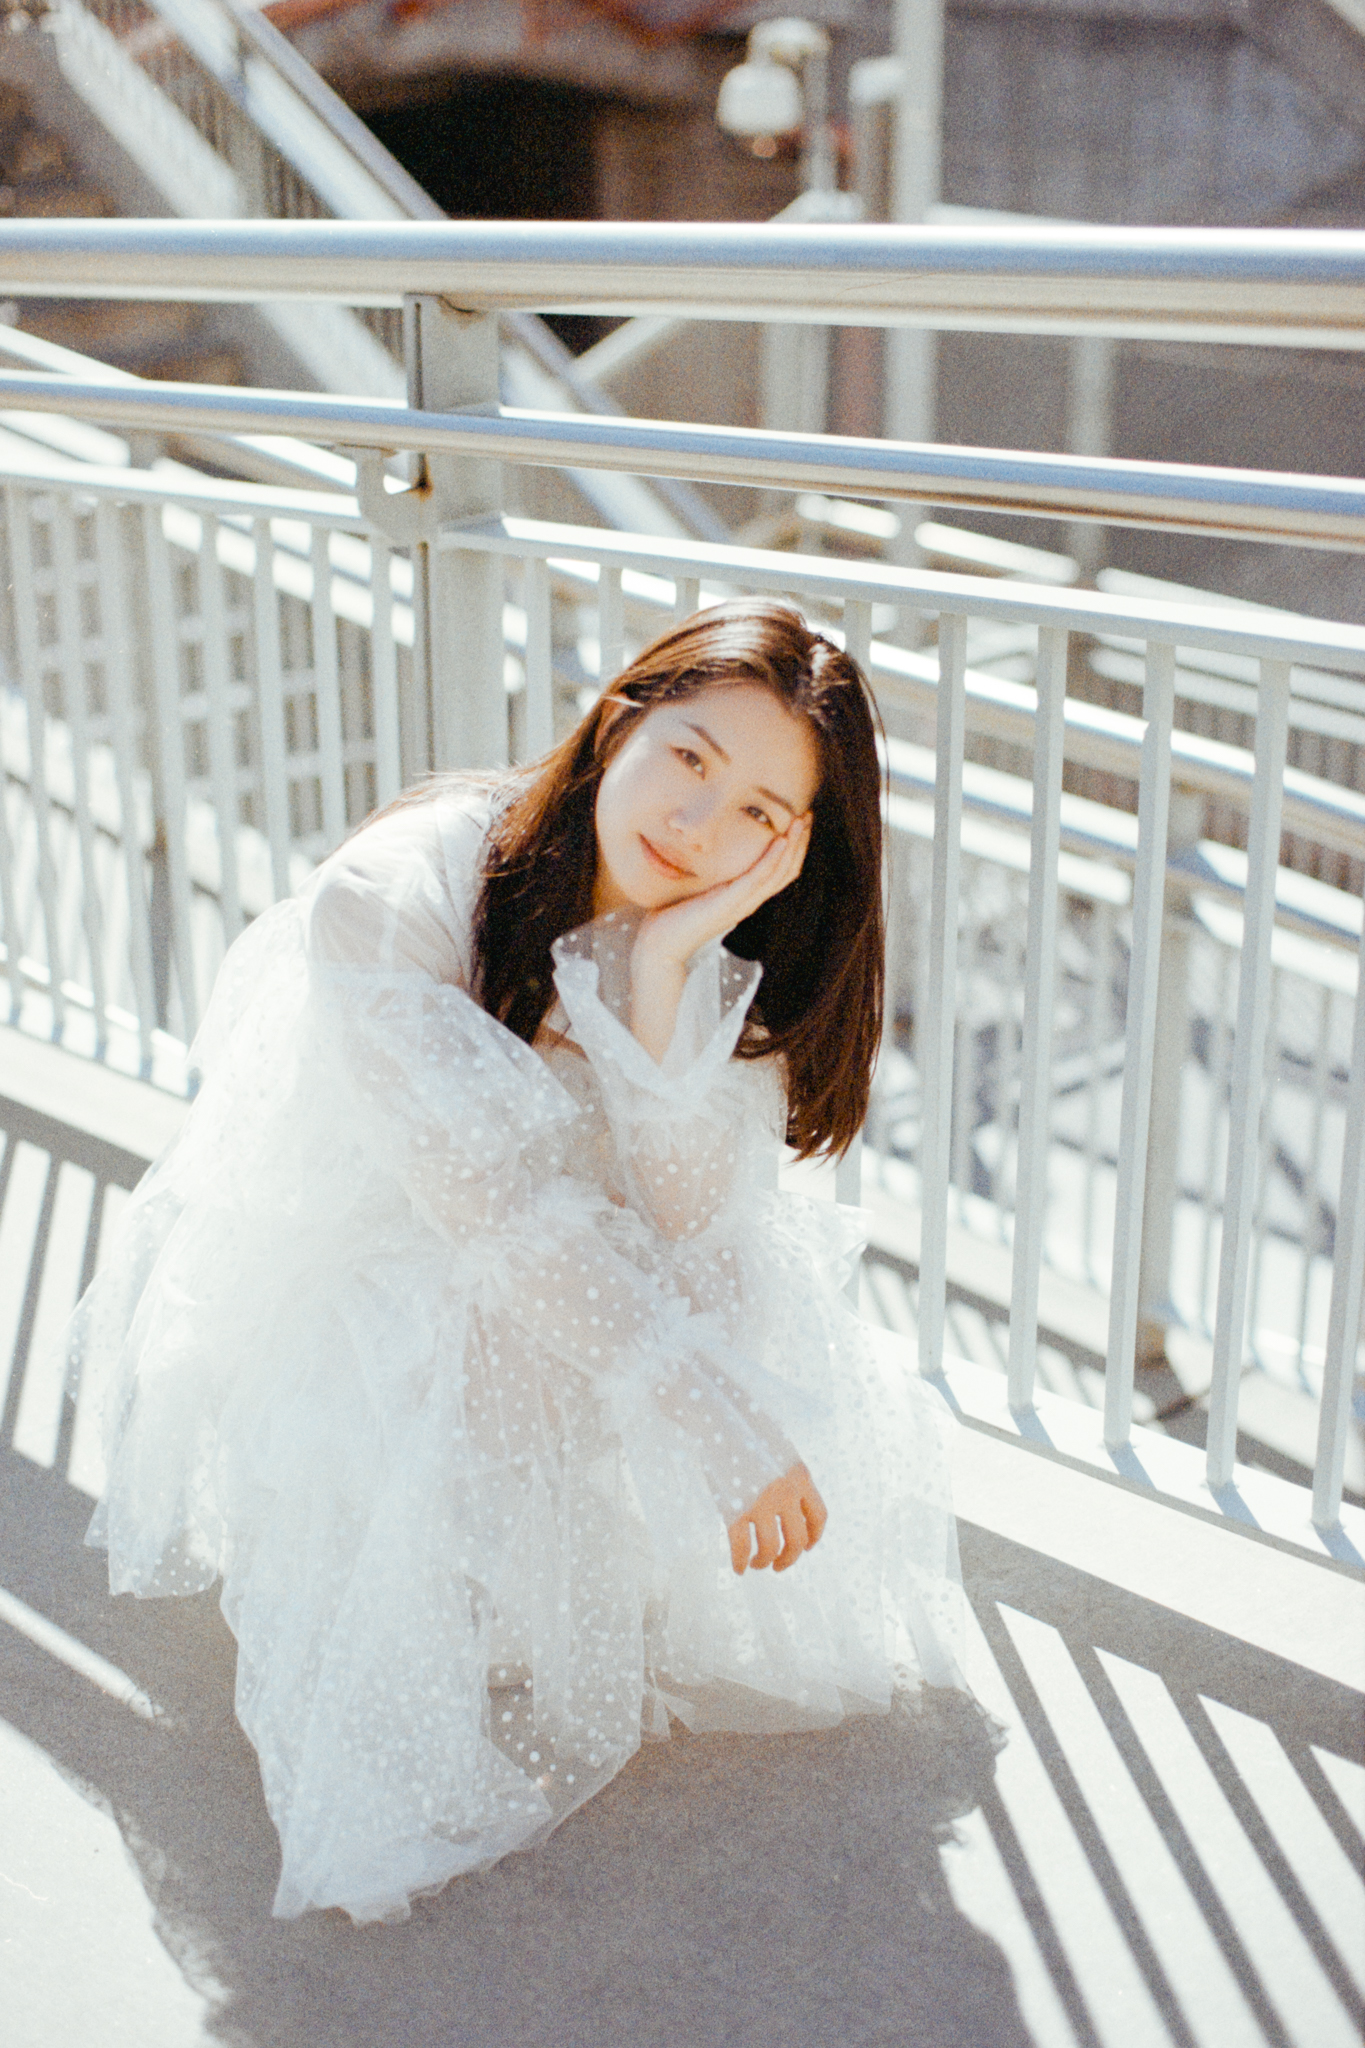

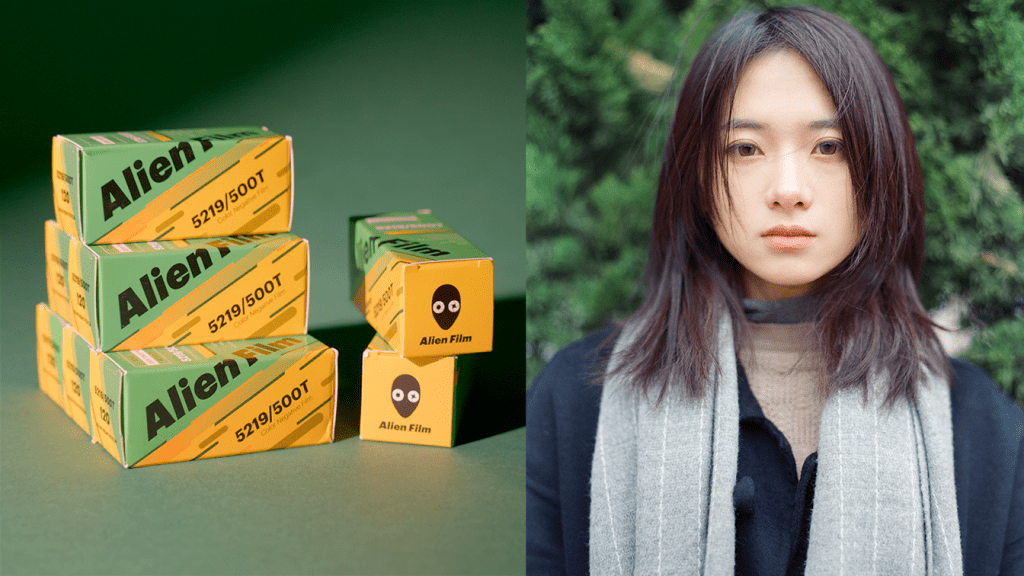
As I scanned the films, I immediately noticed how much finer the grain is compared to other films. It’s so fine that it almost looks fake. As Photography 101 teaches us, lower ISO means less grain. To illustrate the difference, here’s how Kodak ColorPlus looks at the same spot. Again, same camera, same scanning settings. 200 ISO vs. 50 ISO, and also expired film vs. fresh film. You see what I mean; this whole expired thing makes the experiment complicated.
Since it’s a daylight-balanced film, and I was aiming for the Cinestill halation effect, most of these shots were taken in direct sunlight. I was pleasantly surprised by how well it handled the contrast between light and shadow.


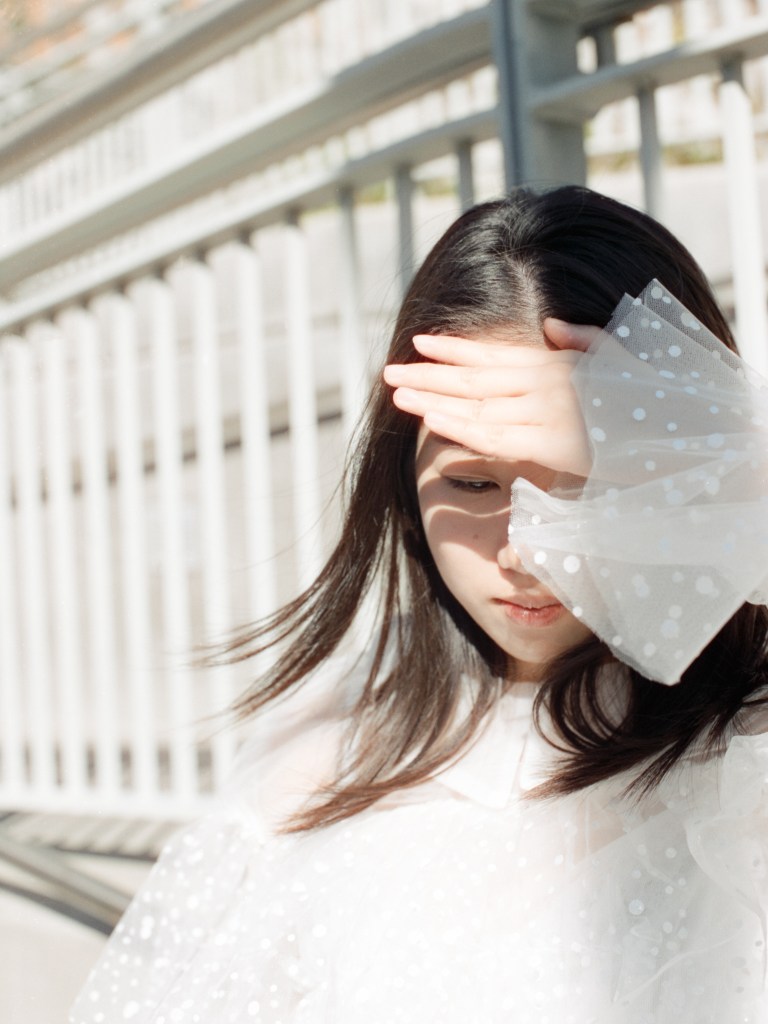


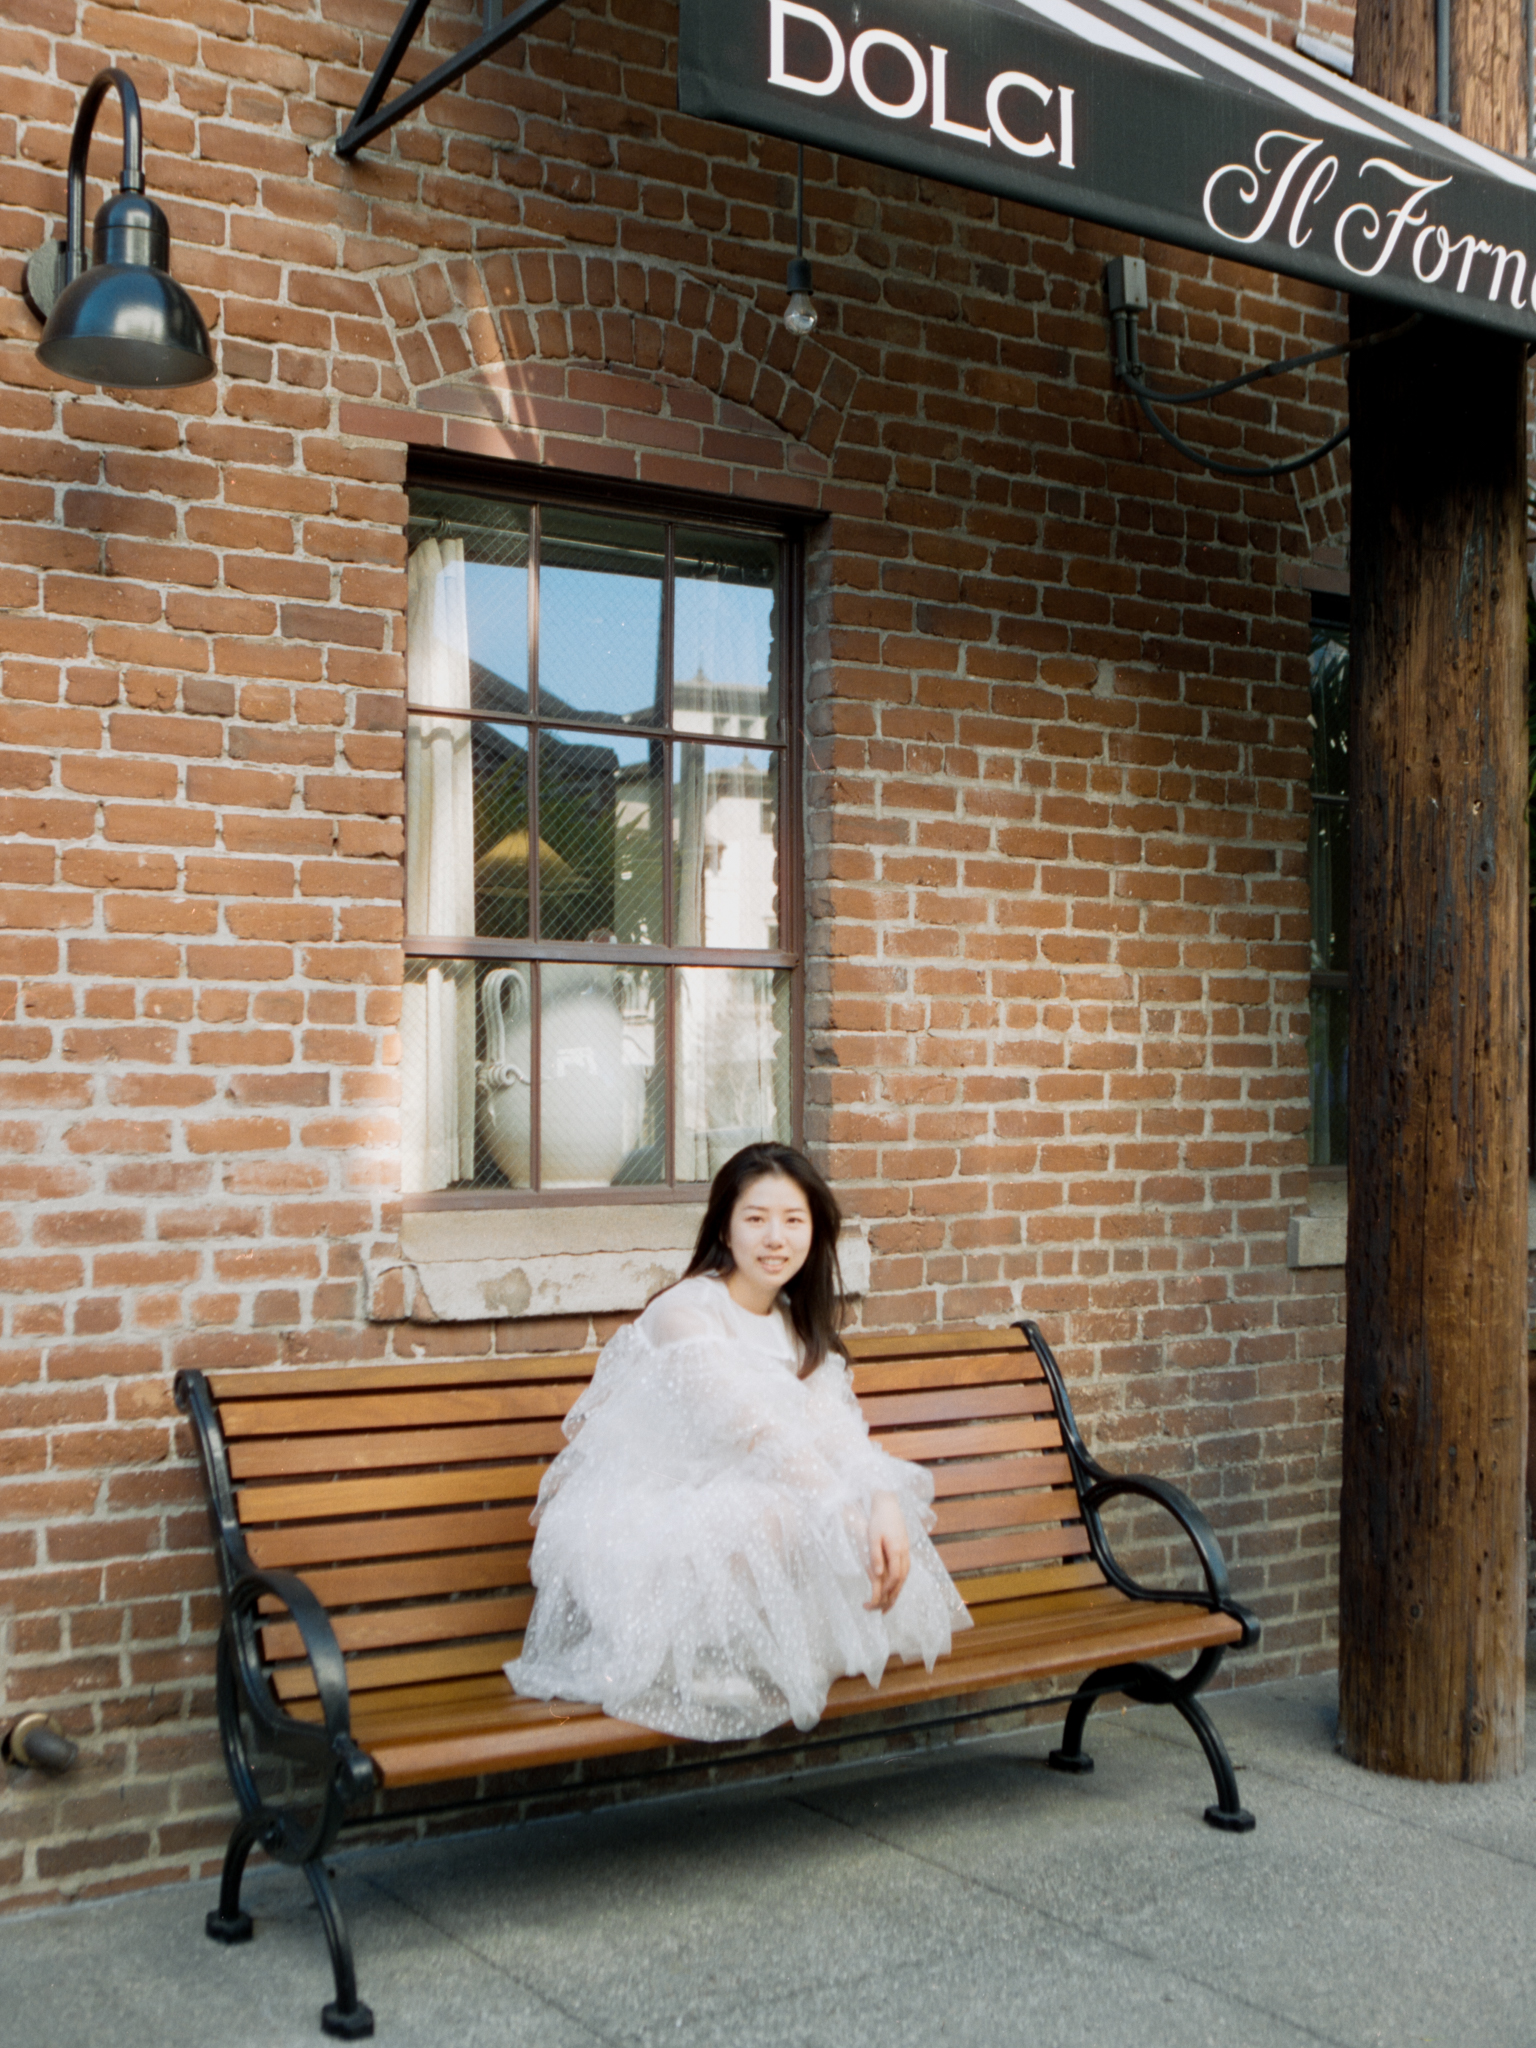
I did manage to capture some nice red glow in some shots. One thing I forgot when shooting at this location is that the halation effect typically appears when the light source is against a dark background. Since the background here was well-lit, we later searched for more contrasty lighting situations.


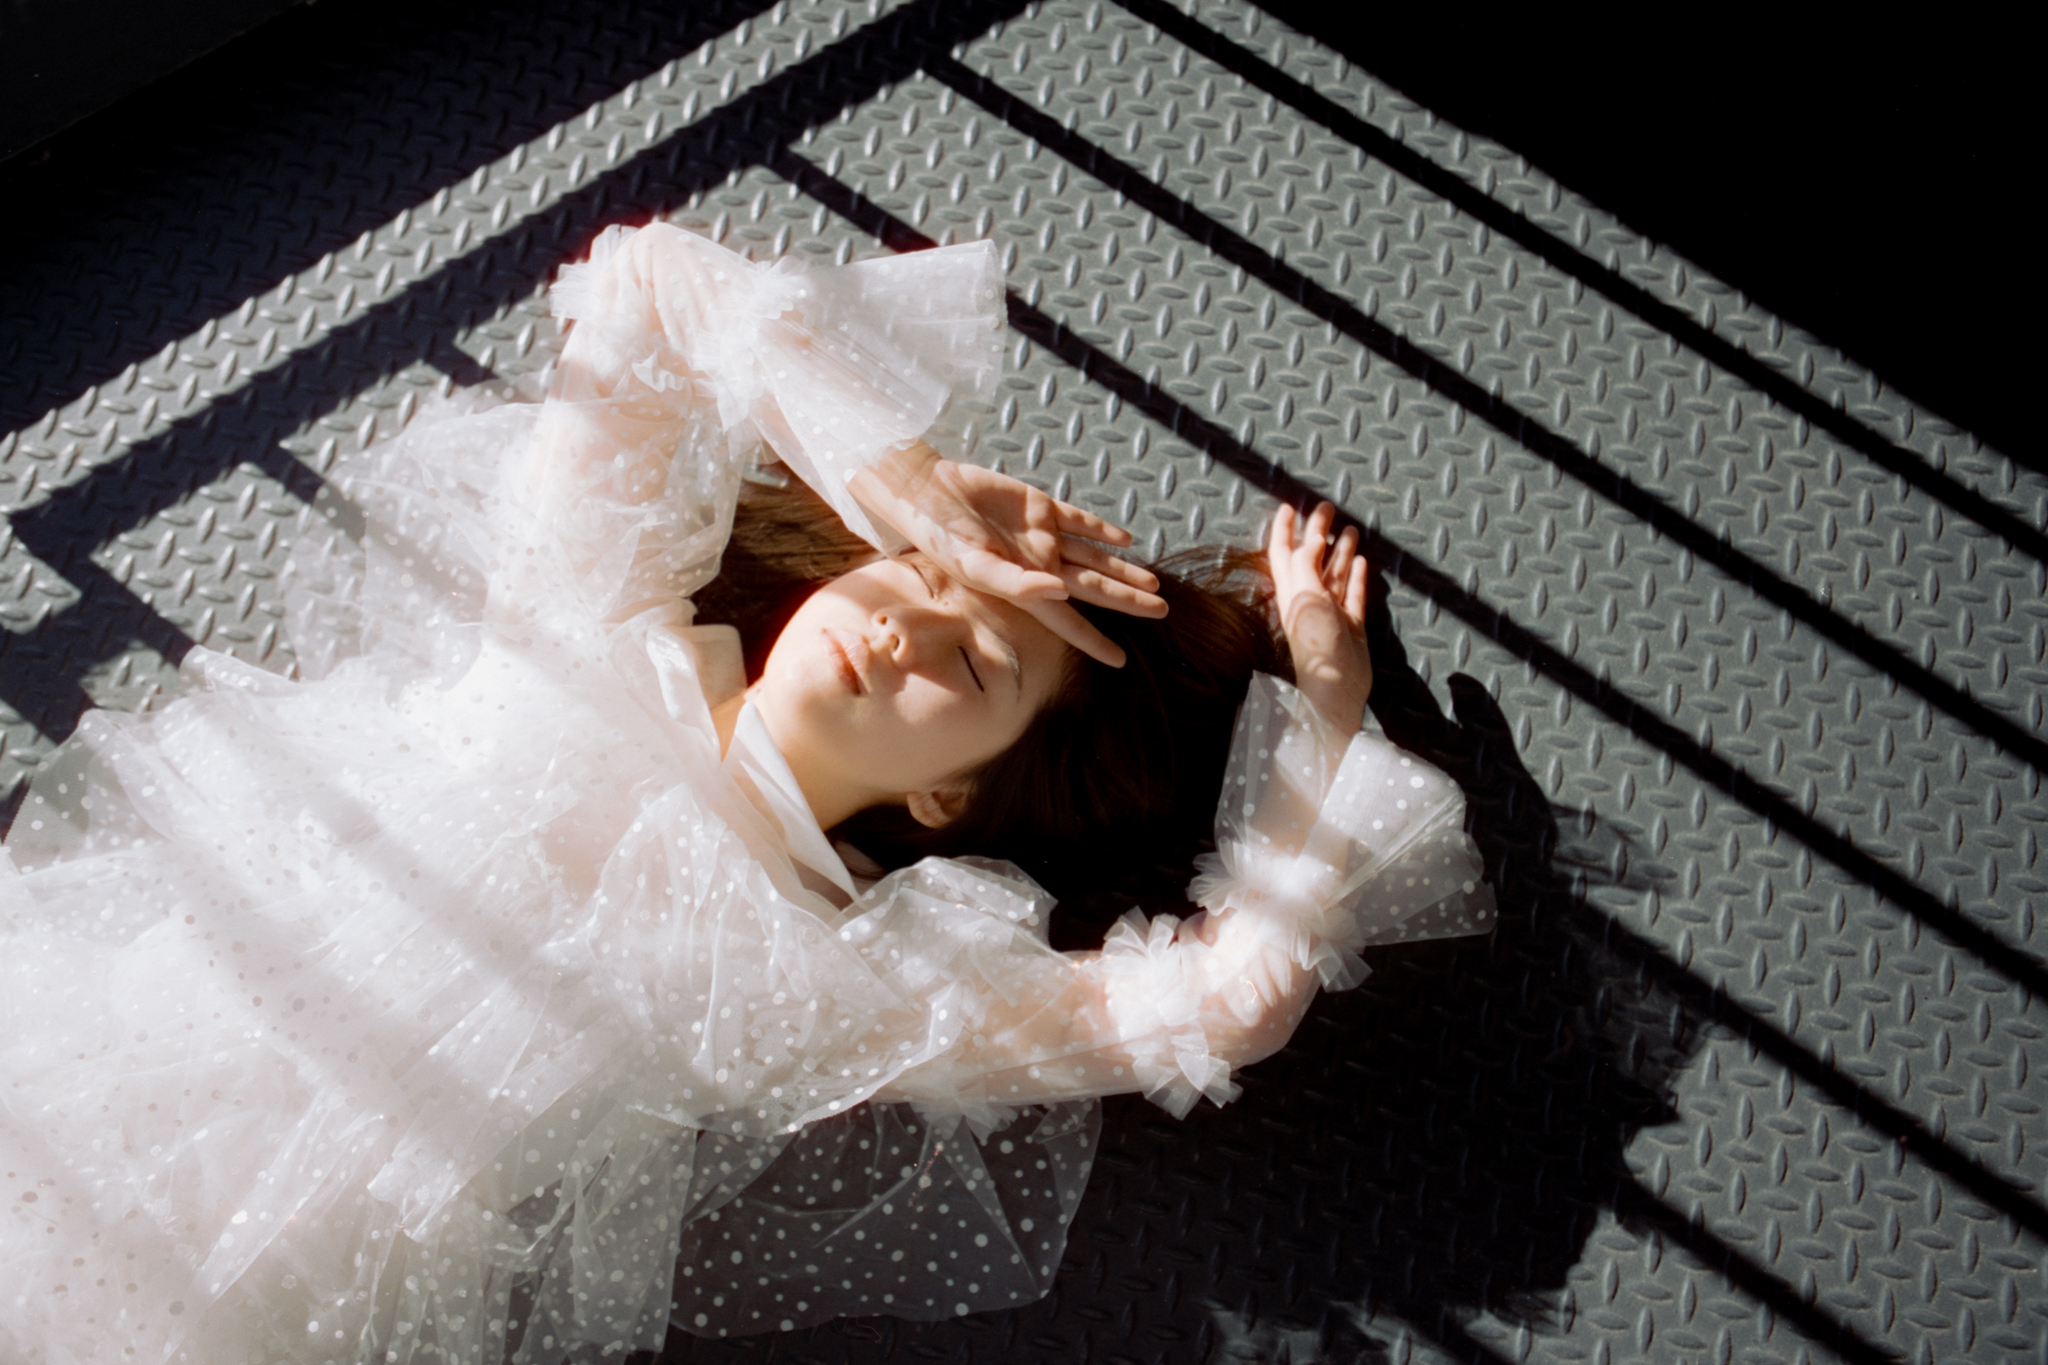

We tried shooting in shade, backlight with lens flares, direct sunlight but not against a dark background, and direct sunlight against a dark background. We were very close with one shot that had nice strong contrast light, almost there! I particularly like the last shot; it might be one of my favorites.
My journey with the Cinestill 50D is far from over, but this entry is. I hope you enjoyed today’s rambling; shoutout to my friend Huihui for being very patient with me during this whole photoshoot.
I also recorded some behind-the-scenes footage to show you how I scan and edit these films, but that will have to be a separate video. So stay tuned, subscribe to my channel if you want to see me fumble through photography, film, content creating, and life. Subscribe! And like this video… like it, go like it, click that like button, now!! Please~
And… this is Sam from Captured by Sam. This name is starting to stick with me. I’ll see you next week.


Leave a comment