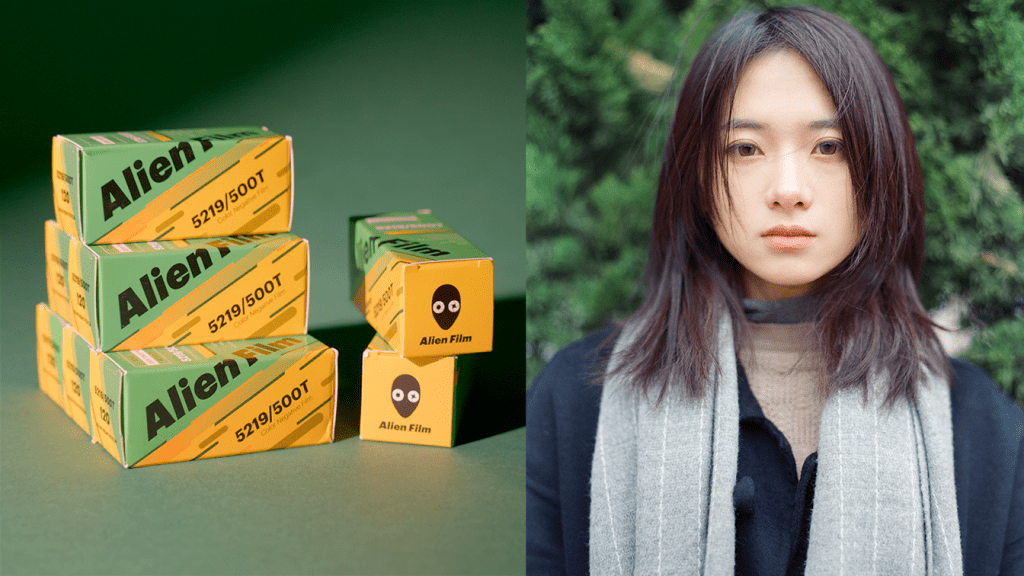
Hey guys, this is Sam, welcome back to another episode of “If you haven’t tried this film, you are not a real film photographer”… So they say. Who are they? I don’t know… the internet. Today, we are shooting slide film for the first time!
So when I say “if you haven’t tried THIS FILM,” I don’t mean Kodak E100 specifically. I mean slide film!! Positive film, color transparency film, color reversal film. Sadly, there are not a whole lot of slide films on the market anymore. The E100 is the most accessible one; you can also find FujiChrome… if you can find it… So today, we are solely testing out the Kodak E100 color transparency film in 120 format.
I have never shot slide film before. Everything I’ve shot so far are the regular negative films, like your typical Portra, Ektar, Cinestills, any Ilford, and so on… Slide film is also known as reversal film. Instead of getting a negative sheet of film that you have to reverse to see the result, this kind of film produces positive images on a transparent base that can be viewed directly with a slide projector, or with a light table, or on your iPad.
I have been sitting with this film for a long time now. I read a lot about this film, I’ve seen a lot of photos shot on this film. I was waiting to get better at metering and everything to get it right, but you know what, I also have a feeling that I won’t nail it on the first try anyway. I will never learn until I try it~ Because, as we all know, slide film is much less forgiving, unlike most of the negative films, that have wide latitude and can handle whatever exposure. With slide film, you gotta be precise with your exposure to get it right.
I shoot portraits a lot, and I always tend to overexpose the film to get nicer looking skin tone. But from my understanding, with slide film, you should rather underexpose it than overexpose it because it doesn’t retain highlights very well.
This is my mindset going in. I shot 2 rolls, and we’re going to look at the results together. We will talk about my scanning and editing process, and discuss my first-time experience with this film.
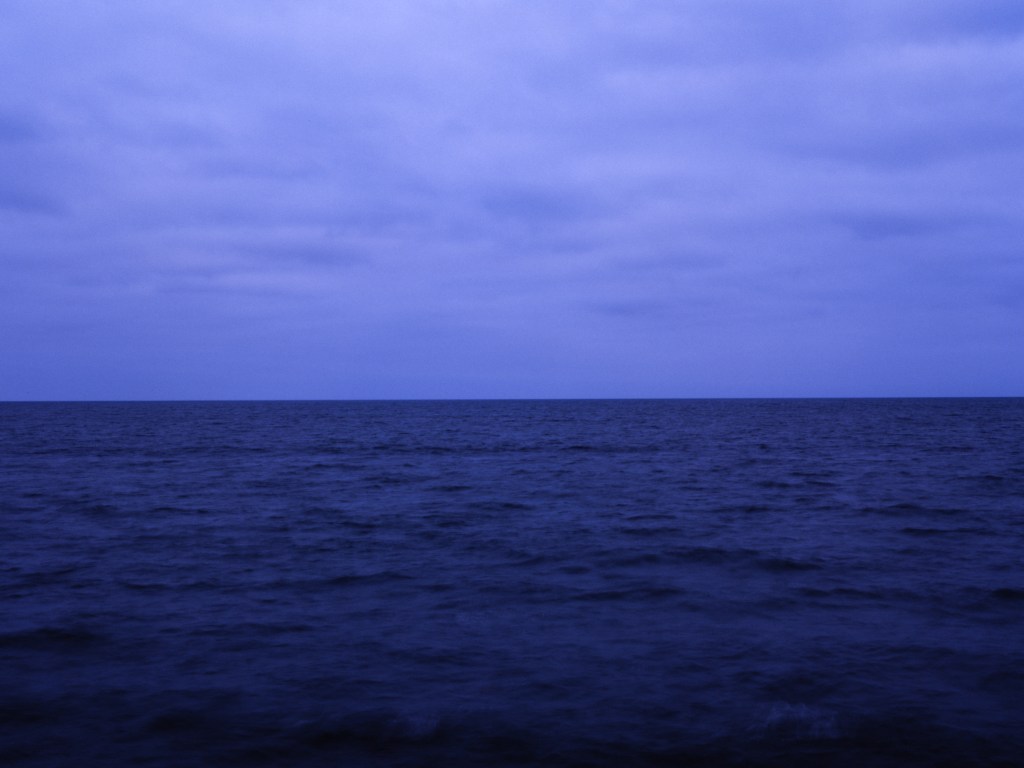
But by the time I got to the beach, the sun was completely gone!! I mean, we’re already here… so first of all, let’s shoot some slide film during a cold and cloudy day. What a wonderful start!!

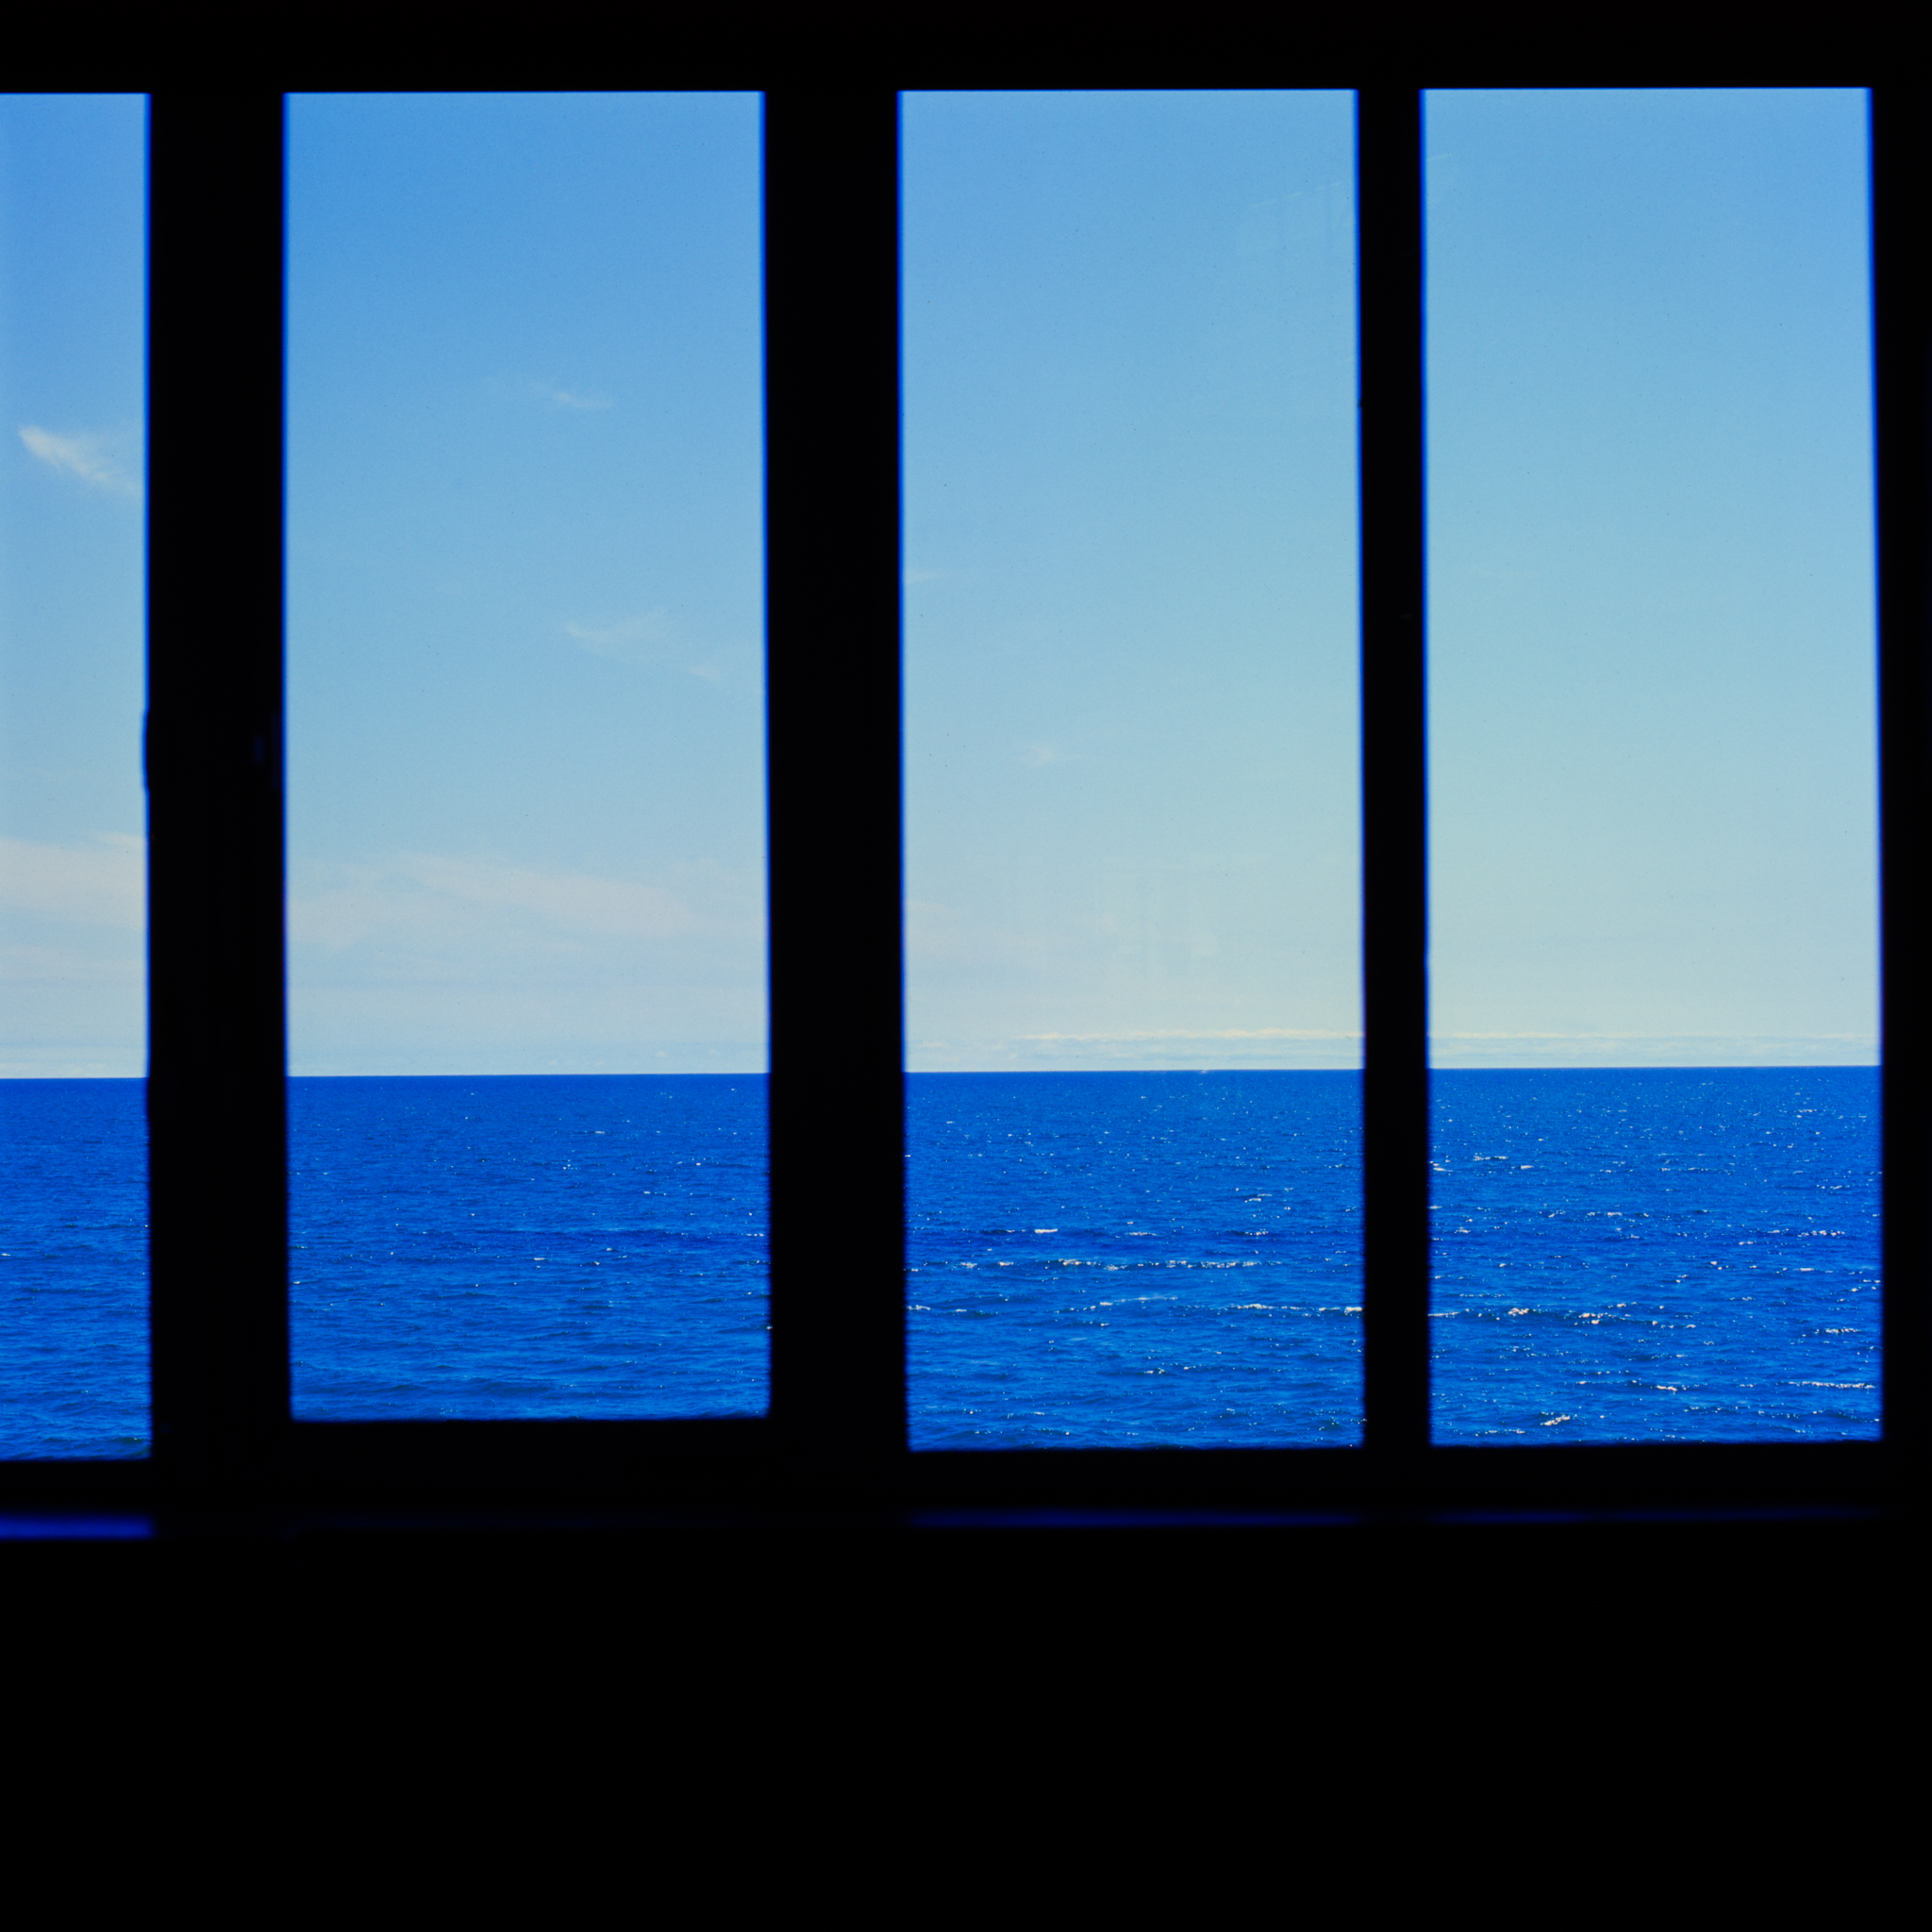
The first shot turned out very blue, in fact, the whole roll turned out pretty blue. For some shots, it just doesn’t look right.


The dynamic range of this film is so low… look at this shot, even with this very soft and even lighting, part of the highlight on his white suit is still almost gone.
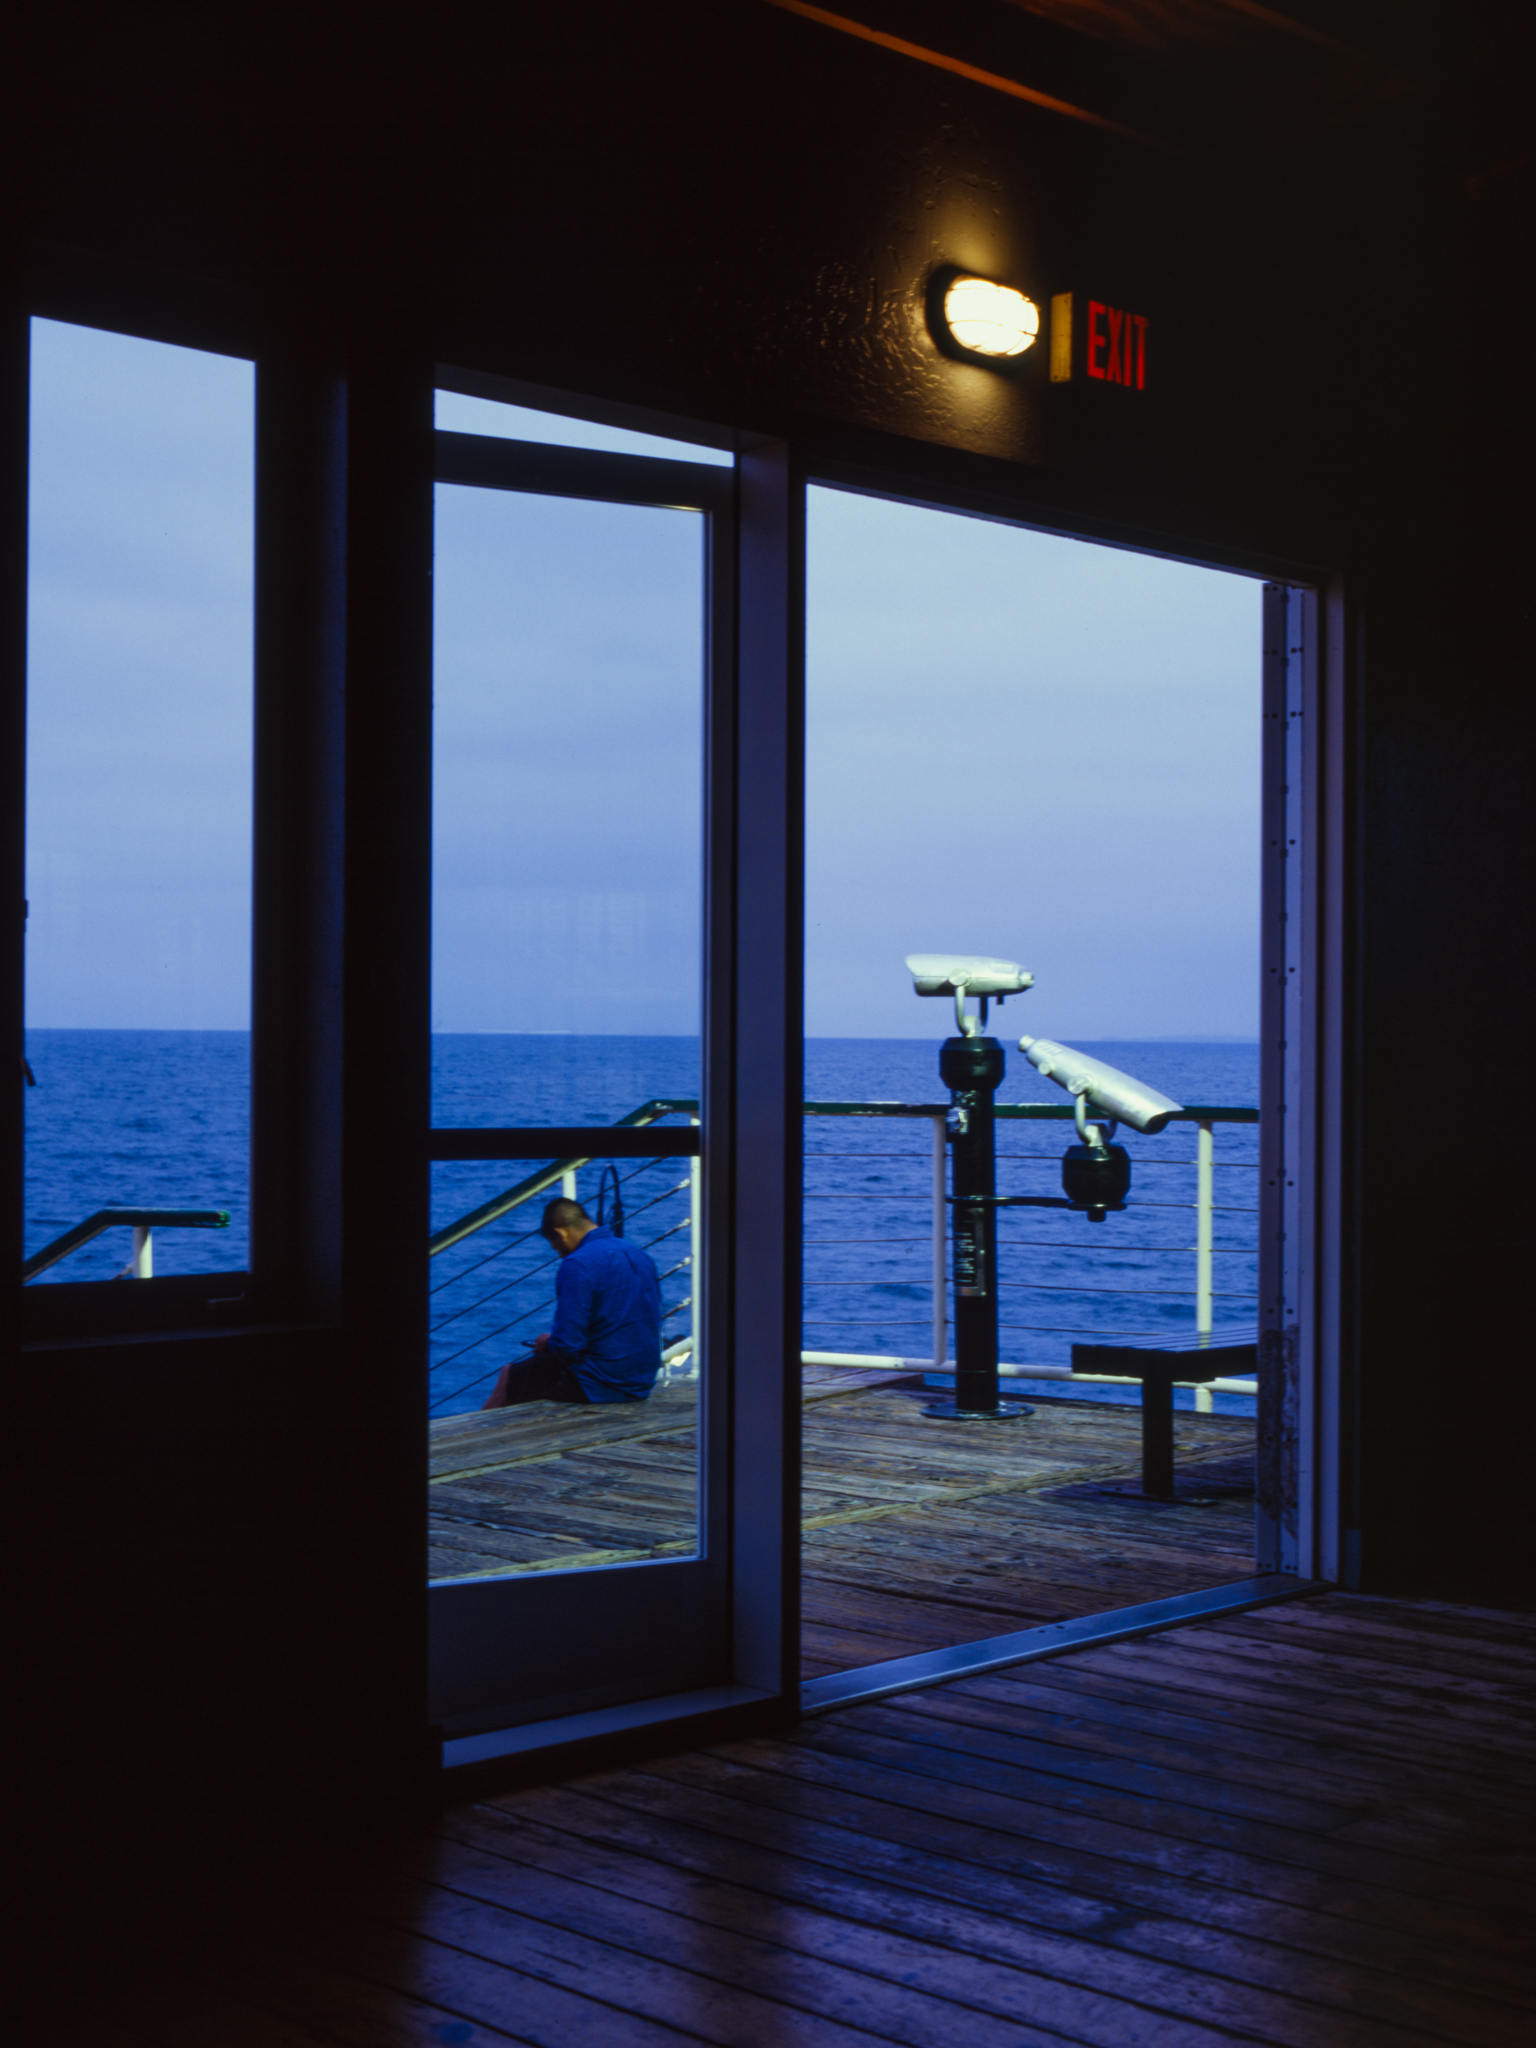
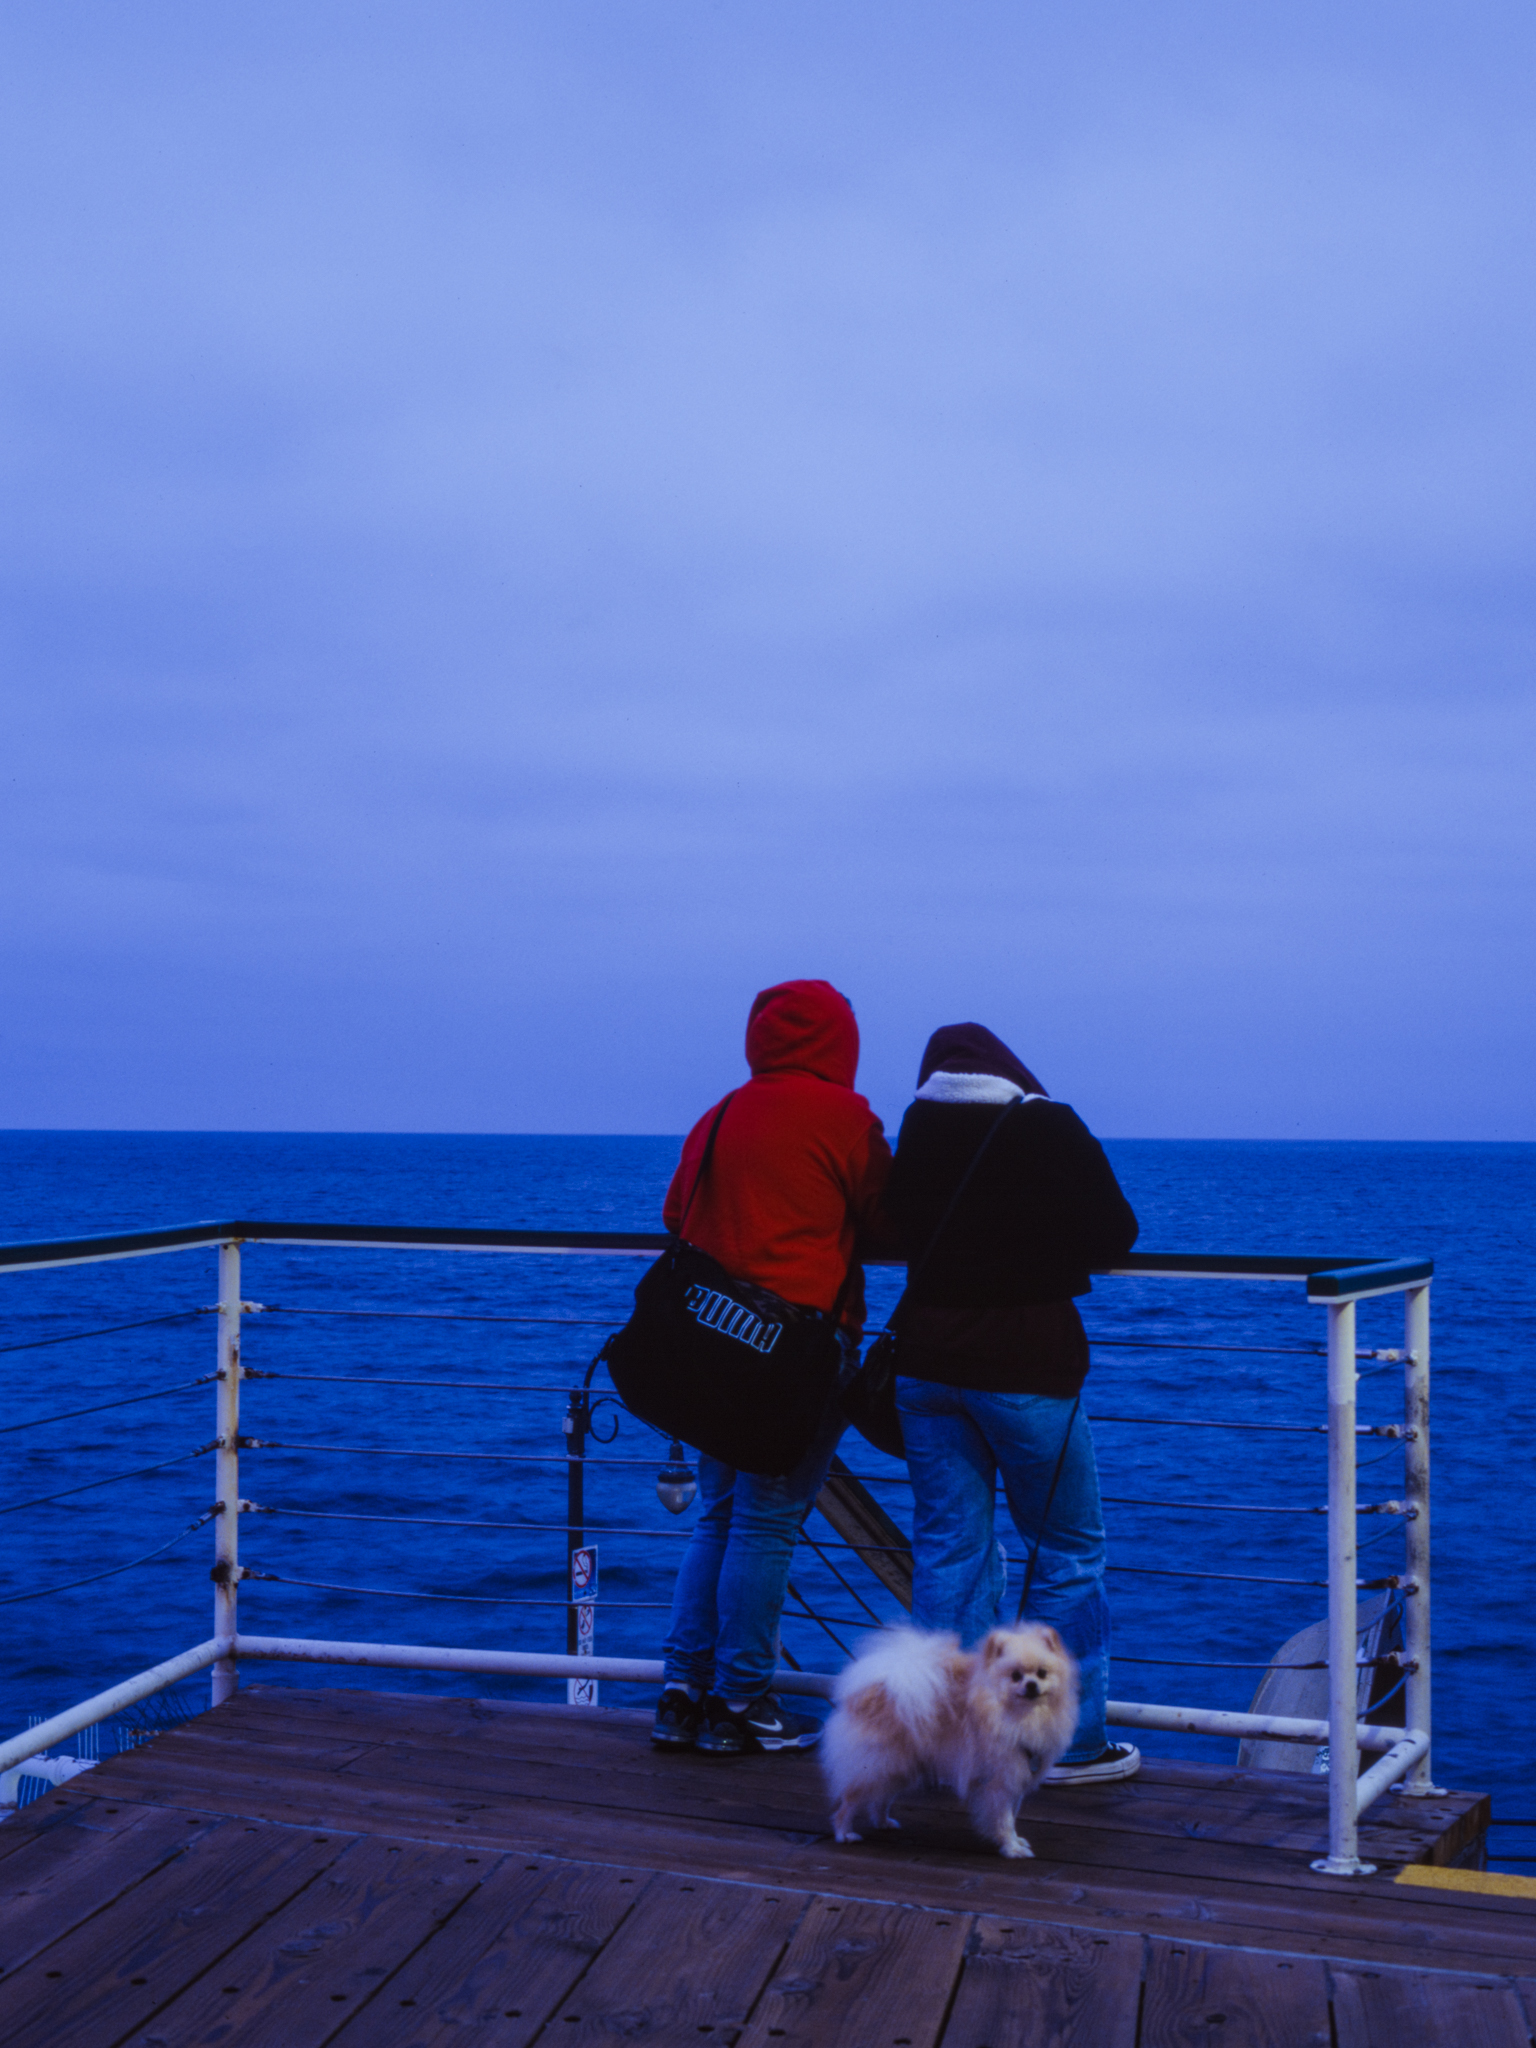
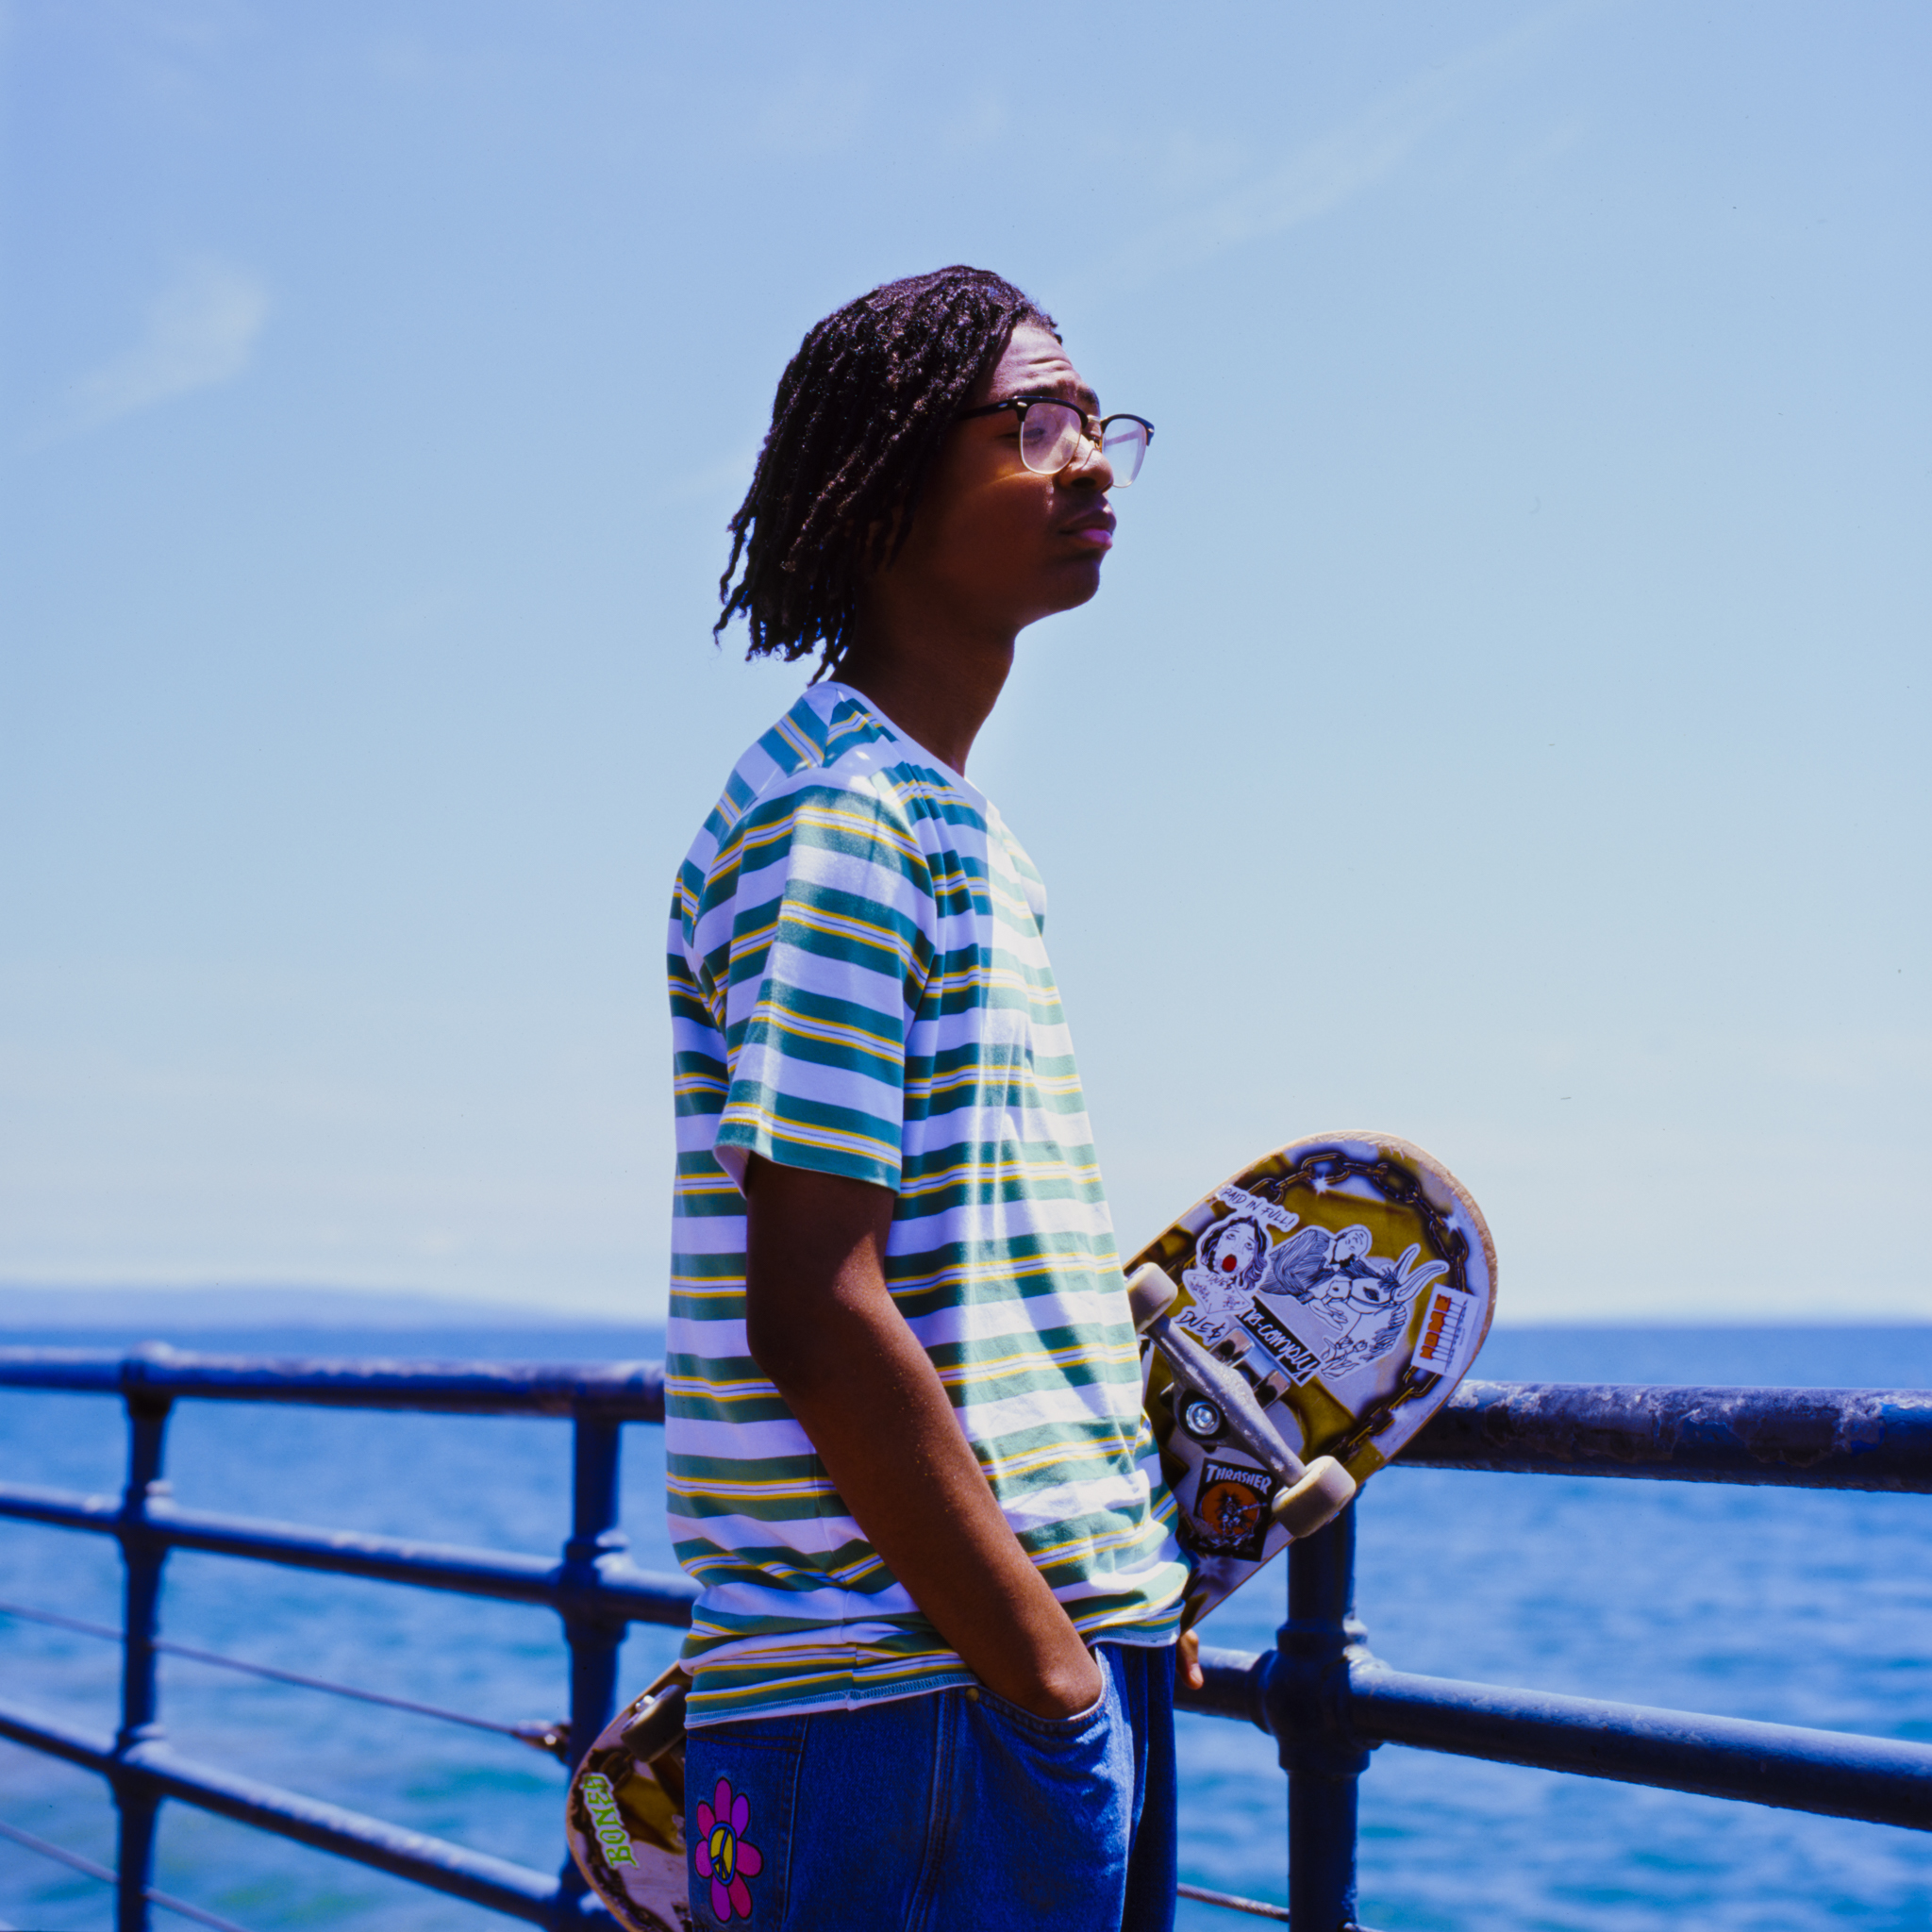
Now, after seeing the results, I think shooting E100 on an overcast day might not be a bad idea, because the light is pretty even and less contrasty, you are more likely to NOT blow out the highlights. However, this film provides such high saturation, just look at the red, blue, and yellow in this photo, it looks deep and rich. Especially the blue, this film renders blue in a whole other level.

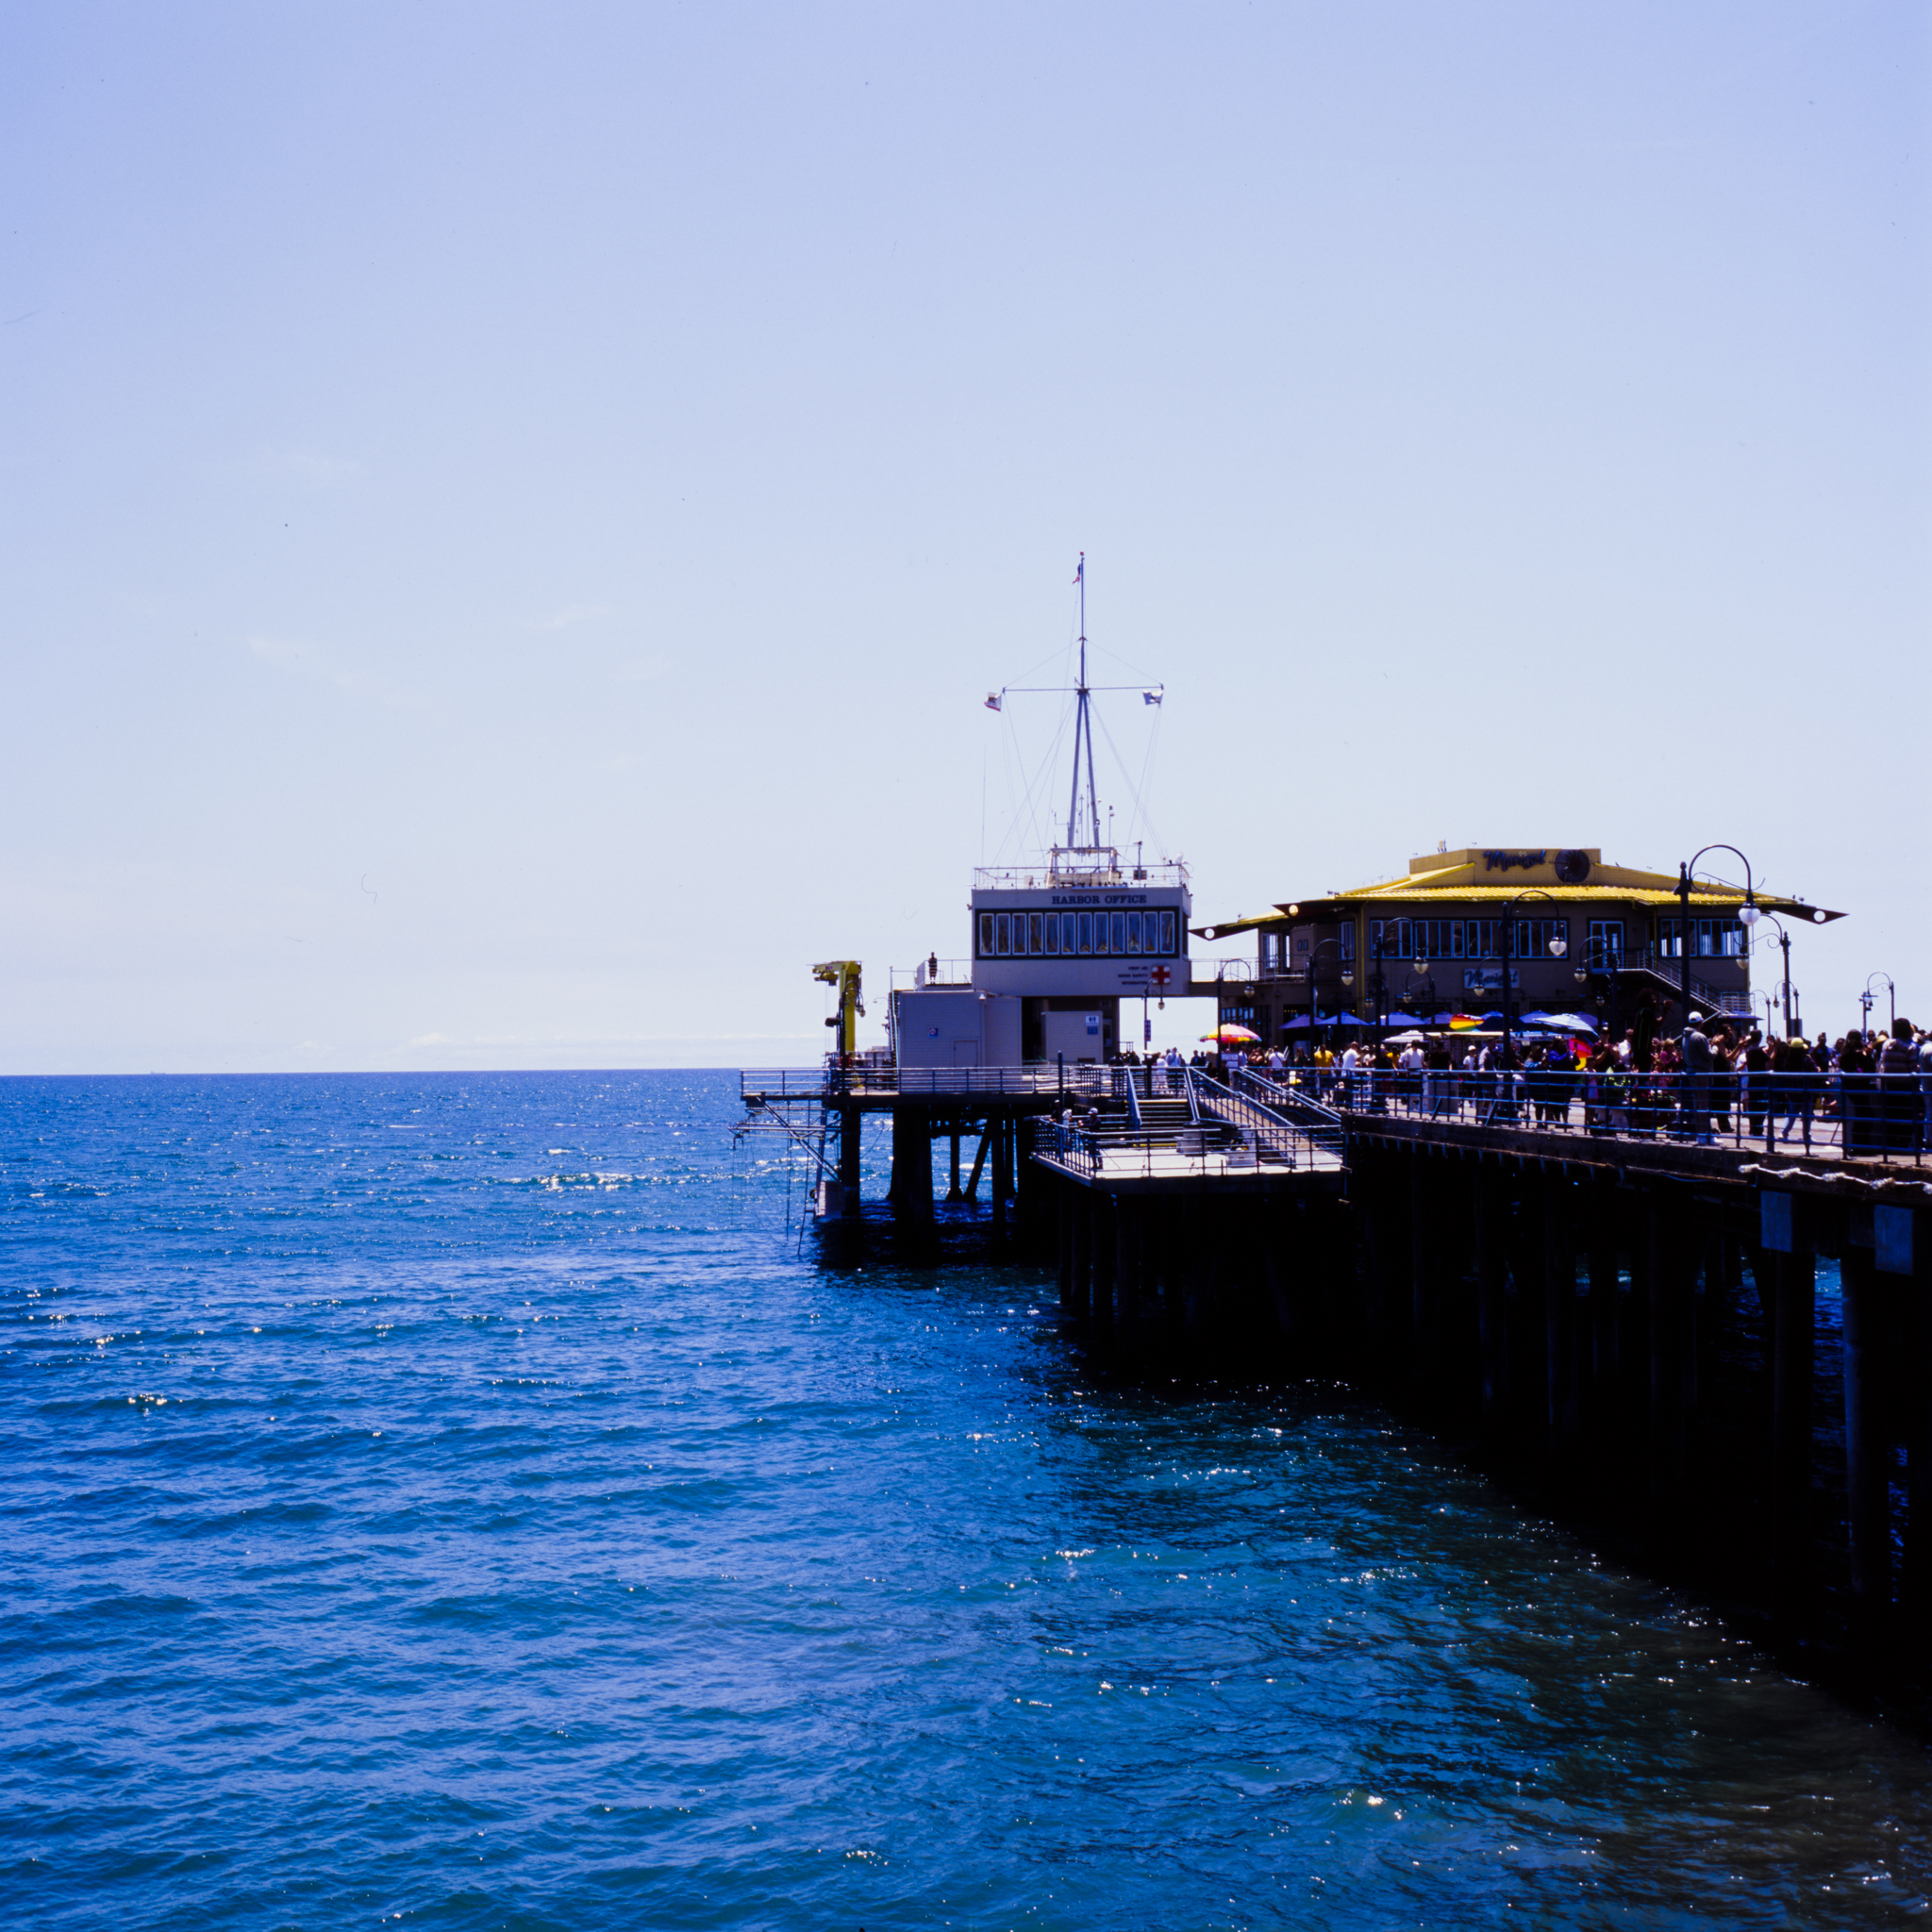
When the light ratio gets a little higher, you have to be careful what you expose for. This film has roughly 4 stops of dynamic range, so I heard, but I highly encourage you to run some tests yourself to find out the limitation between the highlight and the shadow.


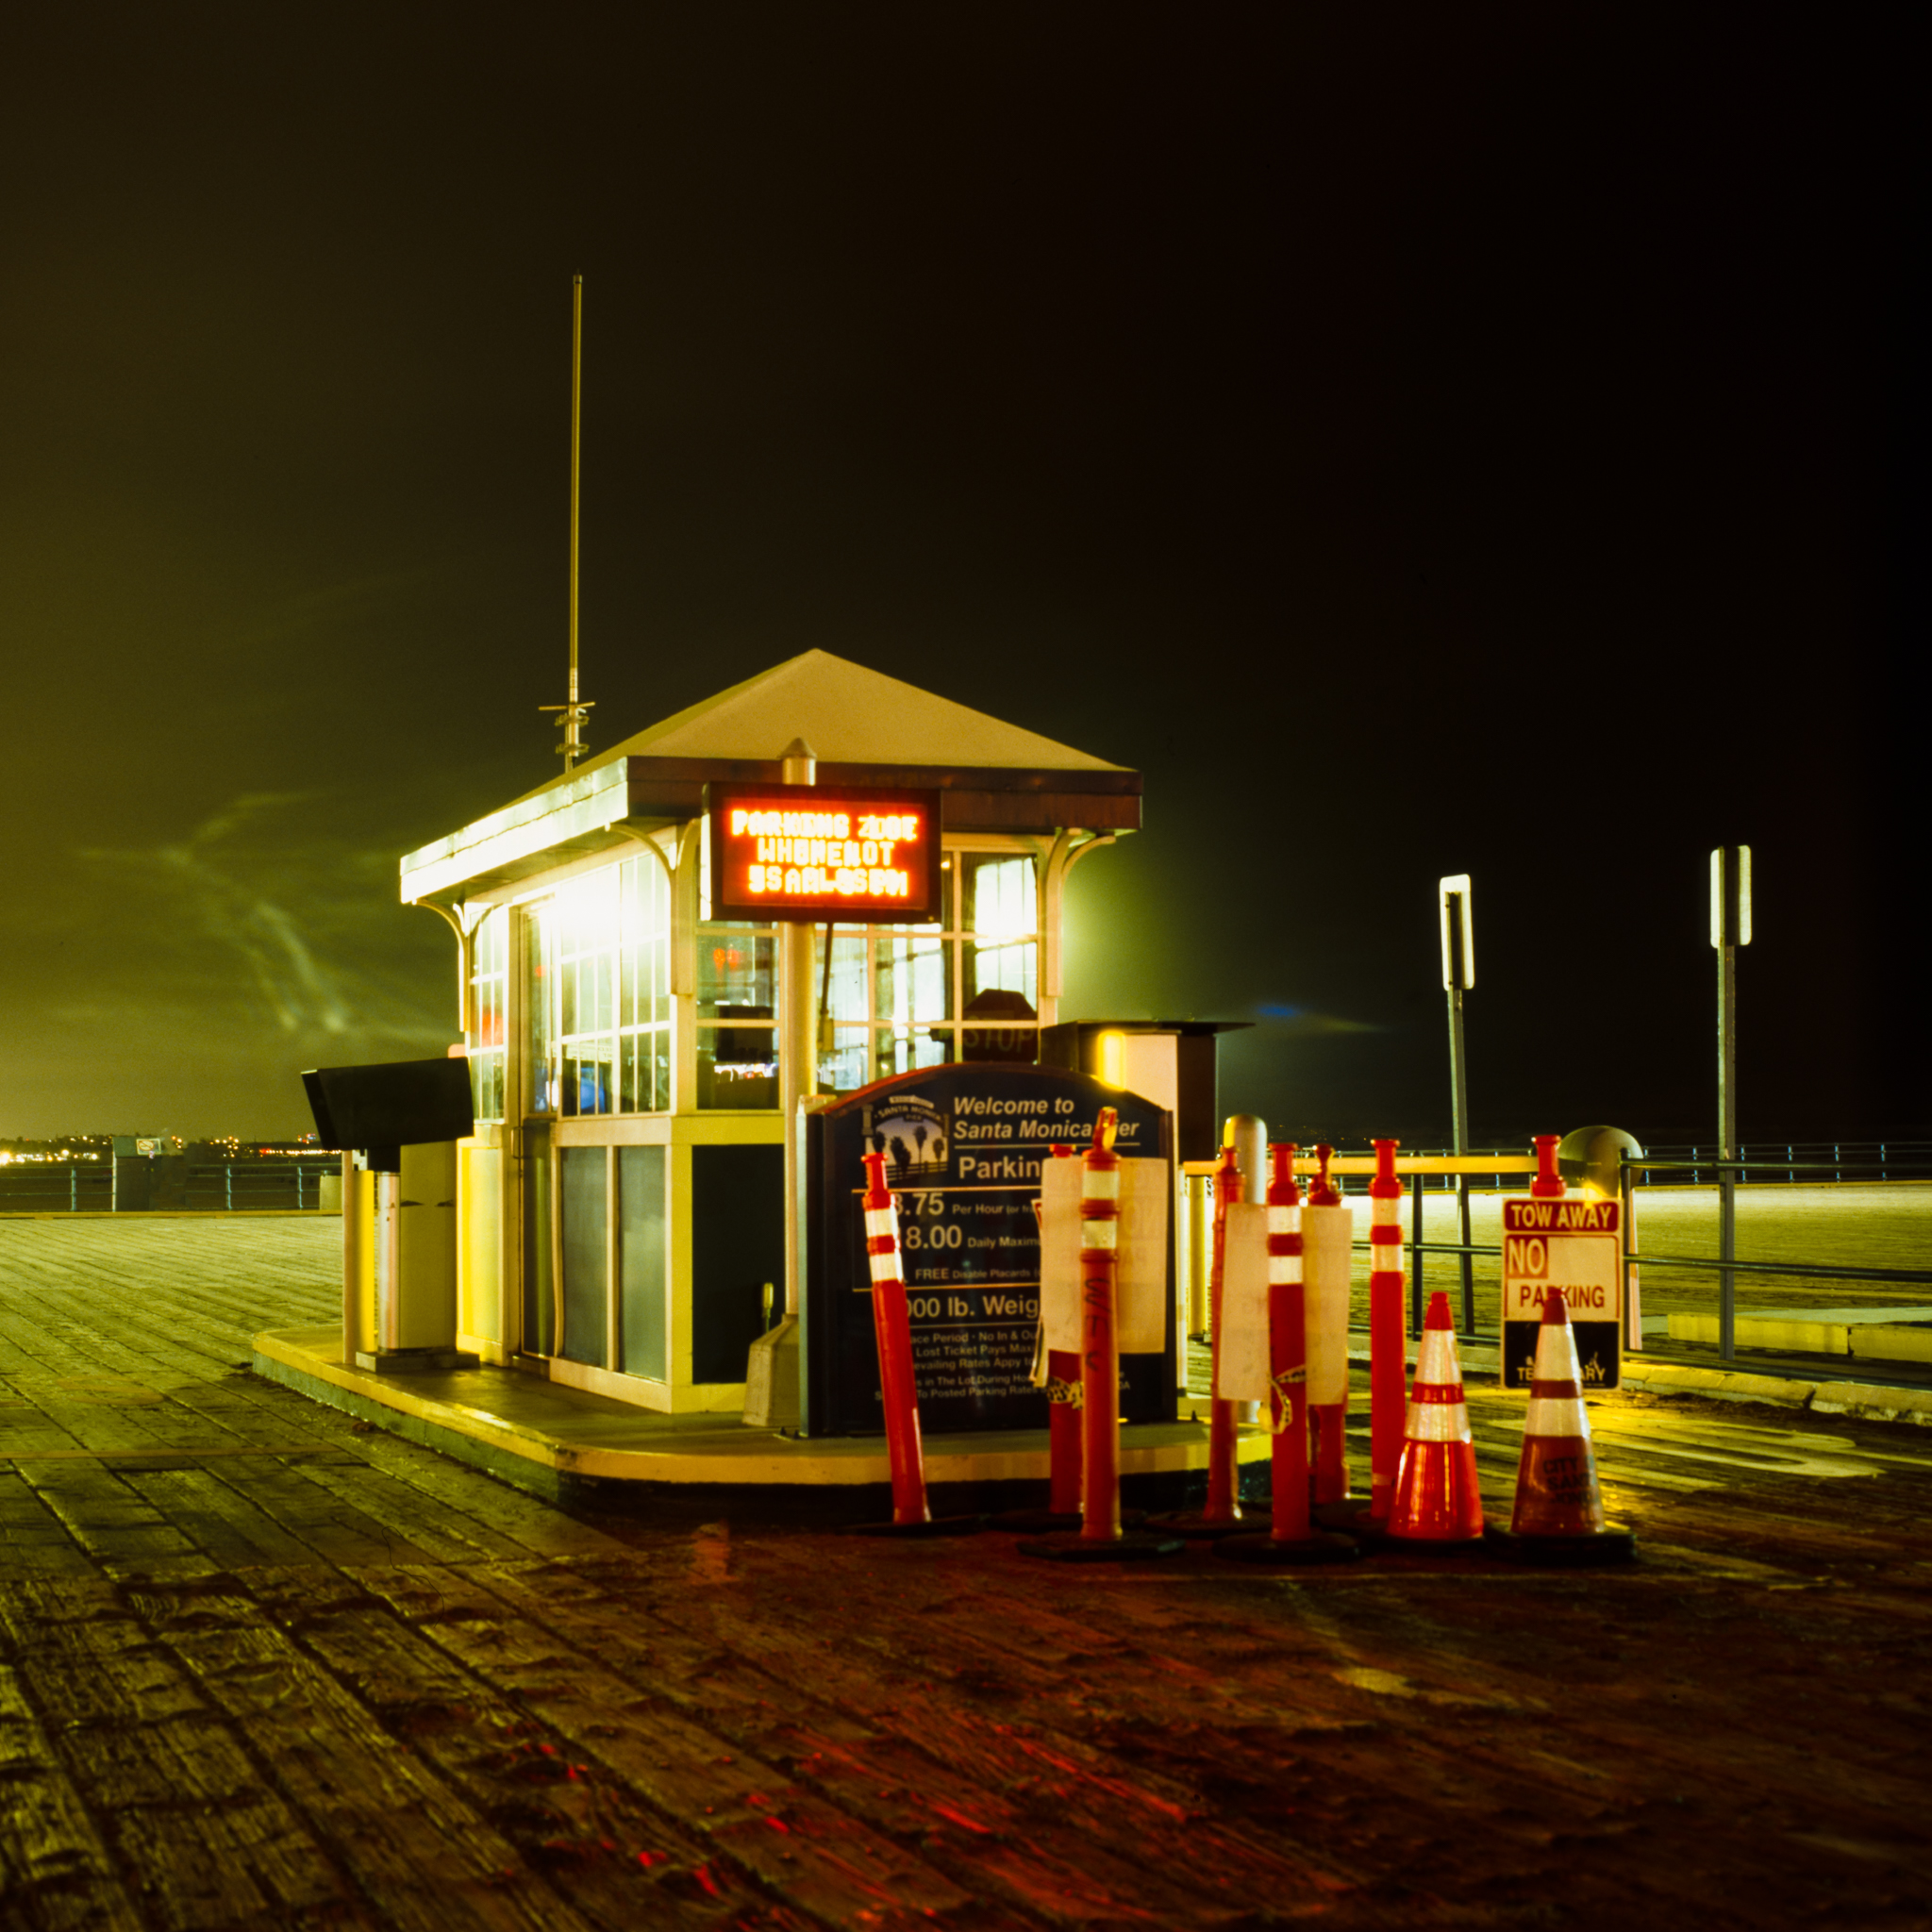
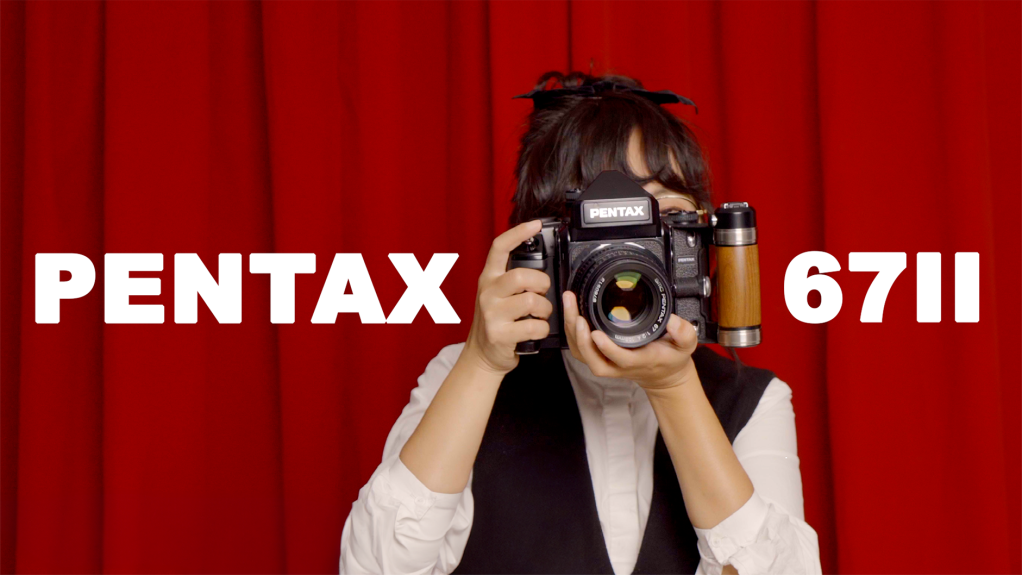
The first roll was shot on my Pentax 645NII, then the sun was completely down at this point. I loaded up another roll in my Hasselblad and tried to get some night shots.


I waited for a long time to try to get a clean shot of this burger place, but there are always people walking across; it’s getting late. I decided to wrap it up for the day…

I still want to see how this film looks in bright sunny daylight, so I waited for another sunny day and went back to the same location to finish the rest of the roll.
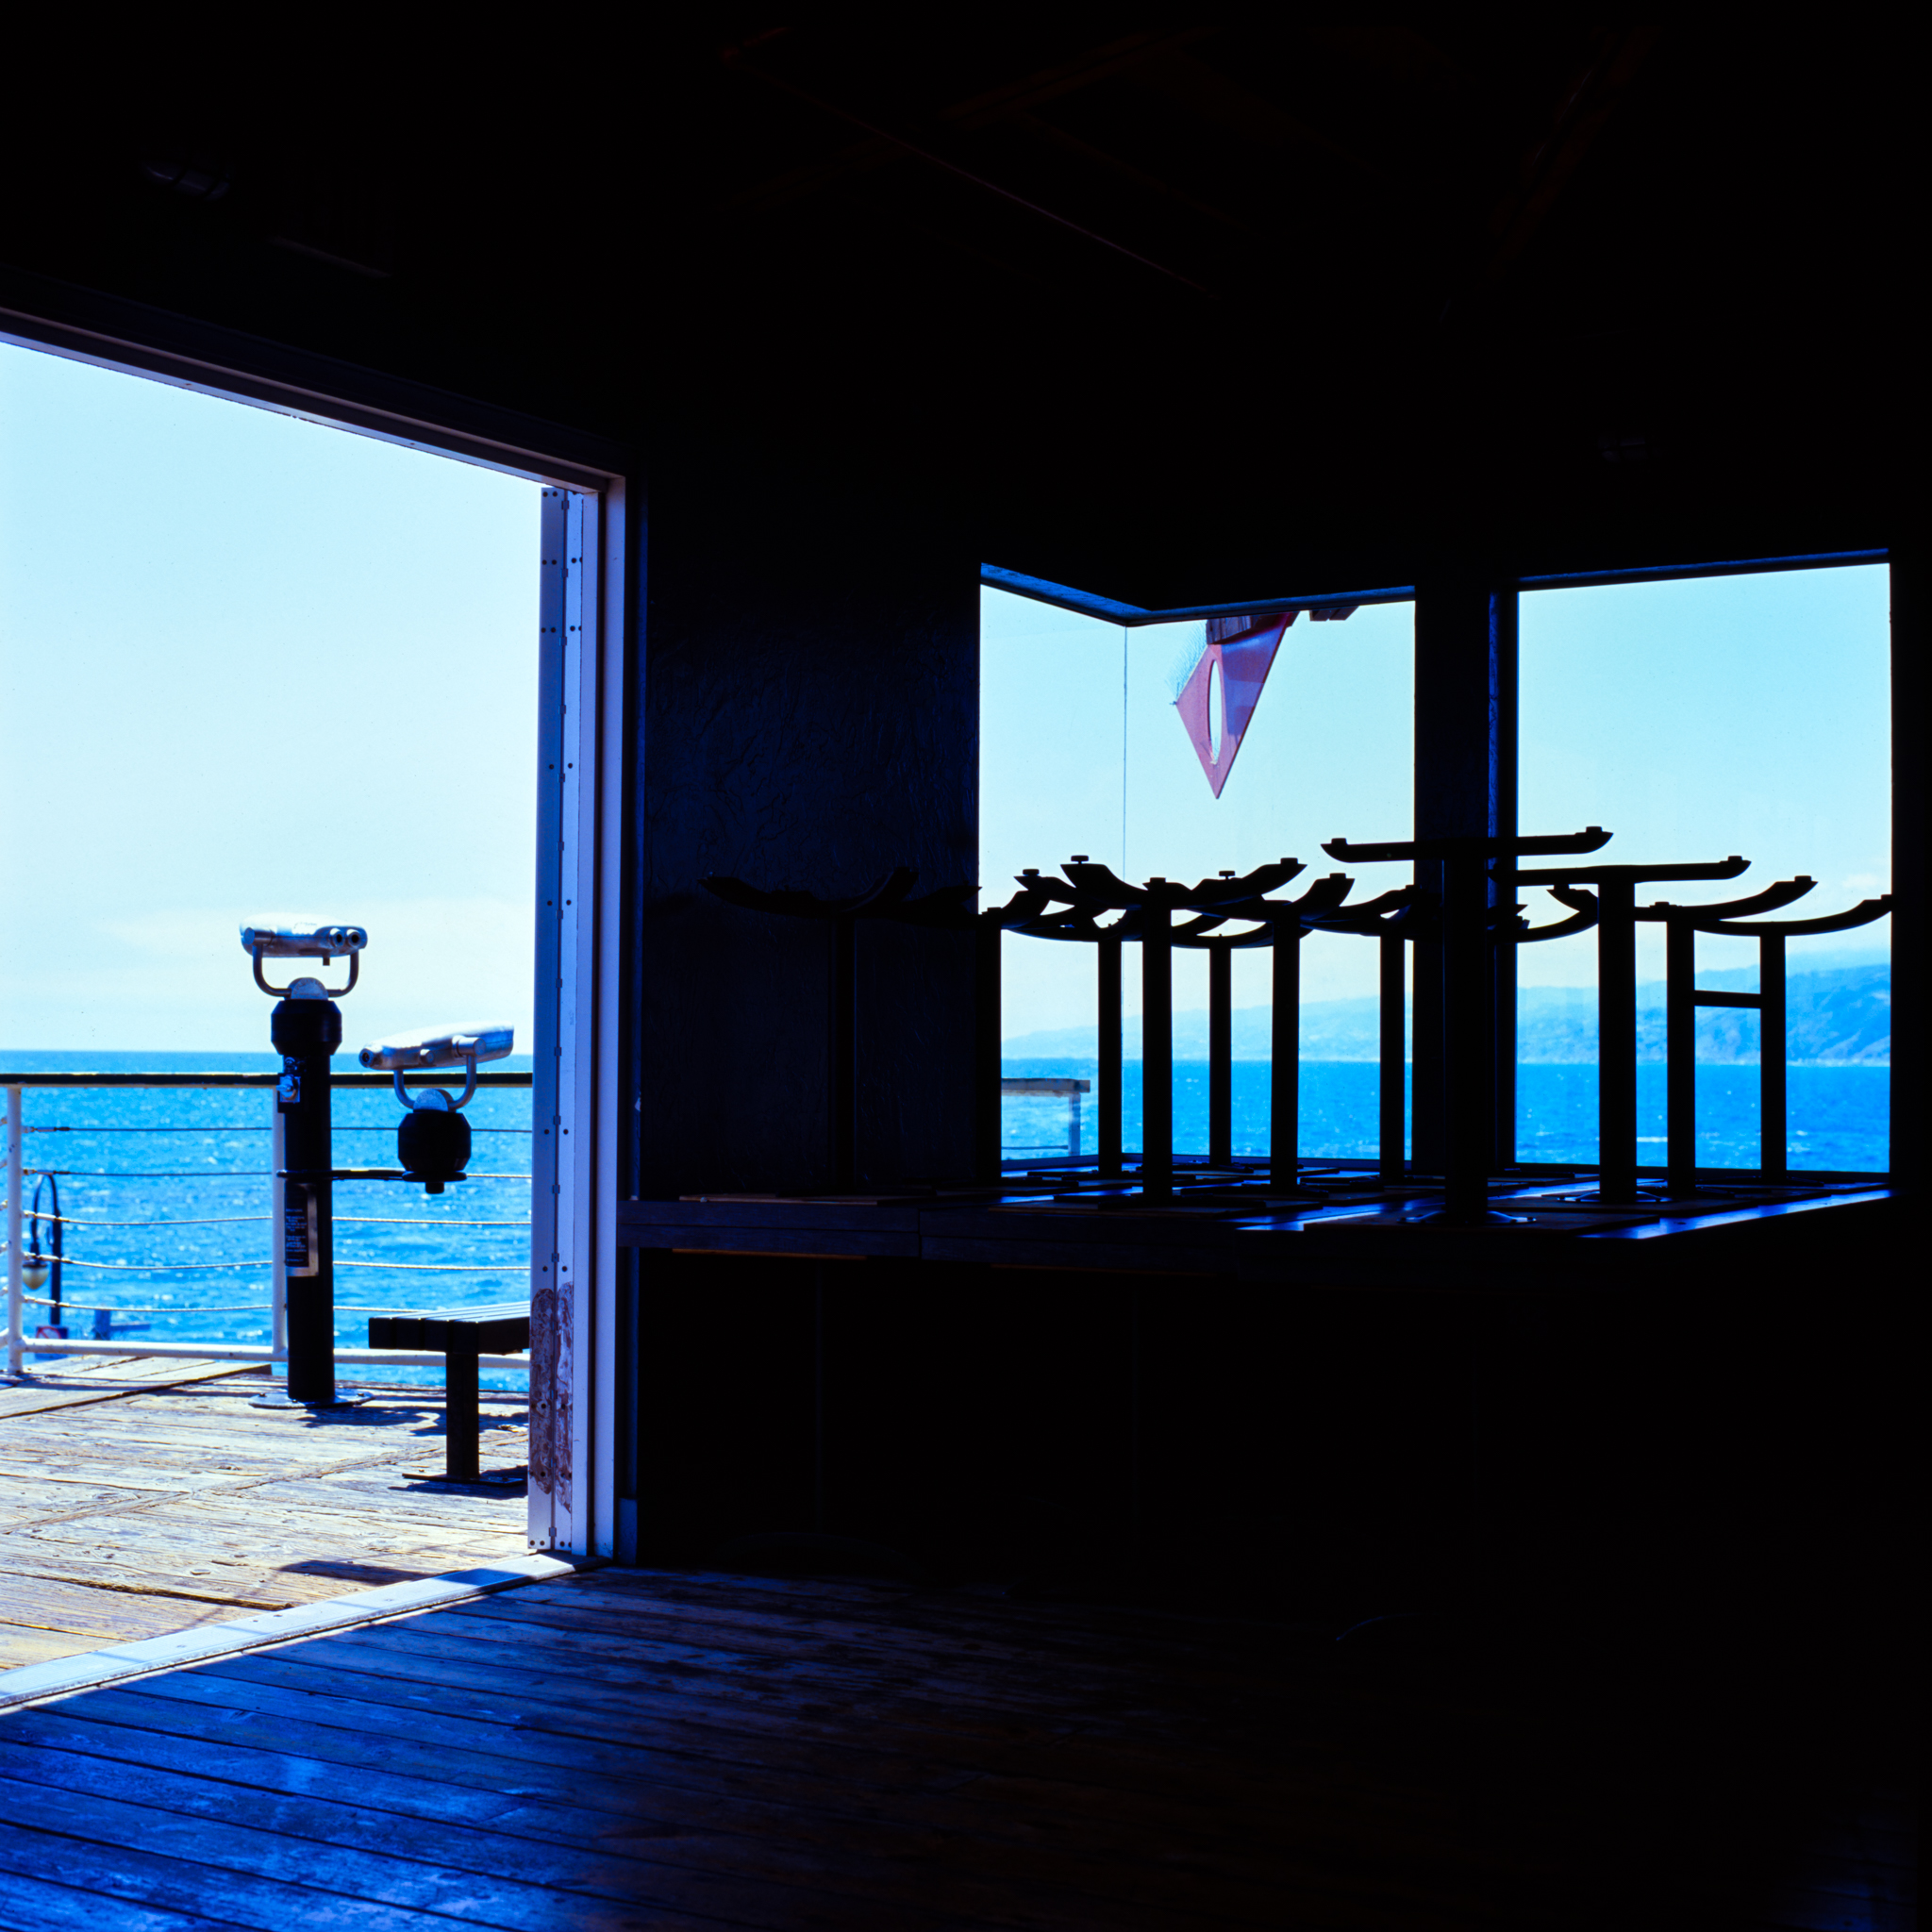
I like to come to Santa Monica to test film that I’ve never shot before, because there is a lot of color, a lot of people. I can also compare it to other film stocks that I’ve shot here.
When I scan the film into digital files, I did not look at the film and try to match the color; I edited them however I imagined this film SHOULD look like, just like how I edit my negatives. Later, when I was editing this video, I looked at the scan and the actual film side by side; some look very close, some turned out a bit differently.
When the scene is fully exposed in sunlight, you will get this beautiful vibrant color, but if there is shadow, when the light ratio is high, if we expose for the highlight, the shadow would be gone easily. You can still see the water under the bridge in this video clip, but not in the film, because the digital sensor has a bigger dynamic range…
OVERALL
I think this film has very low latitude, but very high saturation, very fine grain, and very sensitive to contrast. It produces a very specific look; when you get it right, it can look amazing, but it is more difficult to get it right. The film itself is more expensive than negative films, and to develop this film with the E6 process, it’s even more expensive than negative. And on top of that, not all labs do E6 process, and some of them take much longer to process it… Overall, this is a more complicated film to shoot for sure!! I actually don’t see myself shooting a lot of this film, for one, the 100 speed is a little low for me, and the saturation is a little too high…. well, I guess it’s still a little early to say; we will try shooting some portraits with this down the road and see how I feel about it then.
Besides the color character, shooting slide film gives us a chance to see something that’s truly “straight out of the camera”.
Whether it’s negative or positive film, once we try to digitize it, “editing” will be involved no matter what, because different scanners and different software with different settings will always get you different results, different technicians in different labs will get you different results. In my opinion, once you scan it, there is no such thing as “straight out of camera” anymore.
But that being said, with slide film, now you have something you can look at with your human eyes and try to replicate the color that’s already there, already “straight out of camera”… I think this is the biggest advantage of shooting slide film. Does that make sense? Did I overcomplicate things again?
I scanned these slide films exactly the same way I scan my negatives. For the first couple of shots, I did a lot of correction. I think I was too afraid of losing the highlight, so I ended up underexposing them too much. The second half of the roll was much better; I removed some of the magenta tone and brightened it up a bit. That’s about it.
What’s interesting is the second roll. I normally scan everything as DNG files in SilverFast. I felt like some of the shots looked a little flat. So, with the second roll, I rescanned them as TIFF files. They turned out very differently; the TIFF files are a lot darker and richer in color. I edited and experimented with both files. If you scan your own film, you can try it as well. How do you scan your slide film? What are your tricks and tips for getting more accurate color? Leave me a comment below and let me know~
Alright, this is it for this week’s video. I am wondering how this film compares to Ektar 100 though… I will put that on my to-do list as well. My list is getting too long, I know… If you want to see that, hit the like button and consider subscribing to my channel for more “Sam try stuff” content. I will see you next time!! okay, bye~


Leave a comment