You all know how much I love my Minolta-X700. I had one, it broke. I got another one, it broke again. Recently, I got a third one, shout out to my internet friend JC who kindly gifted me their extra one. However, after two of these broke on me one after another, I find myself starting to lose faith in it. Every time I bring this camera out, I always worry it’s gonna break on me without warning. So, I began to look for a more robust and reliable small 35mm camera, then I got this. The Nikon FM2, this is a camera that will save your life.
Hey, guys, this is Sam, welcome back to my channel. Today we are talking about the Nikon FM2. There are gonna be four sections:
- About: The history, the build, the models, and the cost.
- How to: How to use it, from loading the film to unloading the film.
- Sample Photos.
- What I like and dislike about this camera.
Whether you already have experience with this camera or not, you can find the timestamp and watch this video accordingly.
About the Nikon FM2
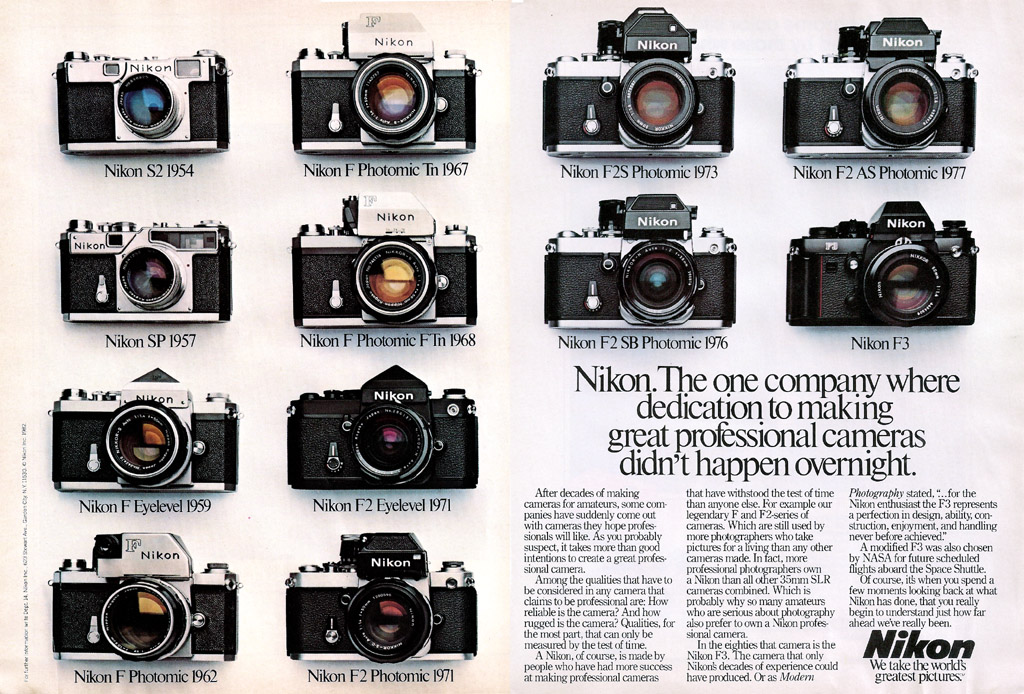
The Nikon FM2 was manufactured in Japan from 1982 to 2001, making it one of the most produced cameras. Finding or repairing this camera nowadays is fairly easy. There are two finishes available for this camera: a fully black one like mine, and another with chrome trim. You can find it on eBay for $200 to $500, depending on the condition.
The camera takes Nikon F mount lenses, and the one I have is the Nikkor 50mm f1.4 prime lens.


The camera body is built with aluminum-silicon alloy. In 1968, documentary photographer Don McCullin was working at the very front line of the Vietnam War. His Nikon F camera stopped a bullet that was aimed at him and saved his life. Over the years, Nikon built its long-lasting reputation for durability and reliability. It’s favored by many documentary, photojournalist, landscape, and wildlife photographers, and even portrait photographers. One of the most famous portraits, Afghan Girl by photojournalist Steve McCurry, was taken with a Nikon FM2.
Even if you don’t care about the name and the history of this camera, just look at how pretty it is. This is the only Nikon camera I have in my collection because I’m more of a Canon girl…
How to Use It
This is a fully mechanical camera. You can put batteries in the bottom compartment, and the battery is solely used for its built-in light meter. Without the battery, the shutter will still work. You just have to Sunny 16 it or use an external light meter.
To open the back, you need to hold down this little lock button and then lift up the film winder. The back will pop open. Then you put your film in and stick the end into the take-up spool. Recently, I’ve also learned to do it the reverse way, to stick the film end in first and pull to the other side. Whatever way works for you. Just make sure, once you’ve closed the back and when you advance the film, the winder side also turns. This means your film is catching on the wheel properly, so you don’t shoot a whole roll without even shooting the whole roll. Trust me, it happens.
Compare to the Minolta X700, this camera is even simpler and more straightforward. When I made the X700 video, I said, “This is a manual camera.” I take it back. THIS is a manual camera. There is no program mode, aperture priority, or shutter priority mode, etc. There is only one mode; it’s called, time to use your brain mode.
First, you need to set your film speed by lifting the shutter ring and turning it to the matching number if you are using the internal light meter.
Then you can turn this wheel to set your shutter speed and turn the aperture ring on the lens to set your aperture. Easy, right?
One thing you need to be mindful of is the advance lever also works as an on and off button, kind of. When the lever is fully closed, the shutter is locked, so you have to open it and keep it open when shooting. It’s a safety lock so you don’t accidentally fire the shutter. This is very annoying to me. None of the cameras I used has the same feature, and I constantly close the lever and forget to turn it back on. You just have to get used to leaving your thumb in between, hence the name “shutter release finger guard.”
After you load your film, you want to keep advancing the film until you see the number 1 show up in the frame counter window. Then you can start shooting.
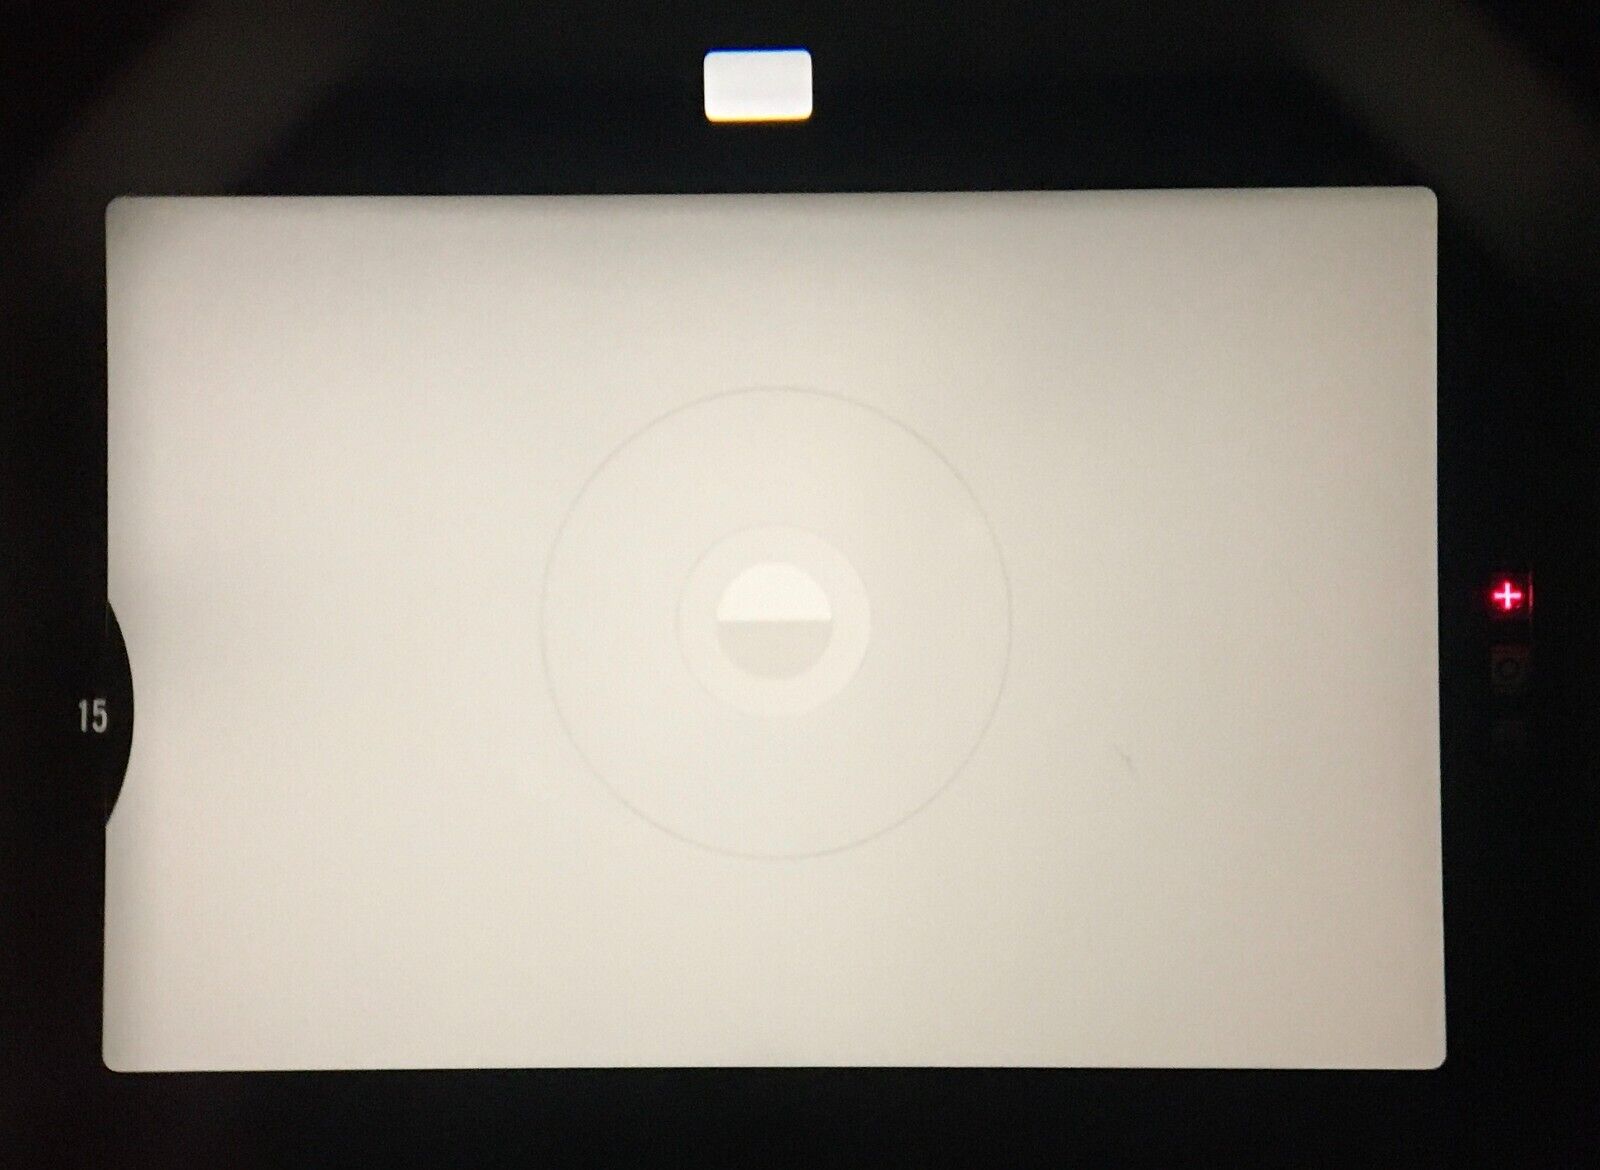
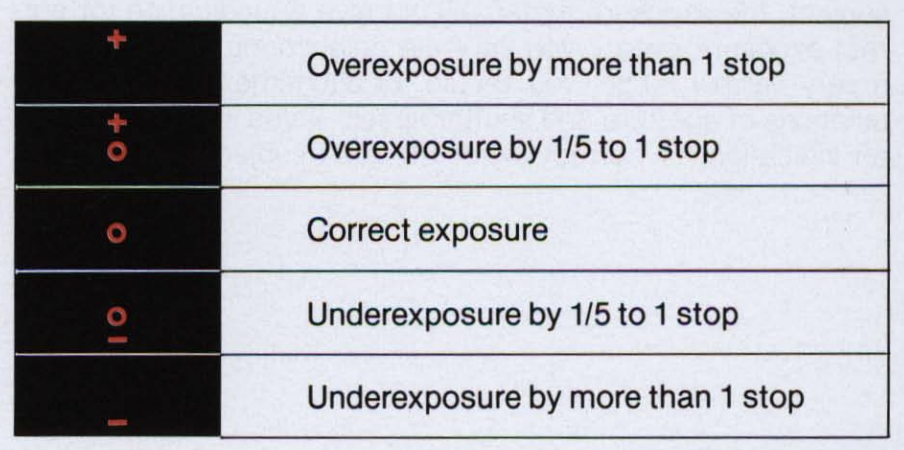
Now let’s look at the viewfinder. This camera uses center-weighted exposure metering. On the top center window, it shows your aperture, and the left center window is your shutter speed. On the right side is your exposure display; the circle means correct exposure, the plus and minus means over and underexposure. I’ll leave a chart here you can pause the video to see the specifics.
Besides all of these basics, this camera also has a self-timer at the front, a depth of view preview button right next to the lens, and a double or multiple exposure button here on the advance lever.
After you press down on the shutter, you can hold this small lever down, then advance the film, and the film would stay on the same frame. Then you can keep exposing the same frame to do double, triple, or however many exposures on the same photo. I personally never tried it. It will take some calculation to do it right, I think, so maybe down the road, sometimes…
Let’s see, what else… Press down this button to change the lens, and this is where you plug your flashlight trigger. After you finish the whole roll, just like most of the small 35mm cameras, you press down this button at the bottom of the camera, then wind your film back. And that’s it.
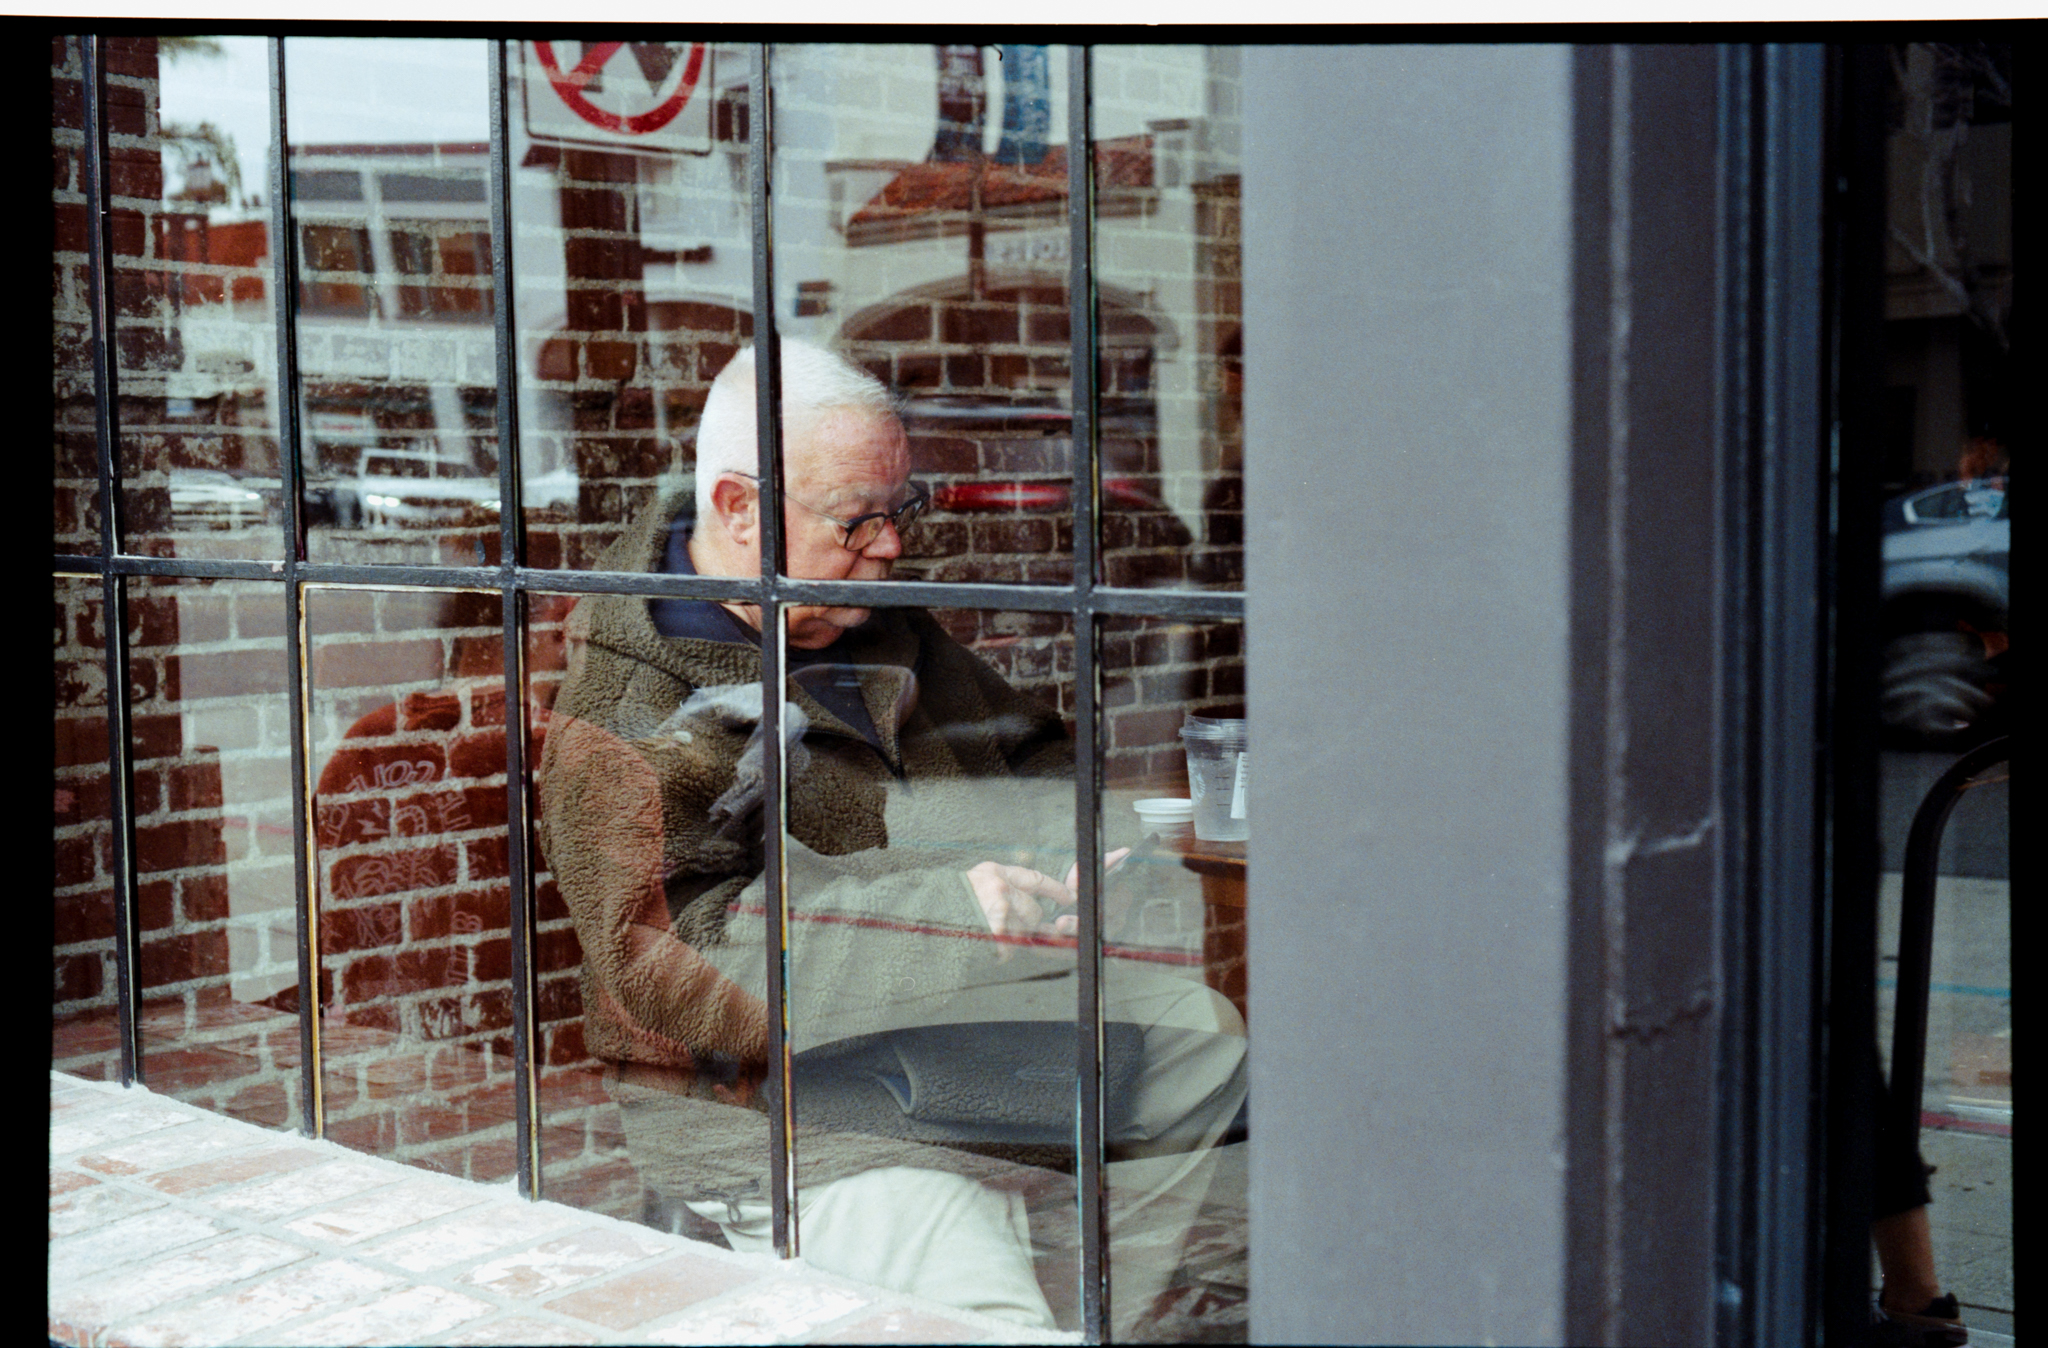
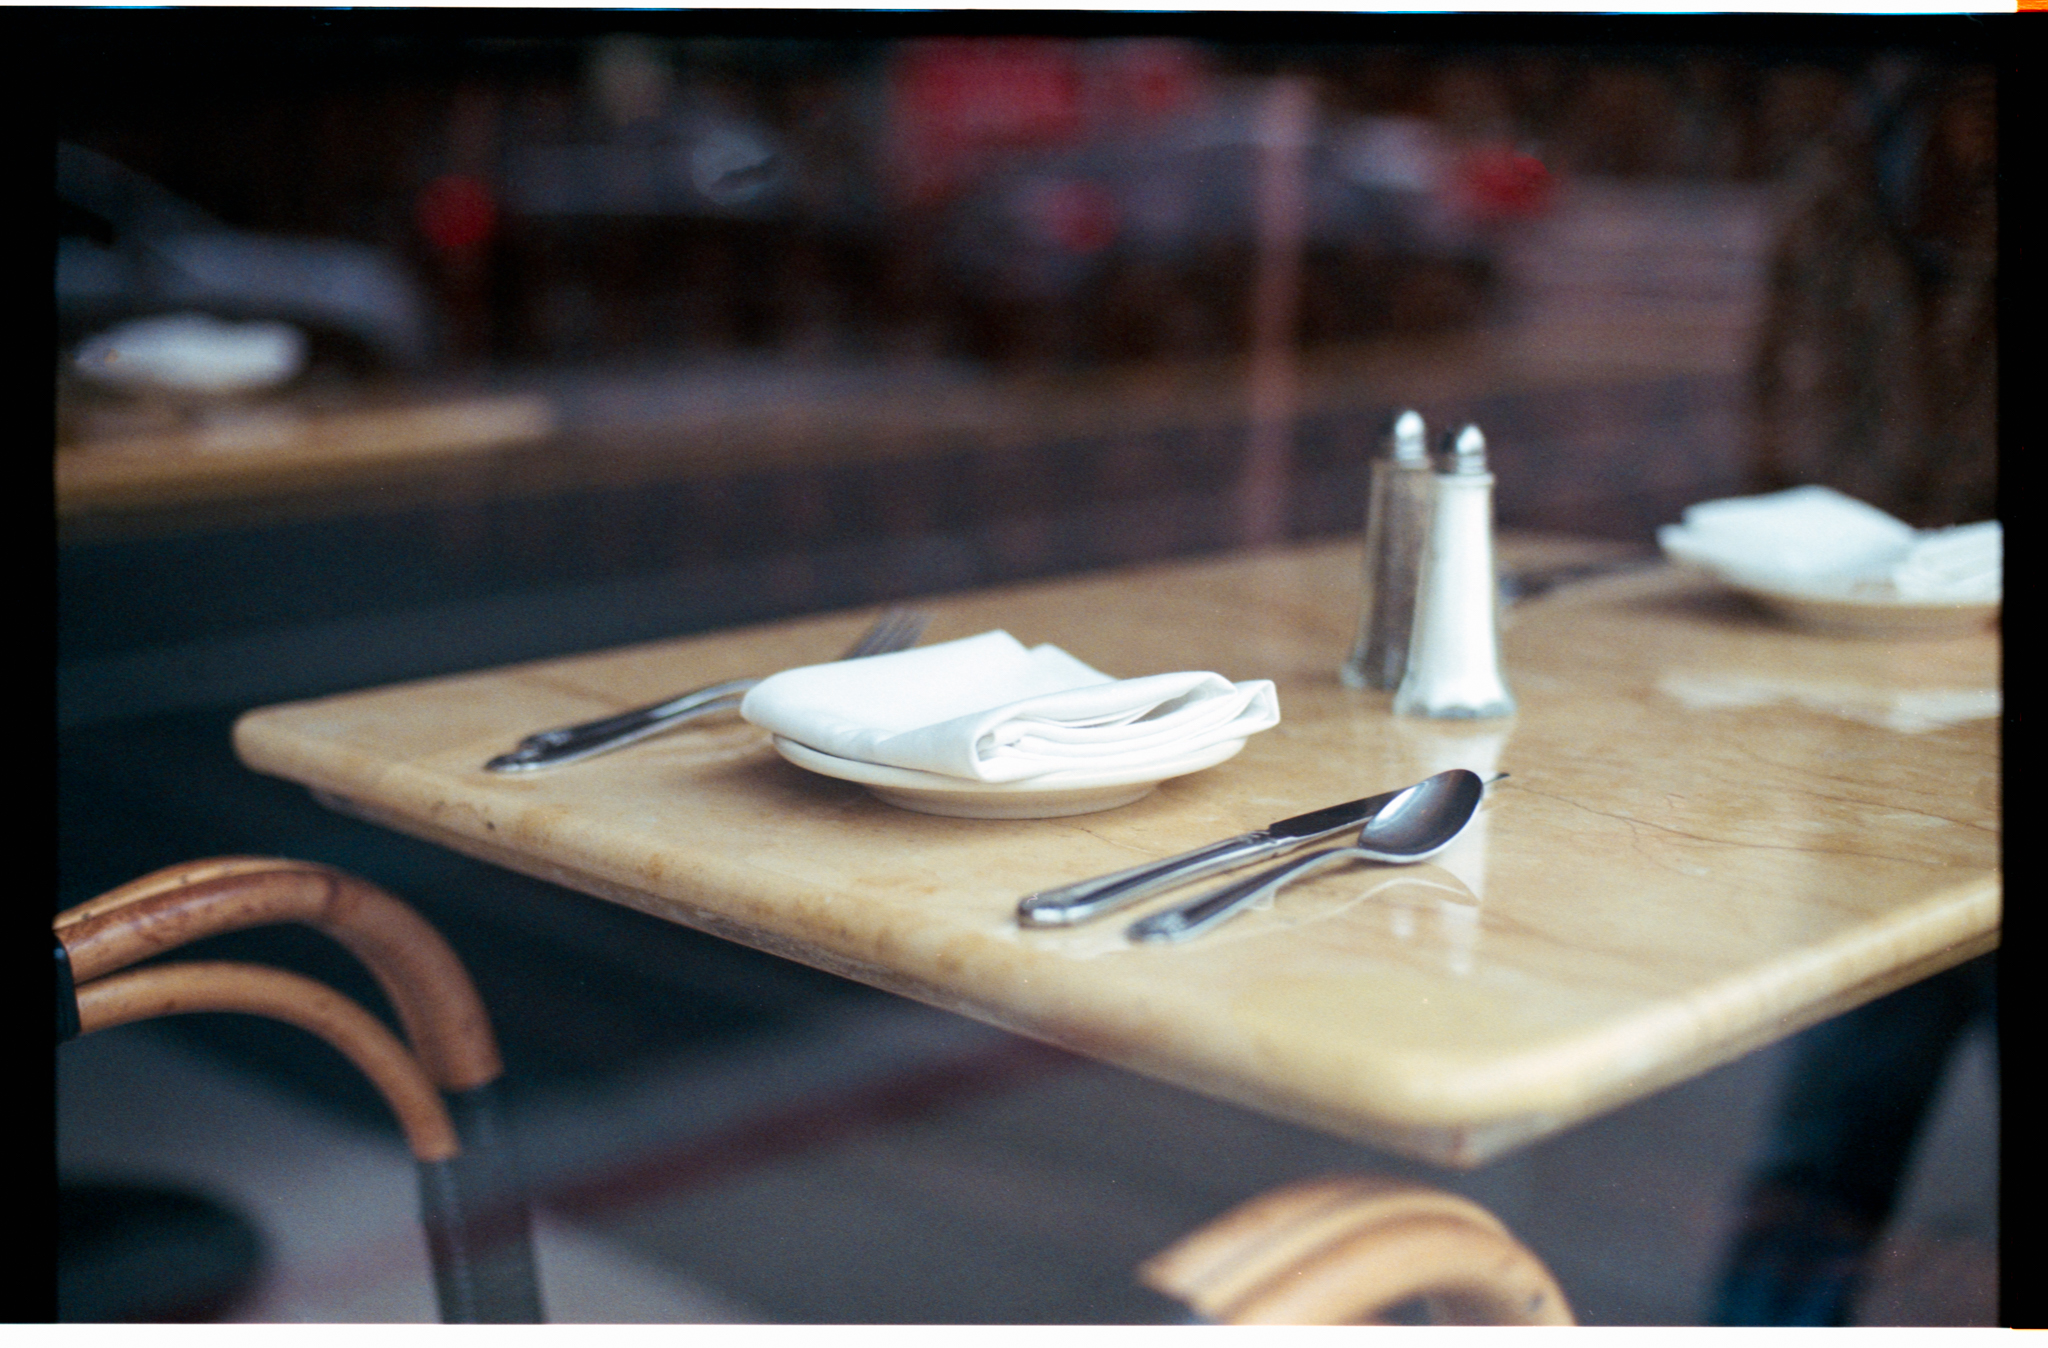
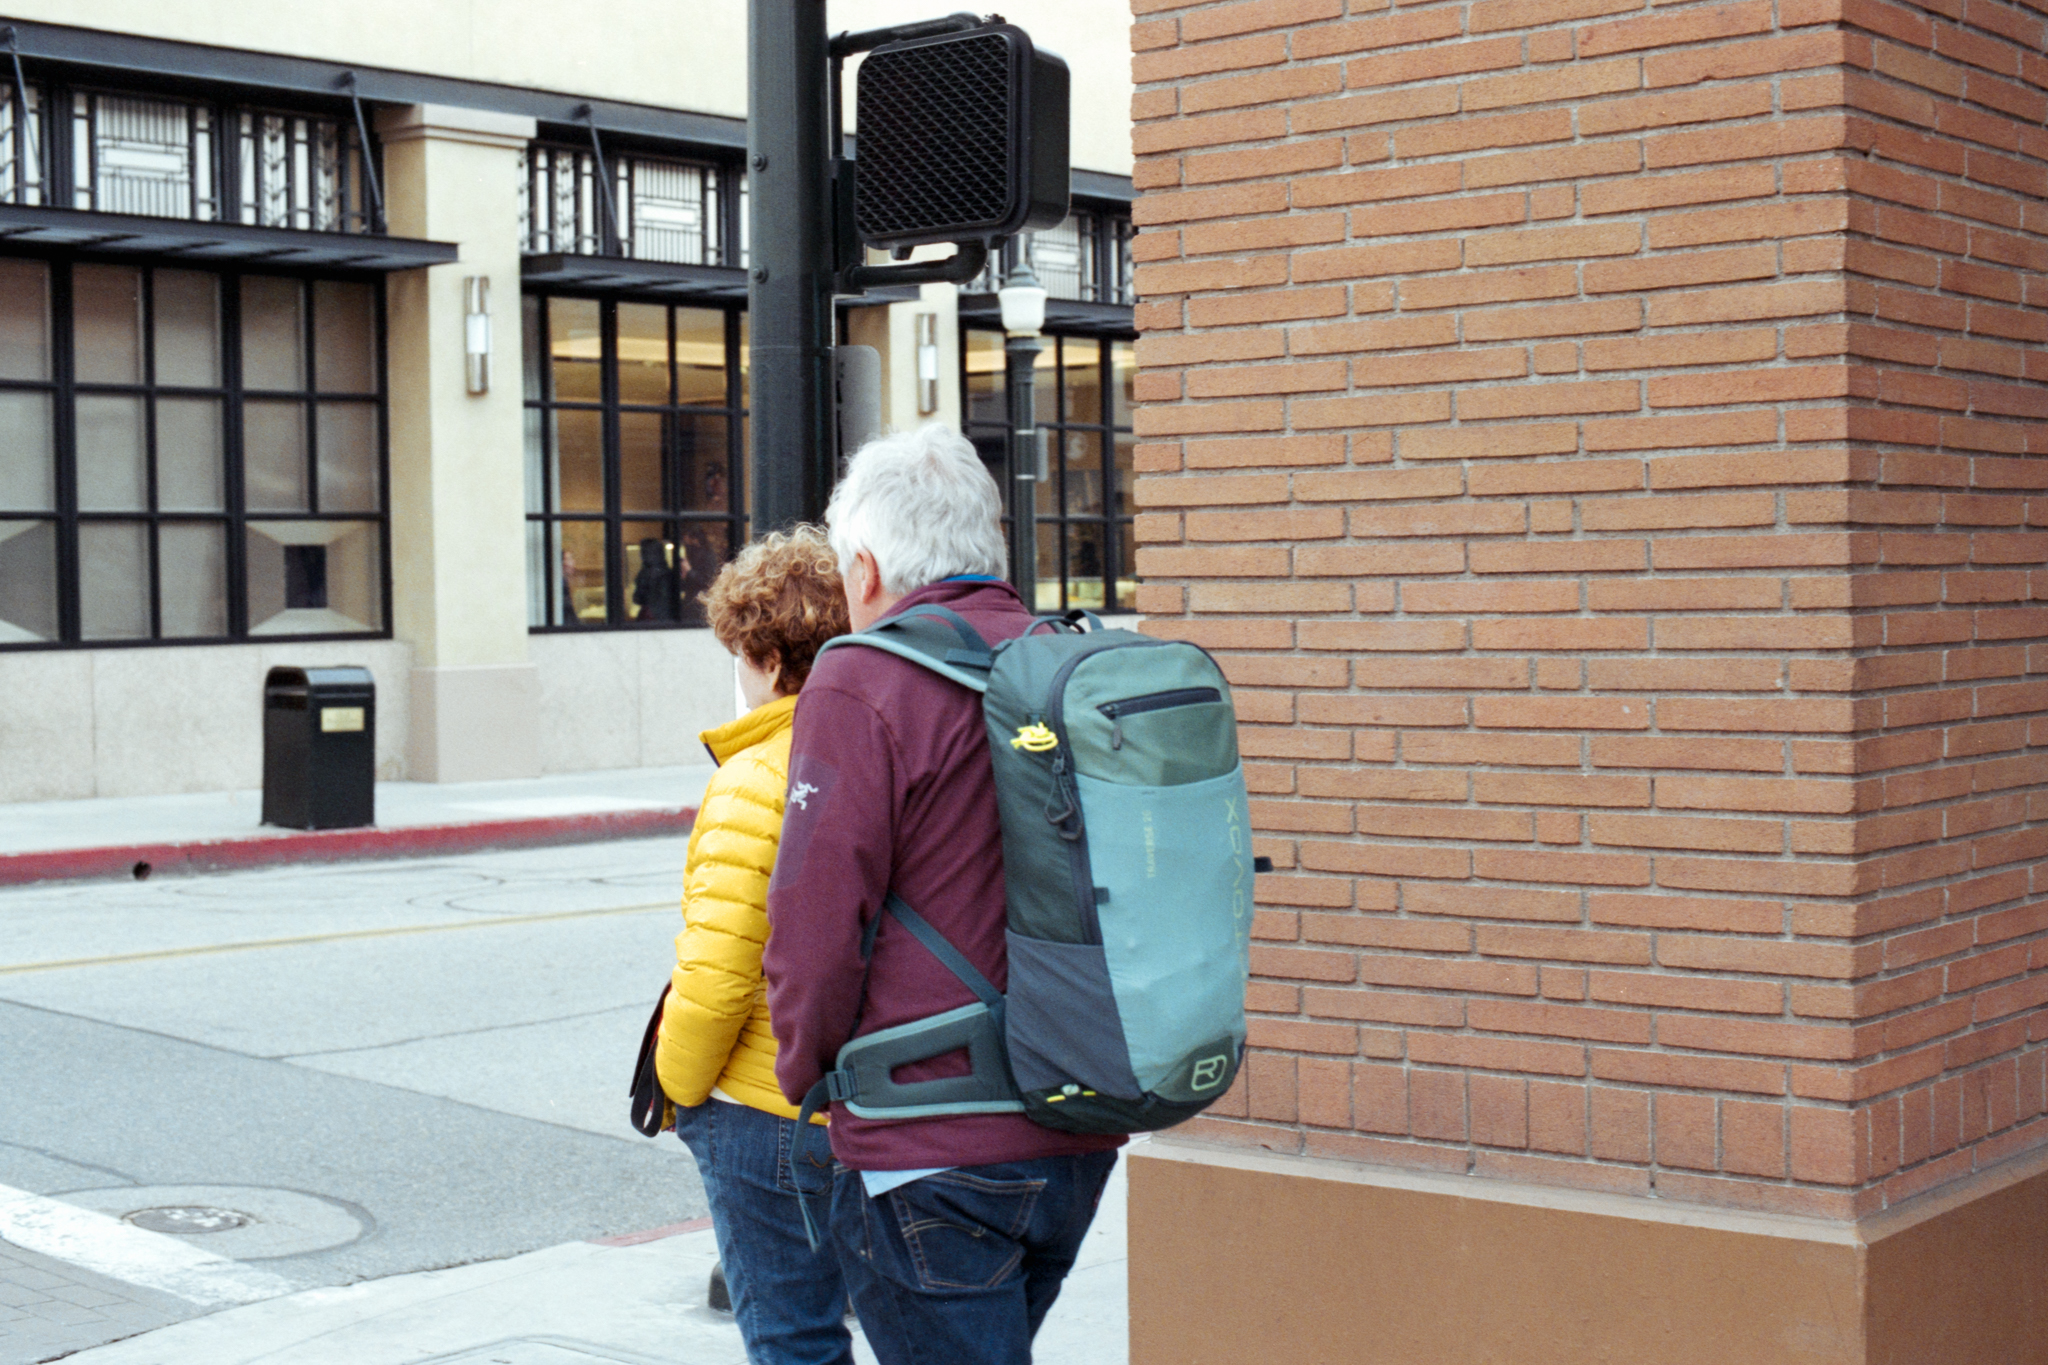
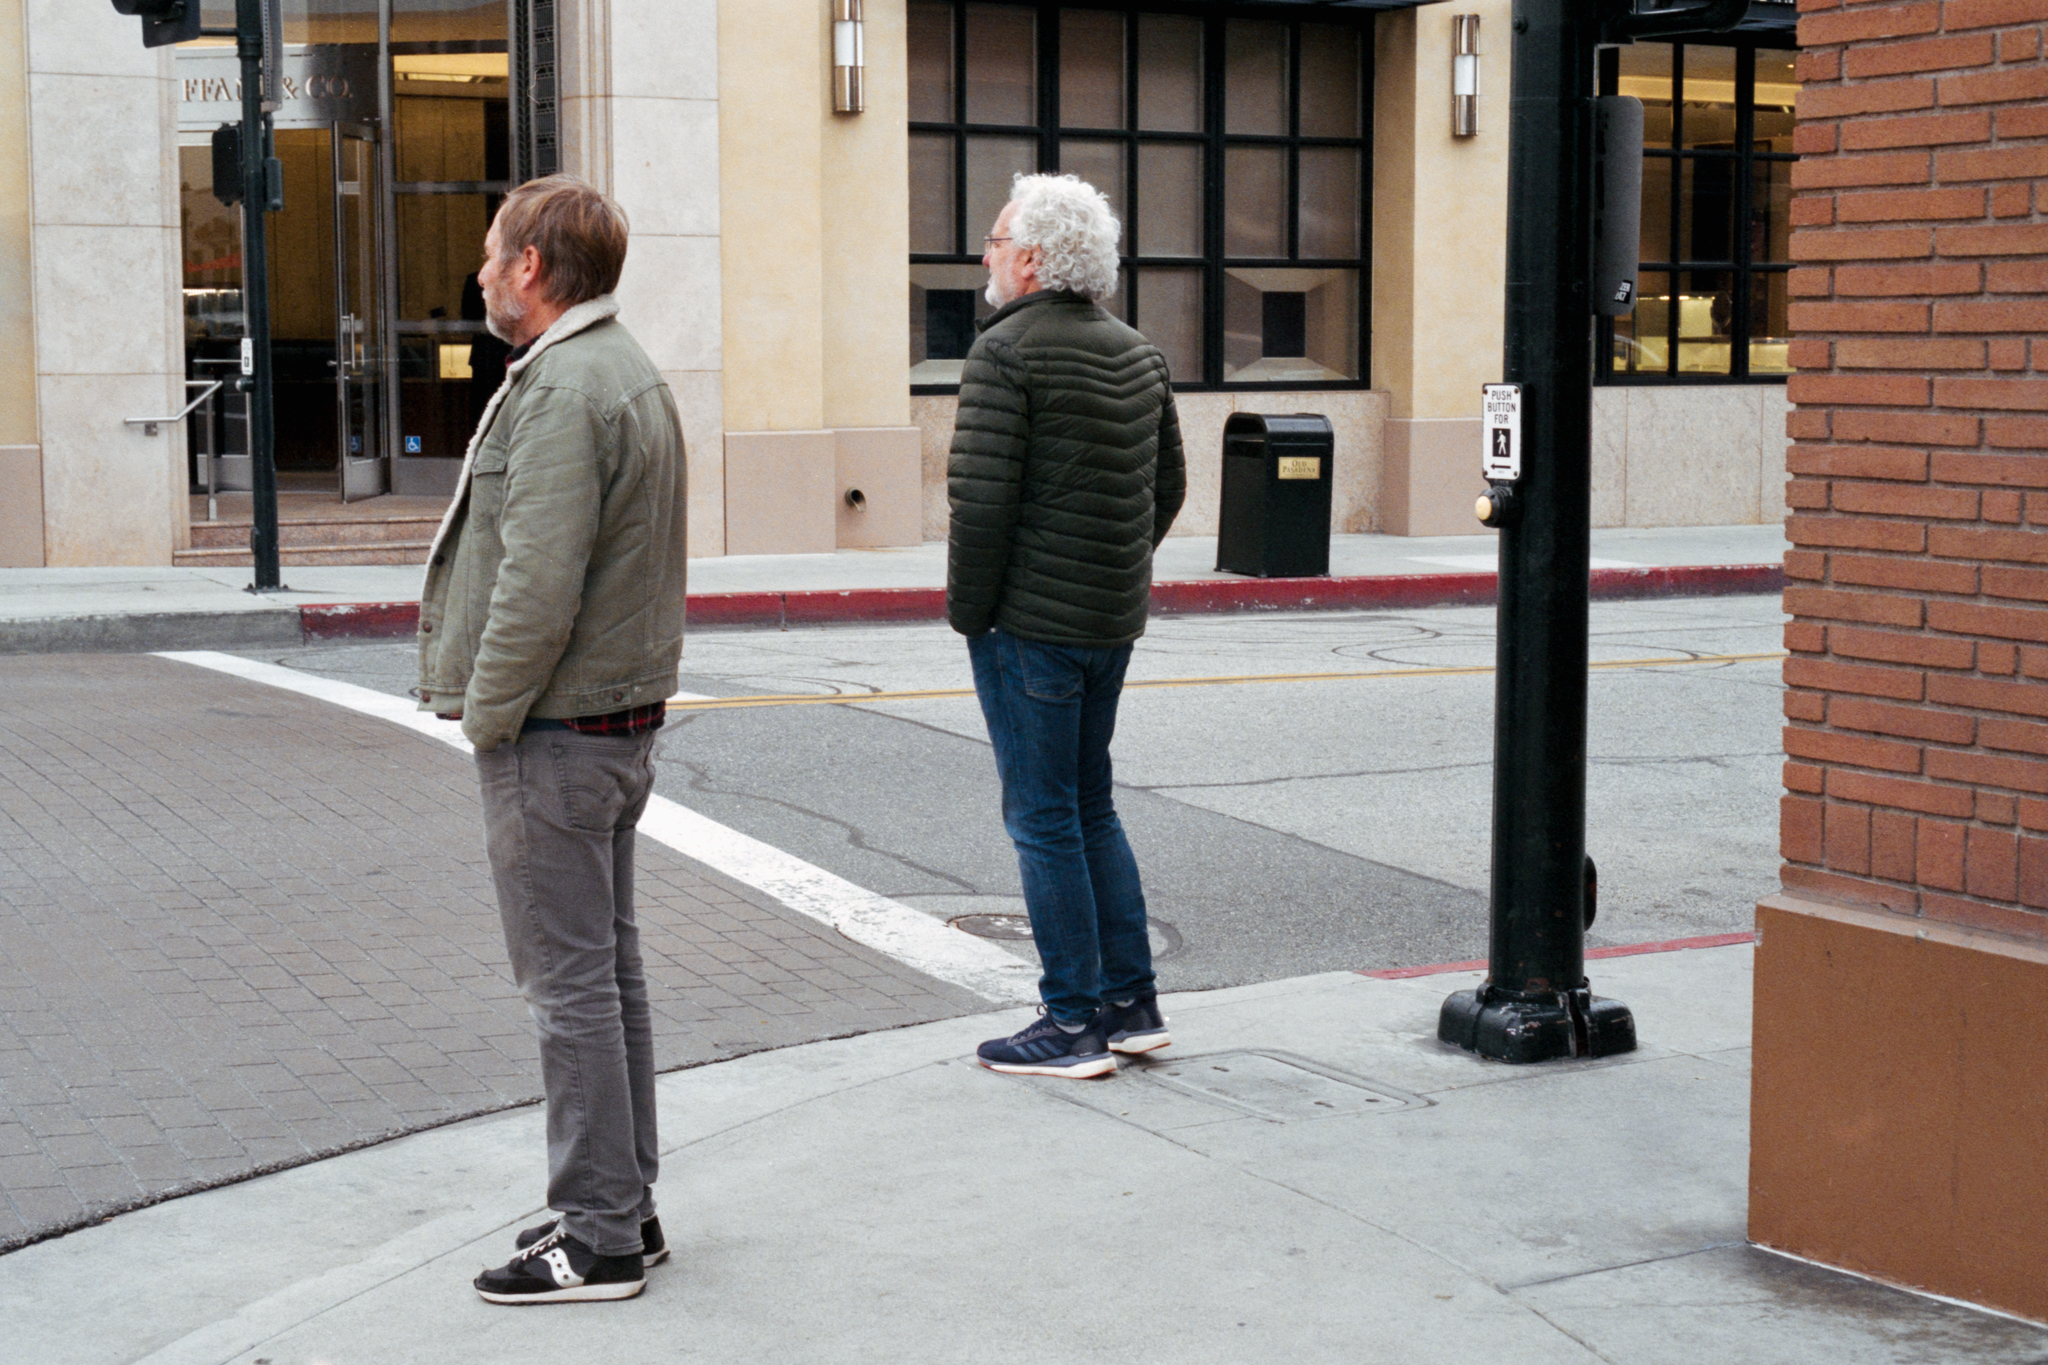
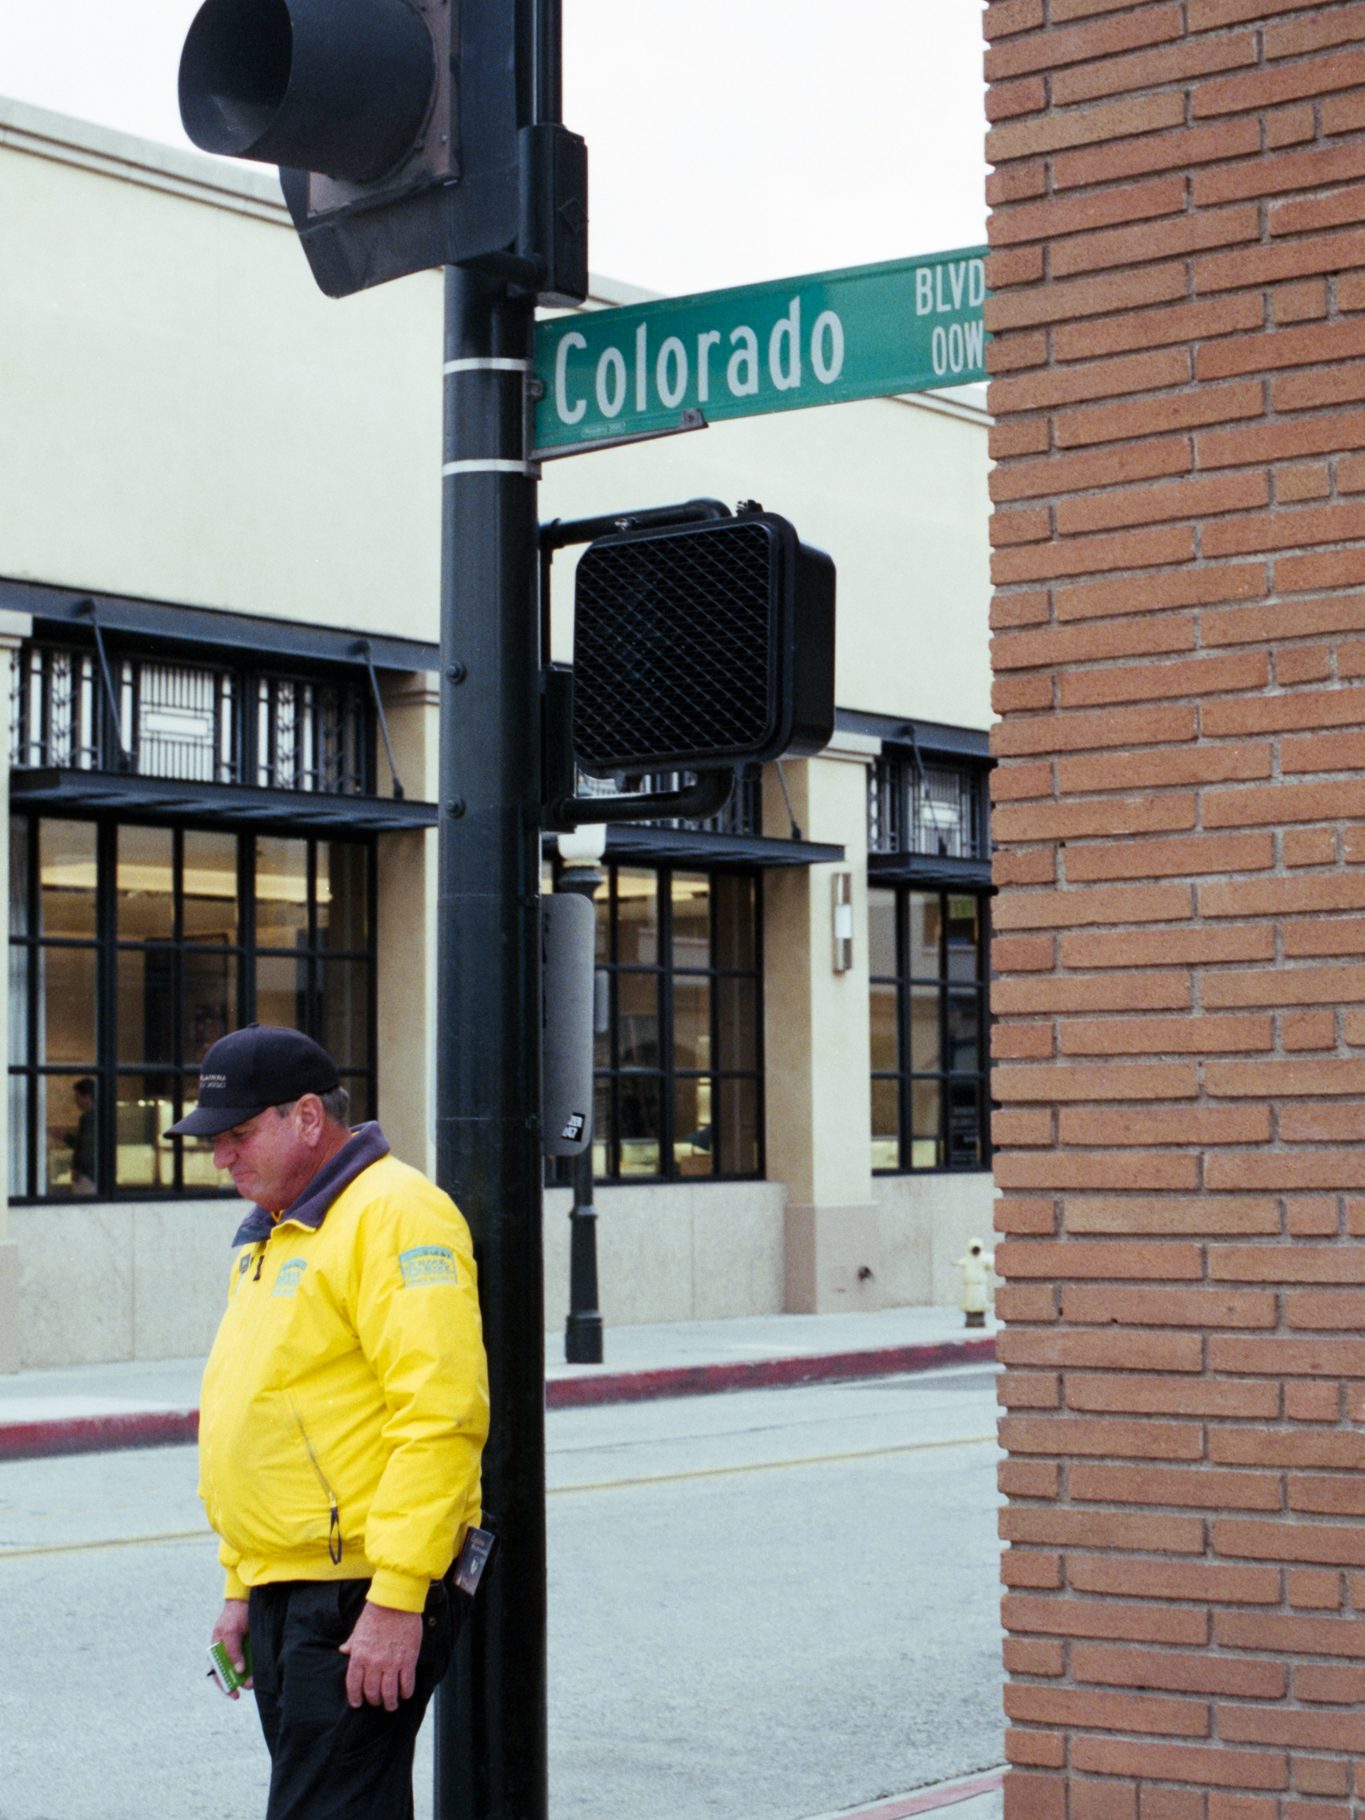
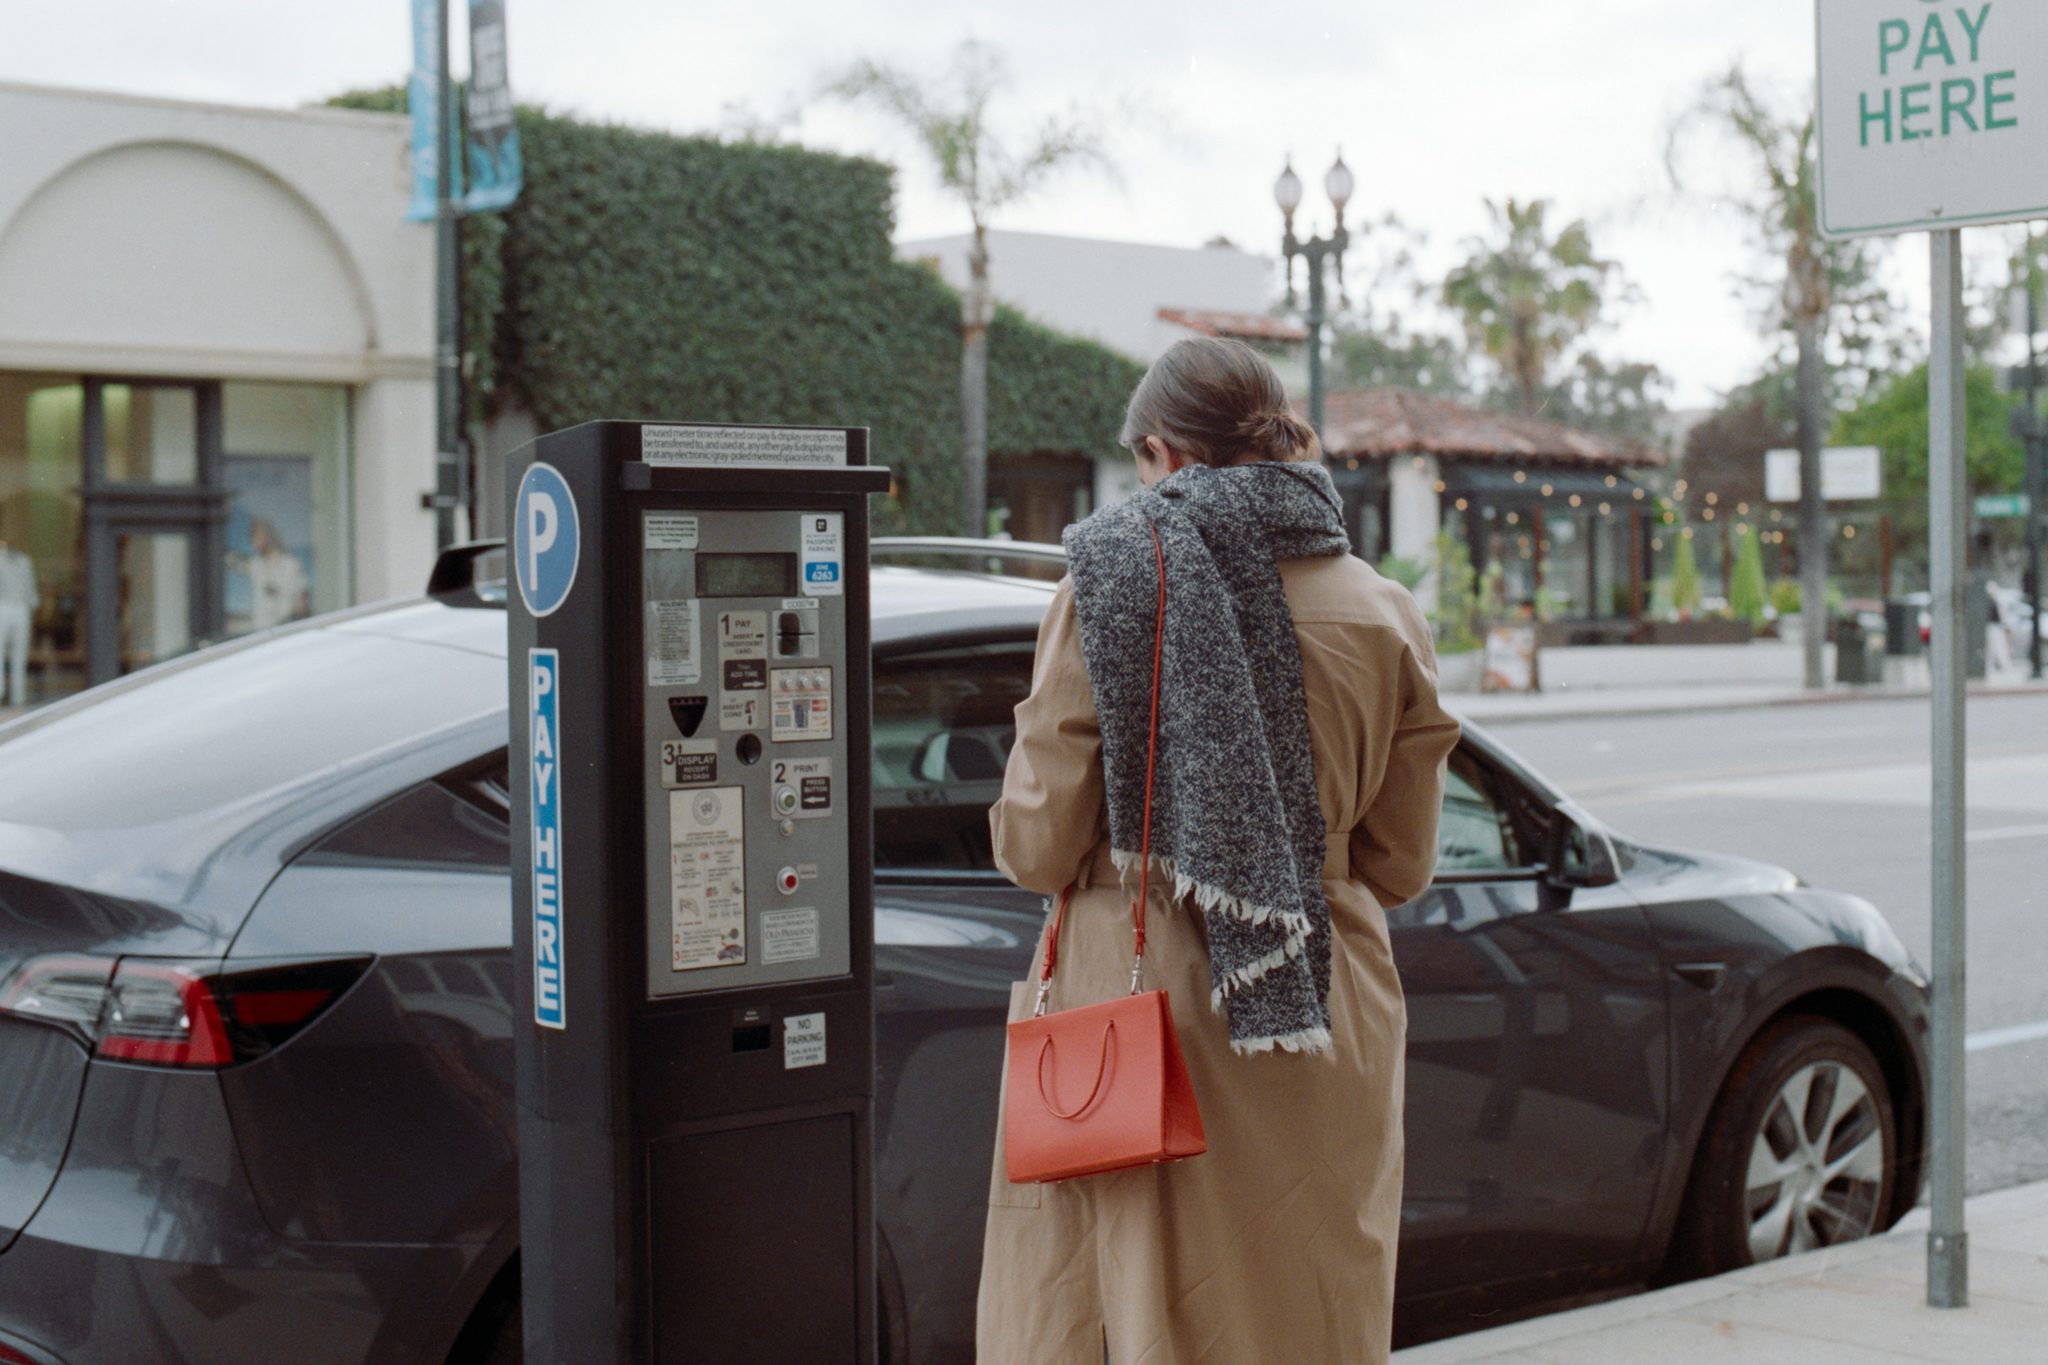
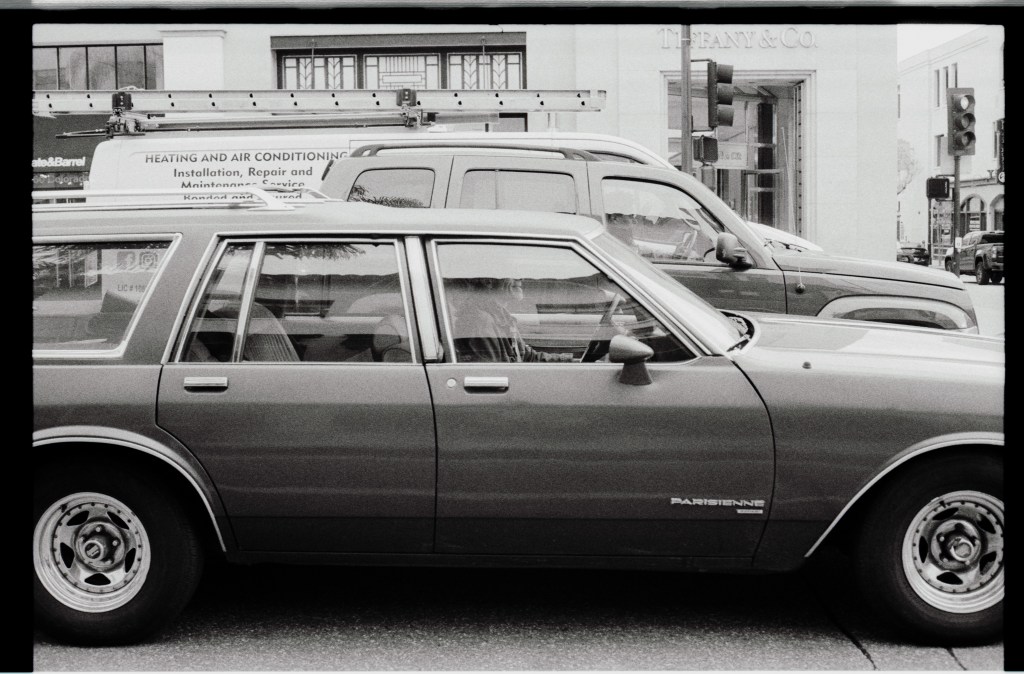
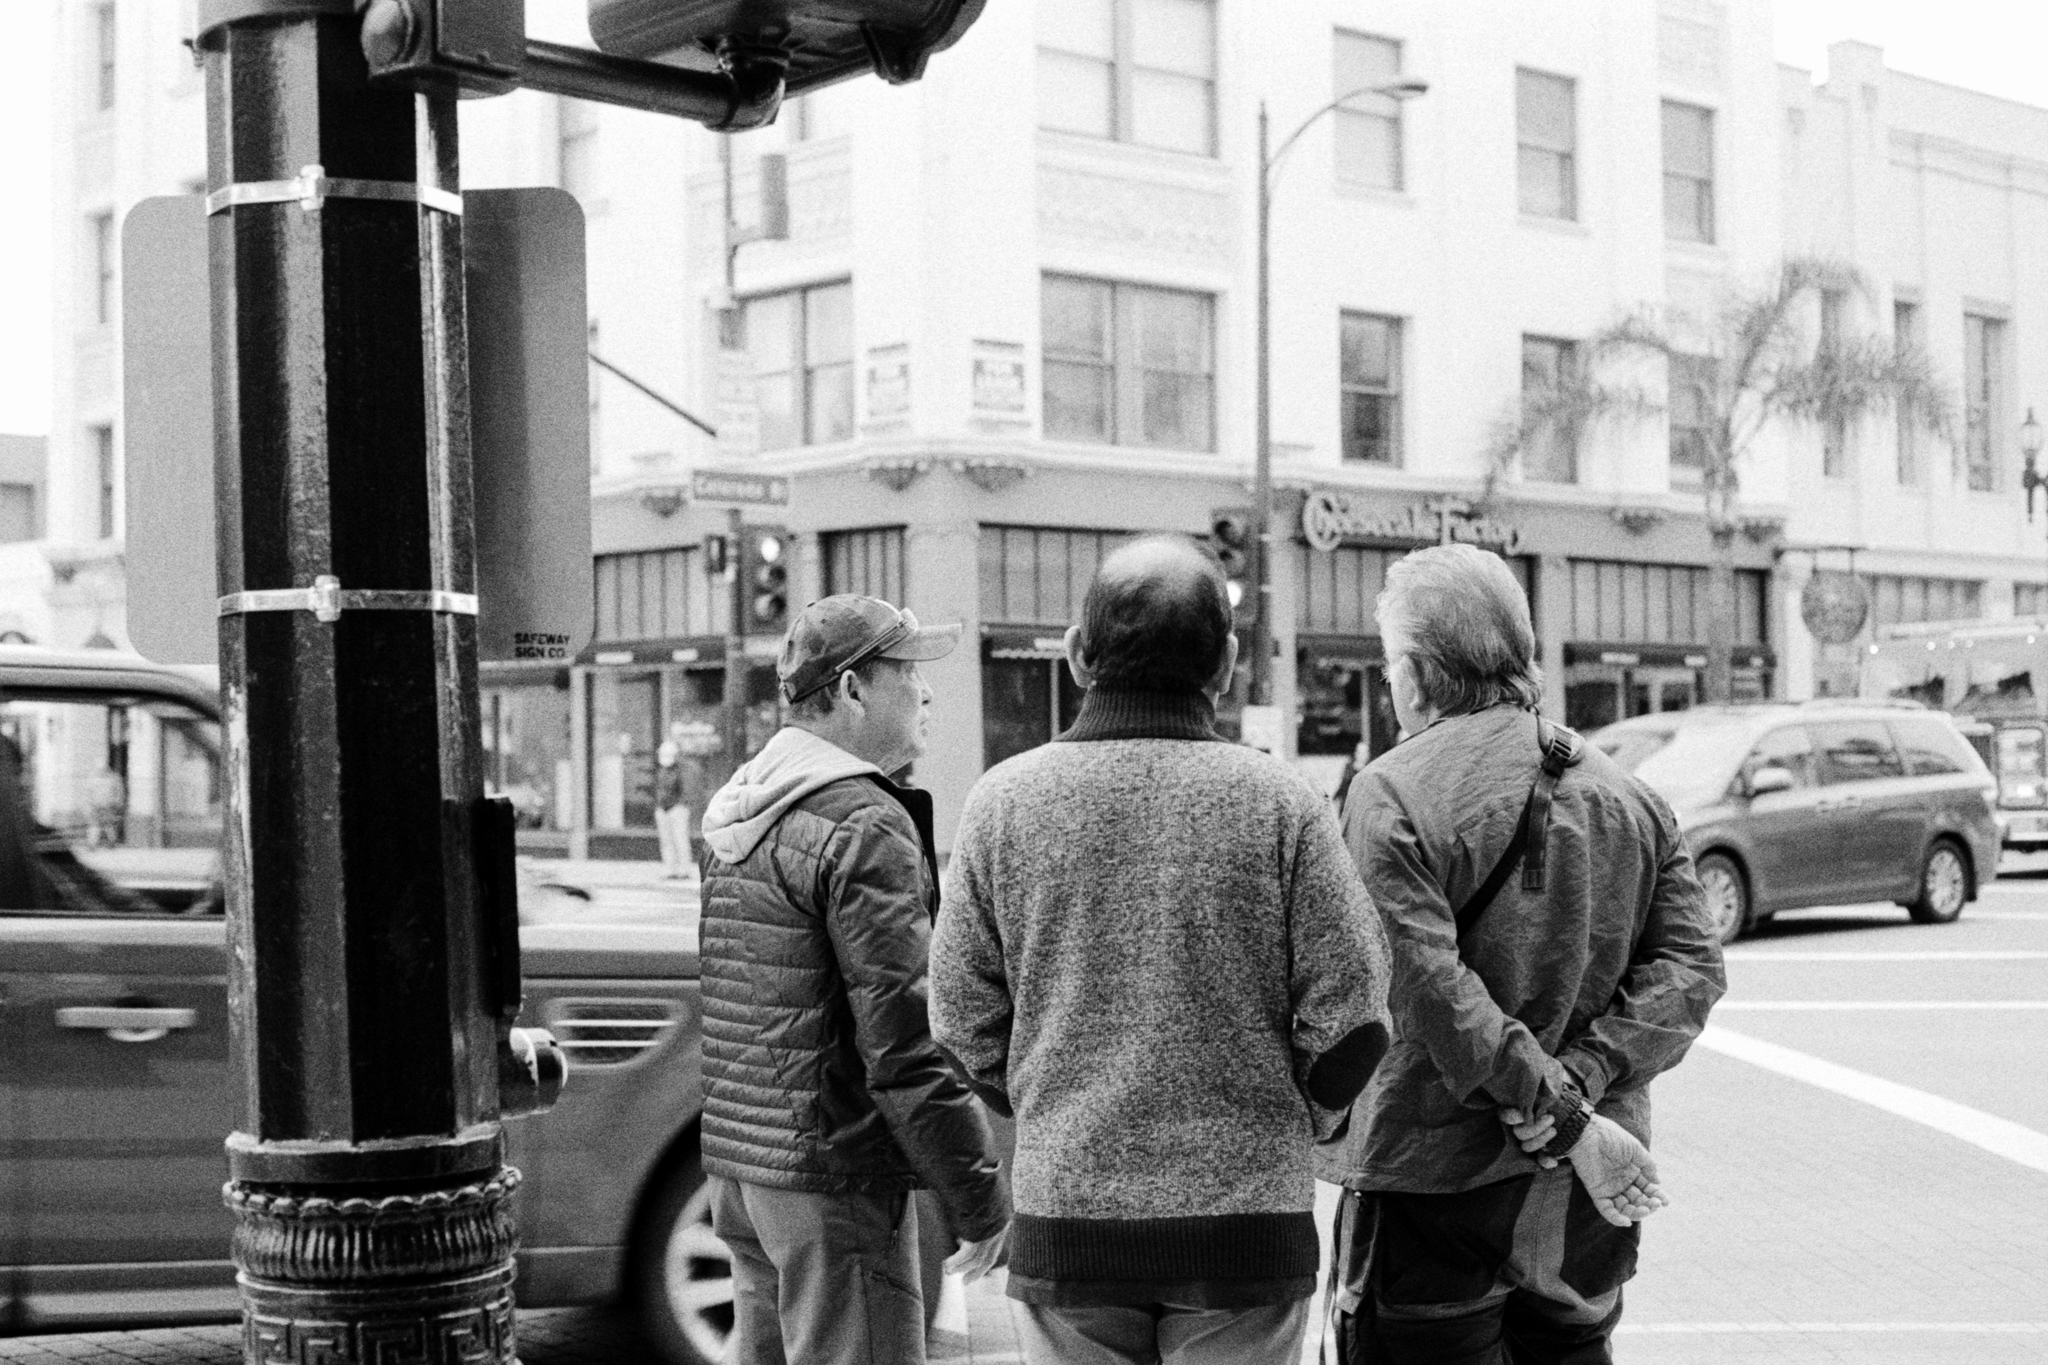
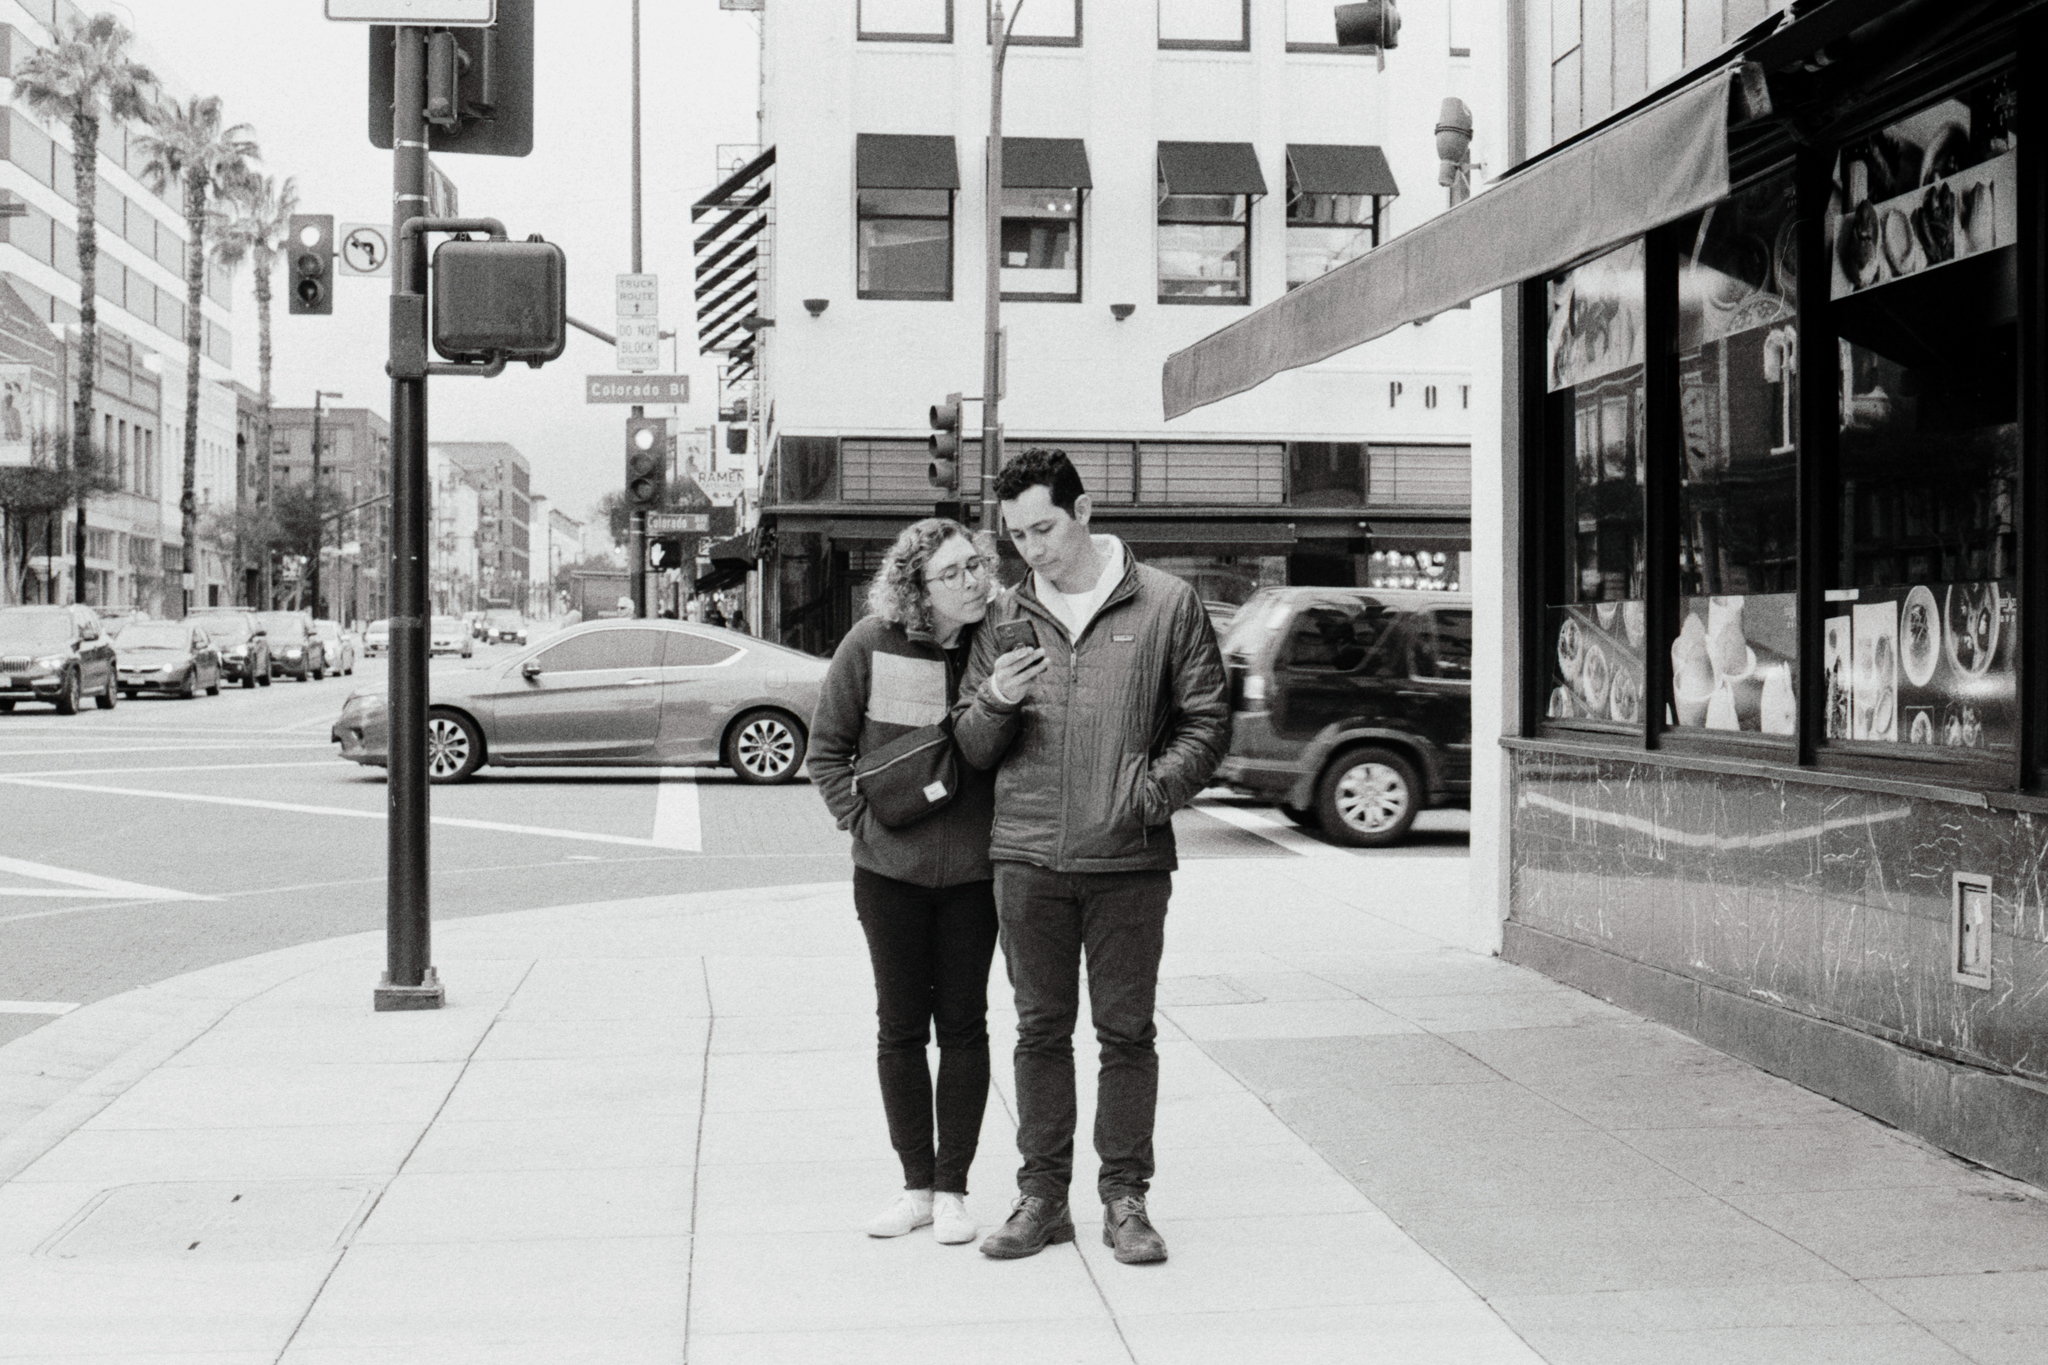
The Photos


What I Like and Dislike About This Camera
First thing I love about this camera is I no longer need to worry about the battery. Because these are not the regular double A, I don’t have a whole lot in hand all the time. Even if the battery is dead, I can still use this camera, just not as conveniently.
Second of all, this camera feels very reliable. I only had this camera for such a short time, so I could not say how long it will last me, but just judging by the solid metal body, the titanium shutter curtain, it feels like it will last me a long time.
And this is a pretty powerful camera, the fastest shutter speed is 1/4000, that’s really fast, mechanically. I think it is the fastest shutter speed you can get on this level of 35mm film camera. And the sync speed can go as high as 1/250, making this camera a very versatile piece of gear.
For how powerful this camera is, I just love the simplicity of it. I once said the Hasselblad 501c makes the shooting experience feel important. This camera seems like it’s on the total opposite side. Once you get used to all the dials and the levers, the camera somewhat becomes part of you, the shooting experience feels so natural, and your mind can fully focus on the image itself. Does that make sense?
Things I don’t like about this camera, besides the safety lock driving me insane, I just wish the exposure display is more accurate? Like the traditional display we are used to? But I mean, at this point, I’m really just “picking bones out of eggs.” So…
Everything being said, this is more of my first impression of this camera, since I only shot… rolls with this. Maybe down the road, we can do a long-term review if I use this camera enough. You know I have been absent with medium format lately… If you also own this camera, let me know how you feel about it in the comment section.
Alright, this is it for this week’s video. I hope you enjoy it. If you do, click that like button, and consider subscribing to my channel for more “Sam just got a new toy” content. Stay tuned. This is Sam, I will see you next time. Bye.


Leave a comment