Hey guys, it’s Sam, welcome back to another episode of “Parking is so difficult in LA!!”… I mean, shooting Cinestill 800t during the day!! It rhymes…
If you don’t know what Cinestill 800t is, where have you been?? and you have failed… the internet!! In the past few months, I have made a couple of Cinestill 800t videos, we’ve shot some street photos, some night-time portraits, we tried pushing it to 3200 ISO… I have been really curious, how would this film look during the day.
Cinestill 800T, the ‘T’ stands for Tungsten, the color balance of this film is around 3200K, so it’s bluer… And since it’s an 800-speed film, the 800t seems like it is designed for night photography. And today, we are going to do another test shoot, let’s find out how Cinestill 800t looks like for daytime portraits.


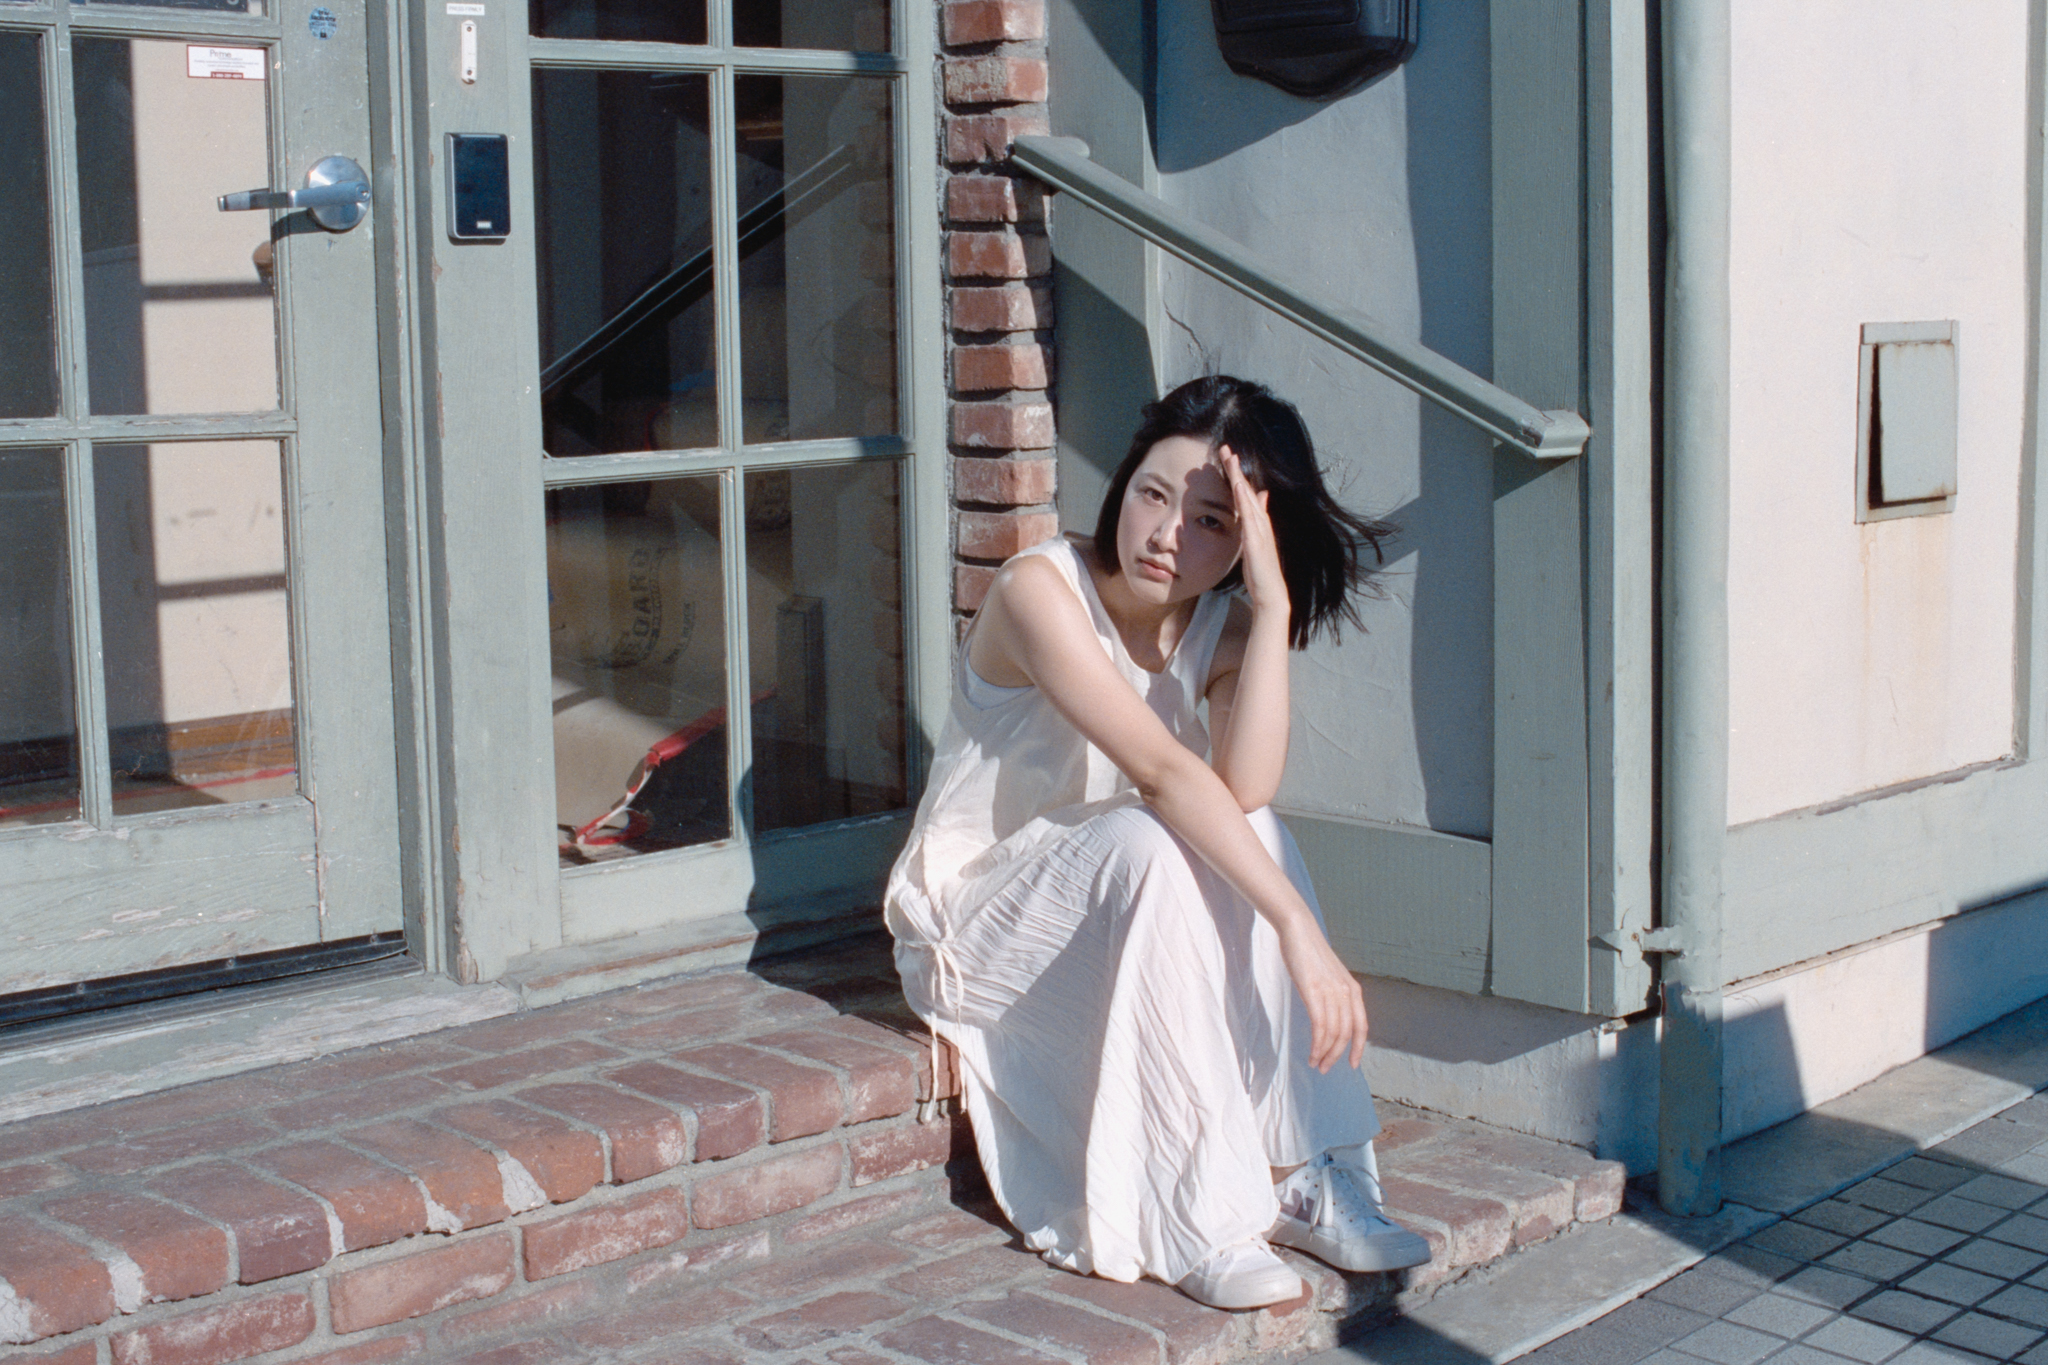
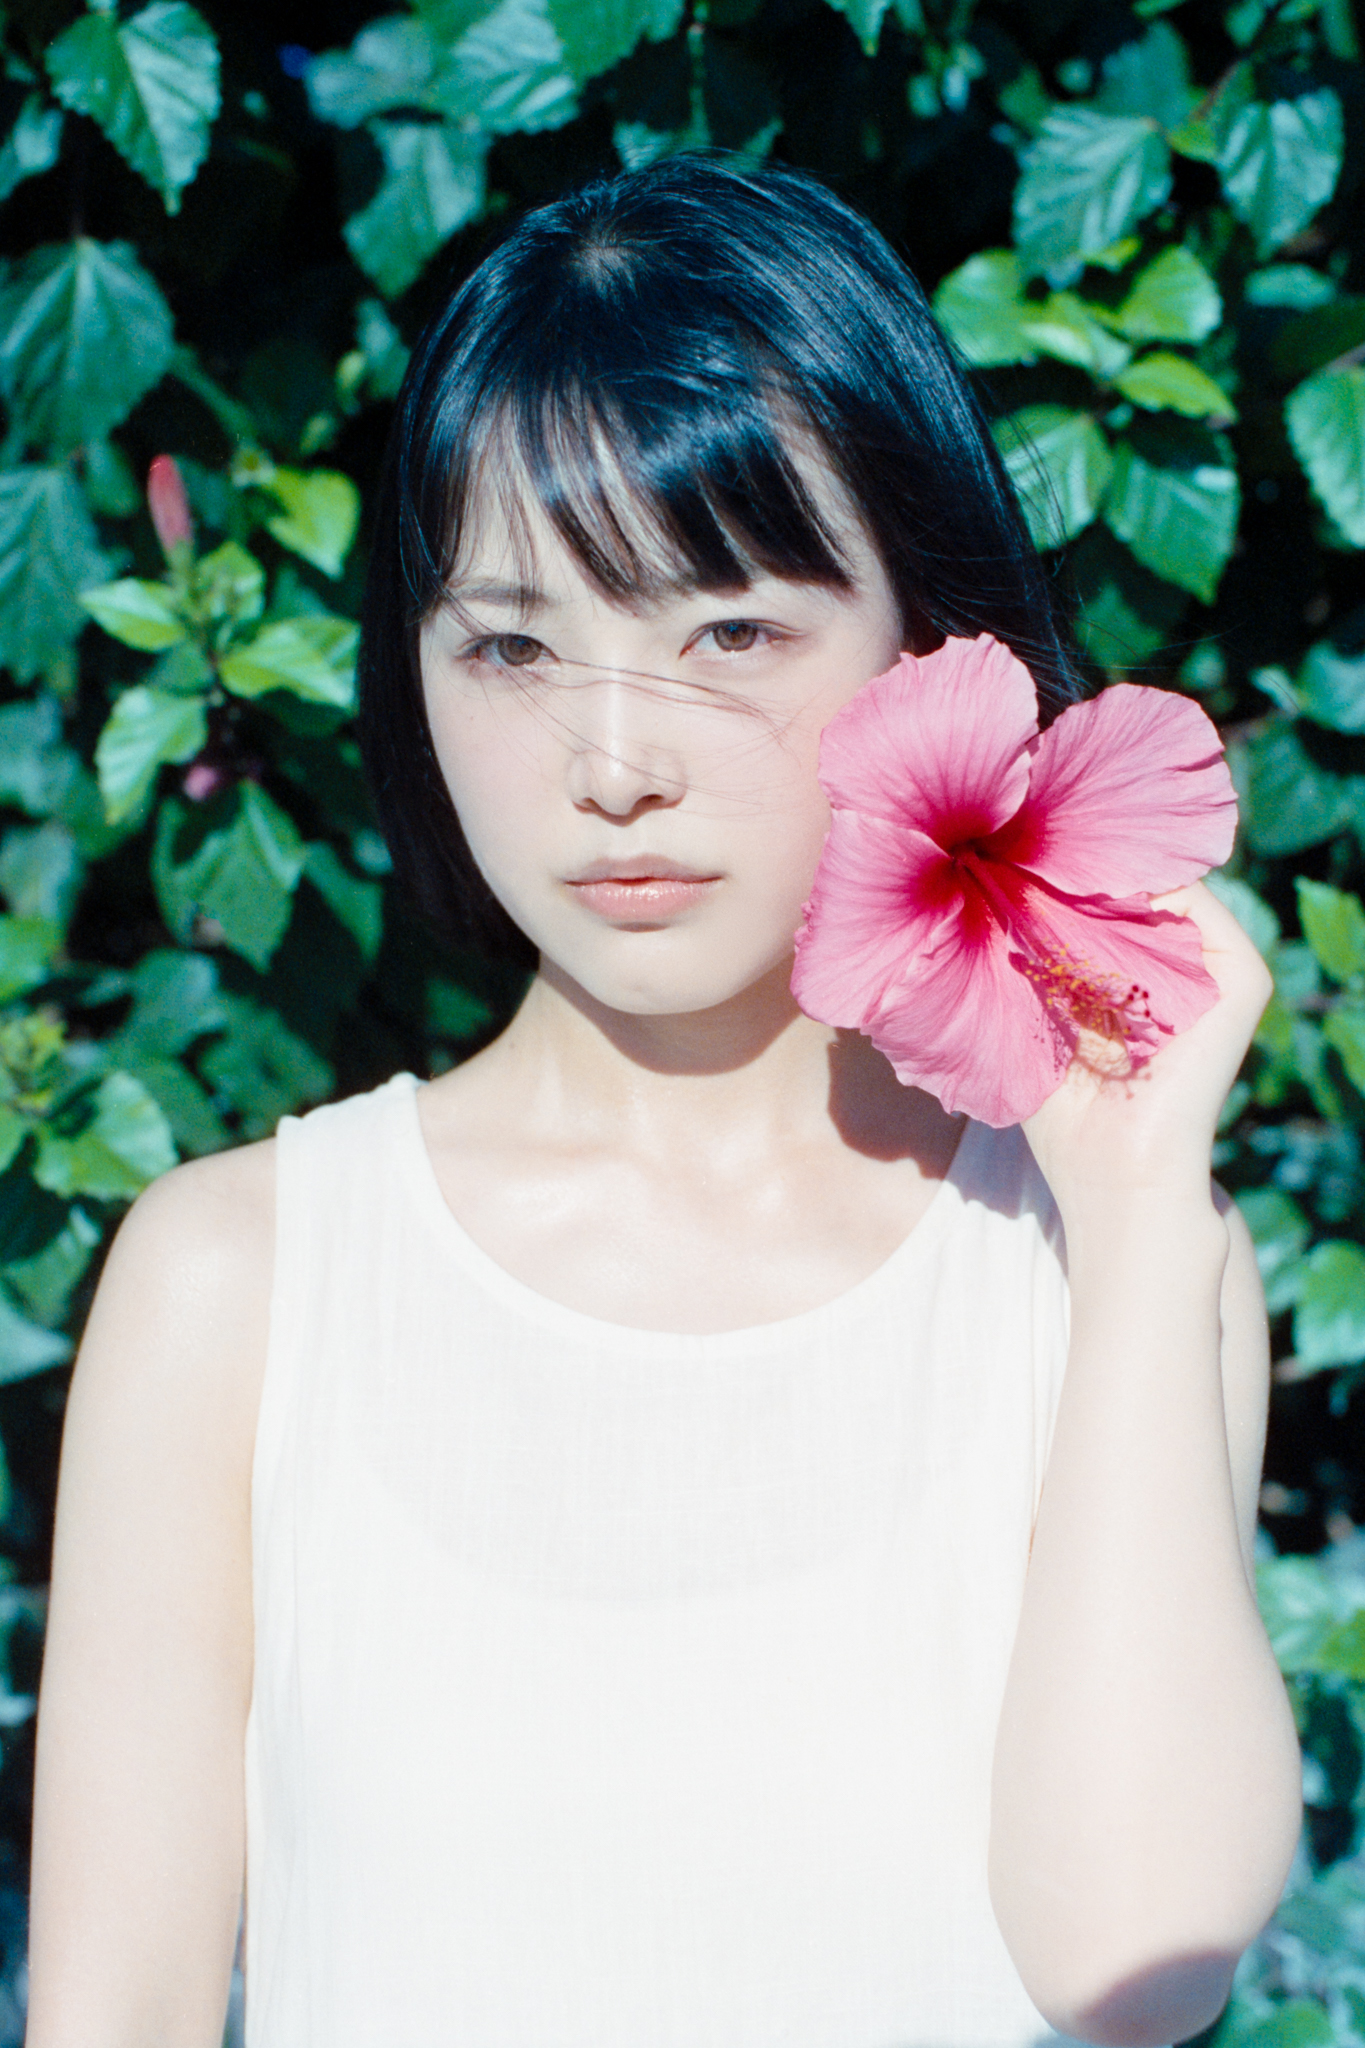
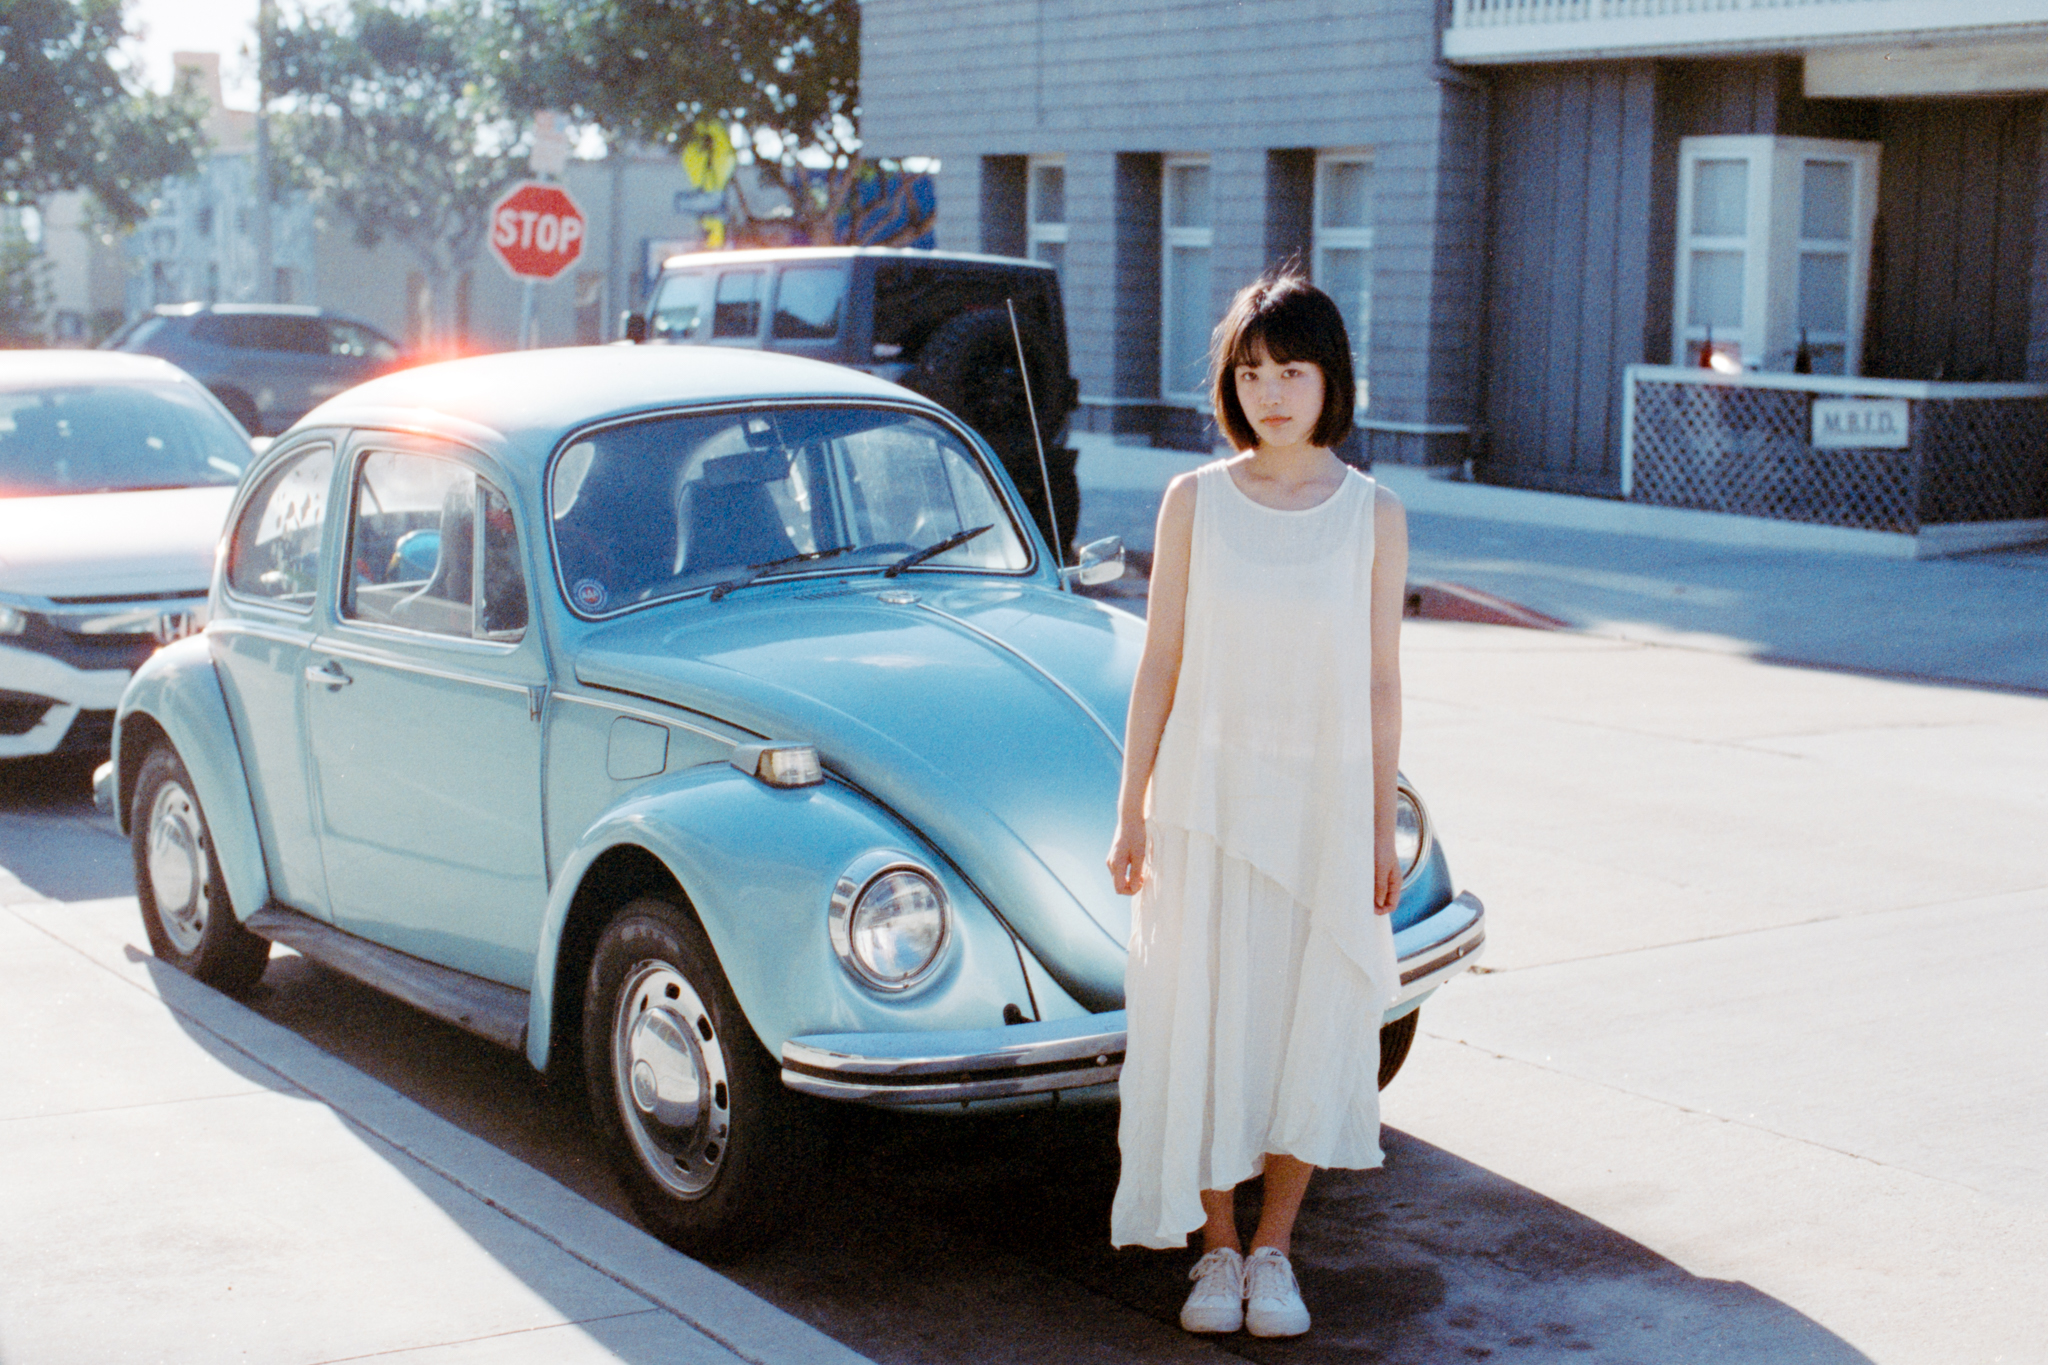
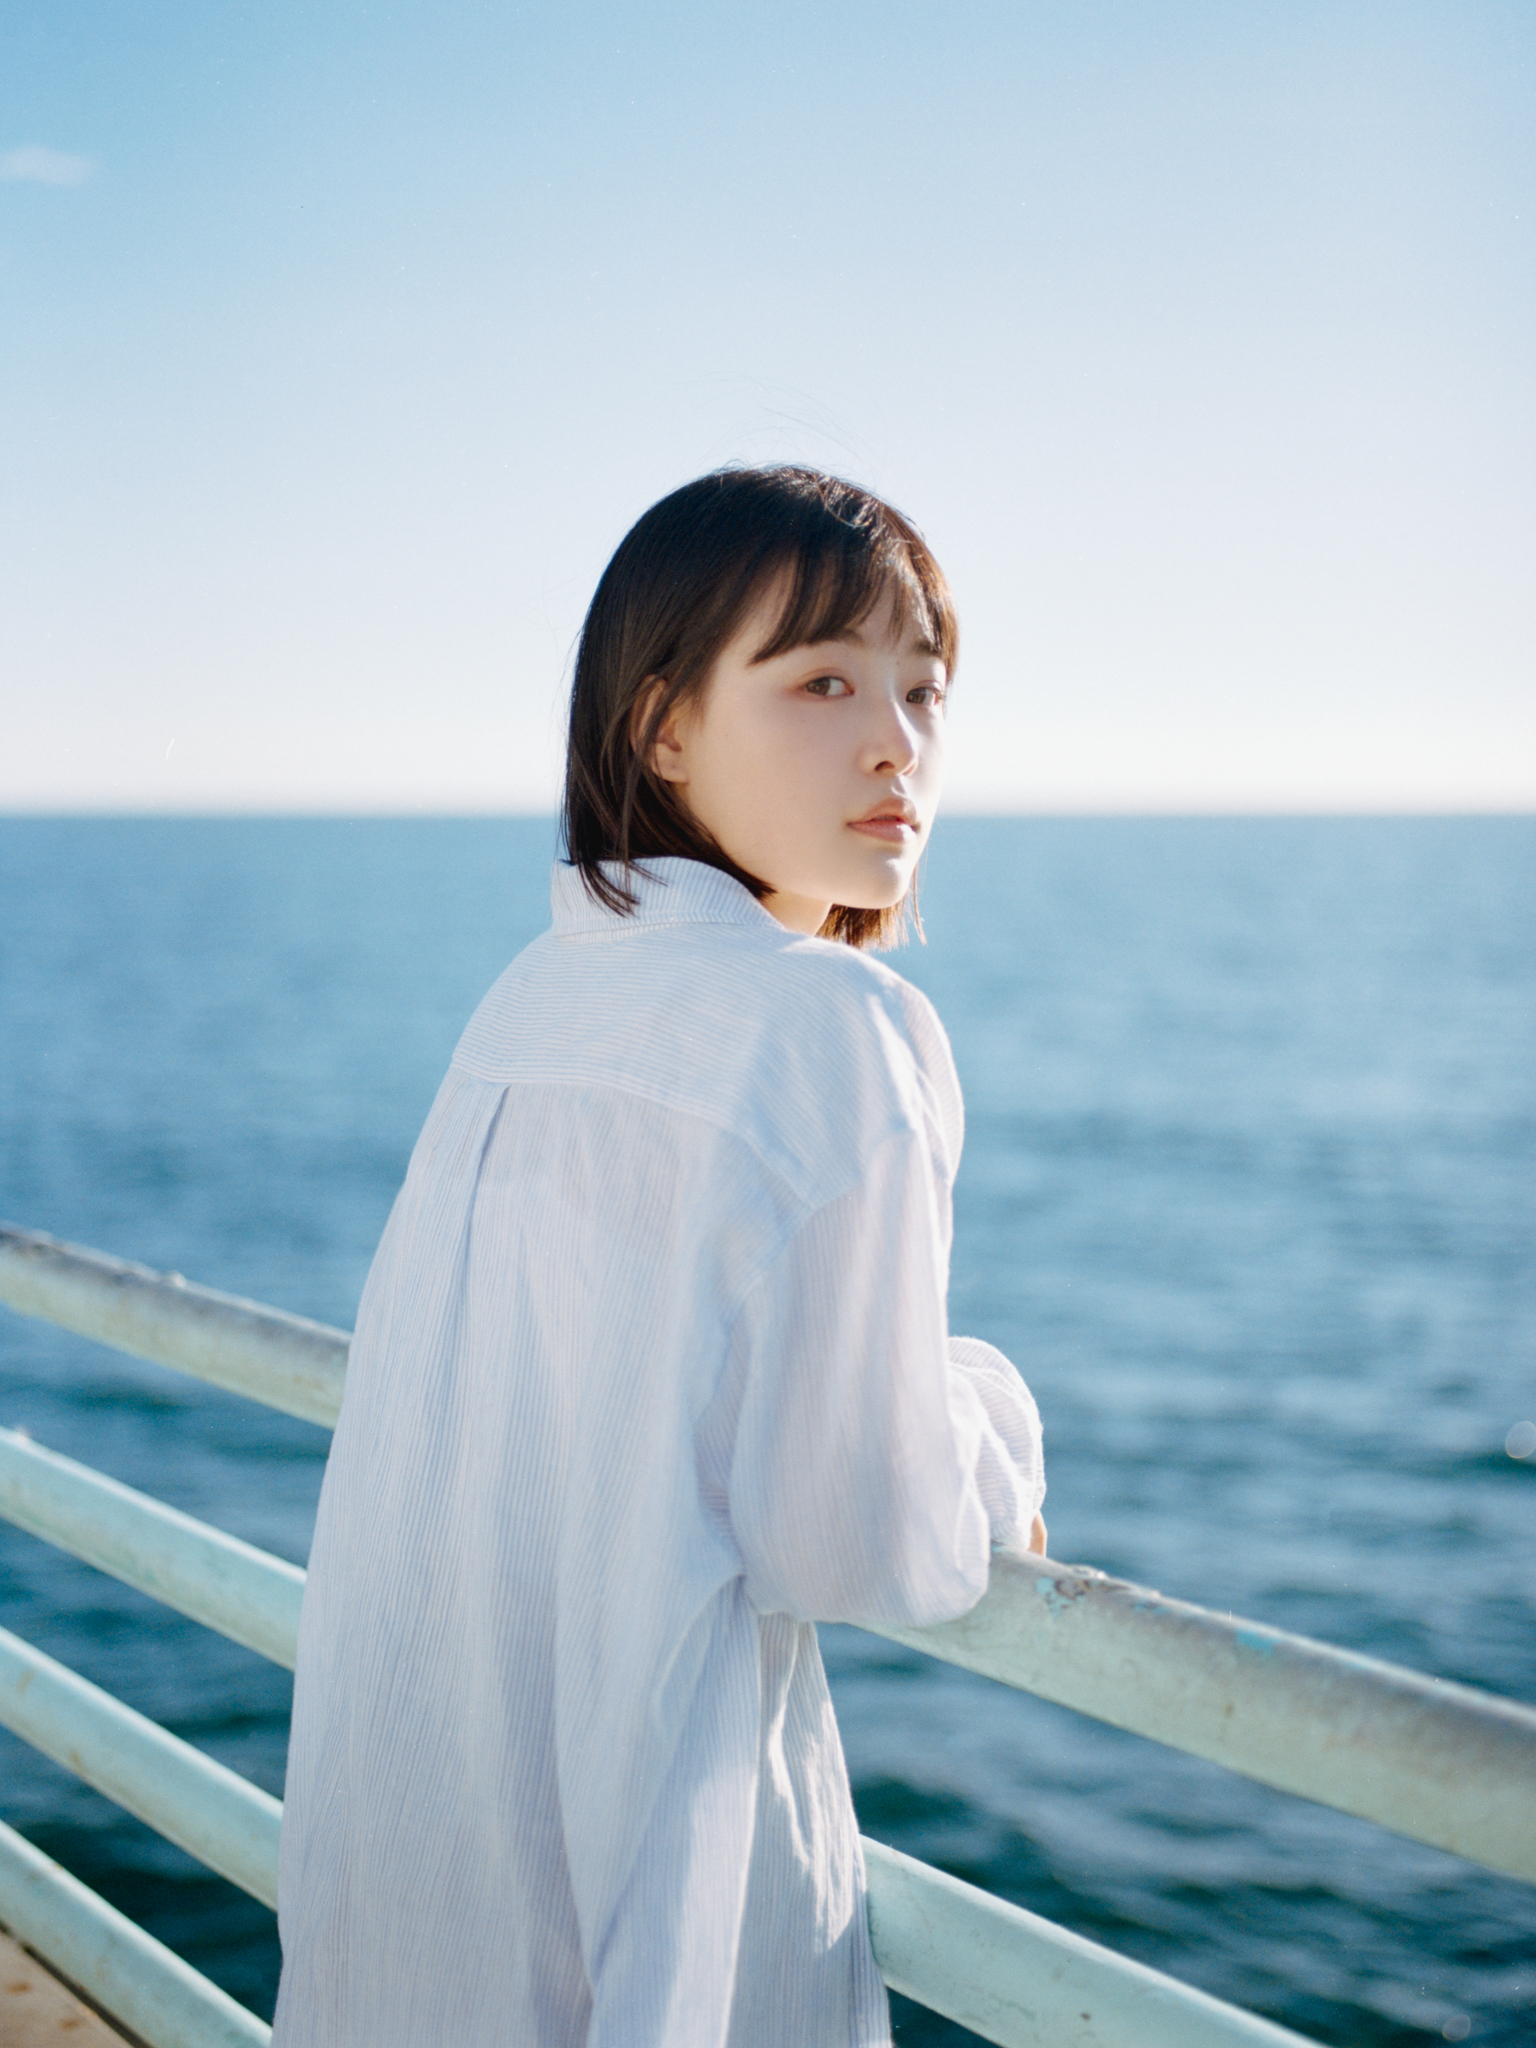
This is our model for the day, Janis, we found each other… on the internet. We met up around Manhattan Beach, about 4 pm in the afternoon, the weather was beautiful. We decided to walk around the town a little bit before heading to the pier. The first photo came out… different.
Alright, before we go any further, we should talk about my scanning and converting process, because this step will affect how your film looks. I think it’s very important to understand that the color you see from film in this video is my own interpretation of Cinestill. Let me explain.
After I scan my film negative, I convert them with Negative Lab Pro, I’ll link my home scanning process video up there if you want to see my full process. When I convert the negative, there are a few preset color files you can choose.
For example, the default covert could look like this, then if we come down to the white balance option, you can see there are a bunch of preset color balances, you can choose one according to what film stock you are using. This step determines the base color of your photo. So if I choose Cinestill T, it can look a bit green. I can also choose Kodak, even though this is not a Kodak film. Or if I don’t like any of the presets, I can also manually adjust the midtone, the highlight, and the shadow separately to get the exact color I want.
Since we are shooting on Cinestill 800t, I kinda want to make the photo look a bit blue, so I left the color balance at neutral. Some people suggested using a yellow filter to correct the color balance when taking photos during the day. I think that kinda defeated the purpose of using this film stock, why not just use Kodak 800 then. (oh well, I guess sometimes you just can’t find Kodak film anywhere on the market…) And also, if you want, you can always adjust the white balance to make it look warmer in the editing process. I mean, I understand some people don’t edit their film photos at all…. so, the choices are yours.
And then I wondered, should we always stick with how the film is supposed to look like and select the matching film presets? If we can shift the color, does choosing different film stock when taking photos really matters beside the speed and latitude? Am I overthinking?
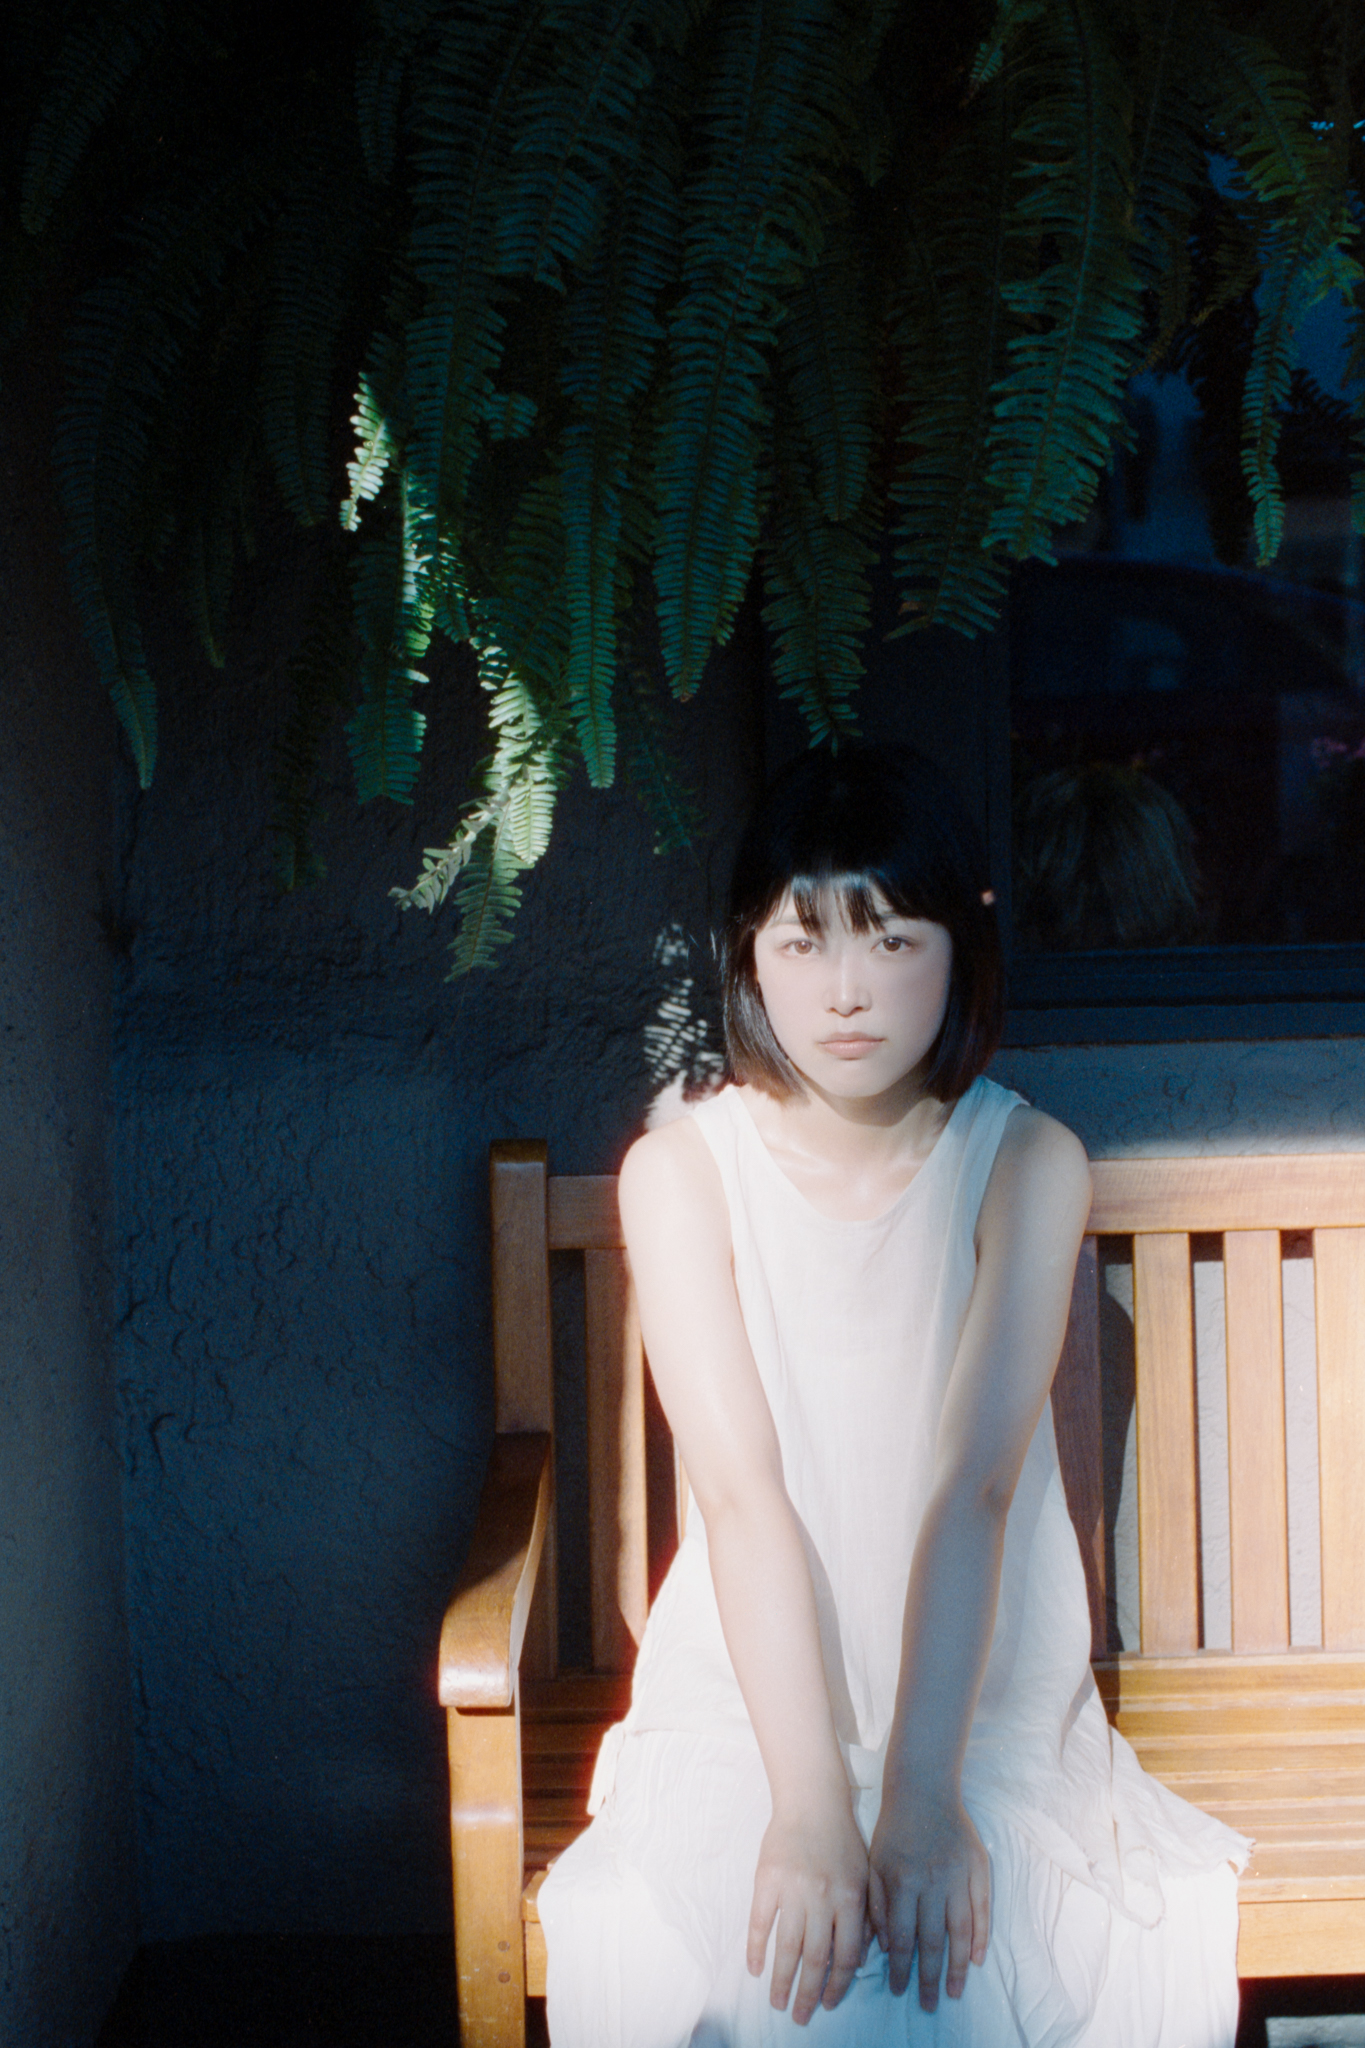
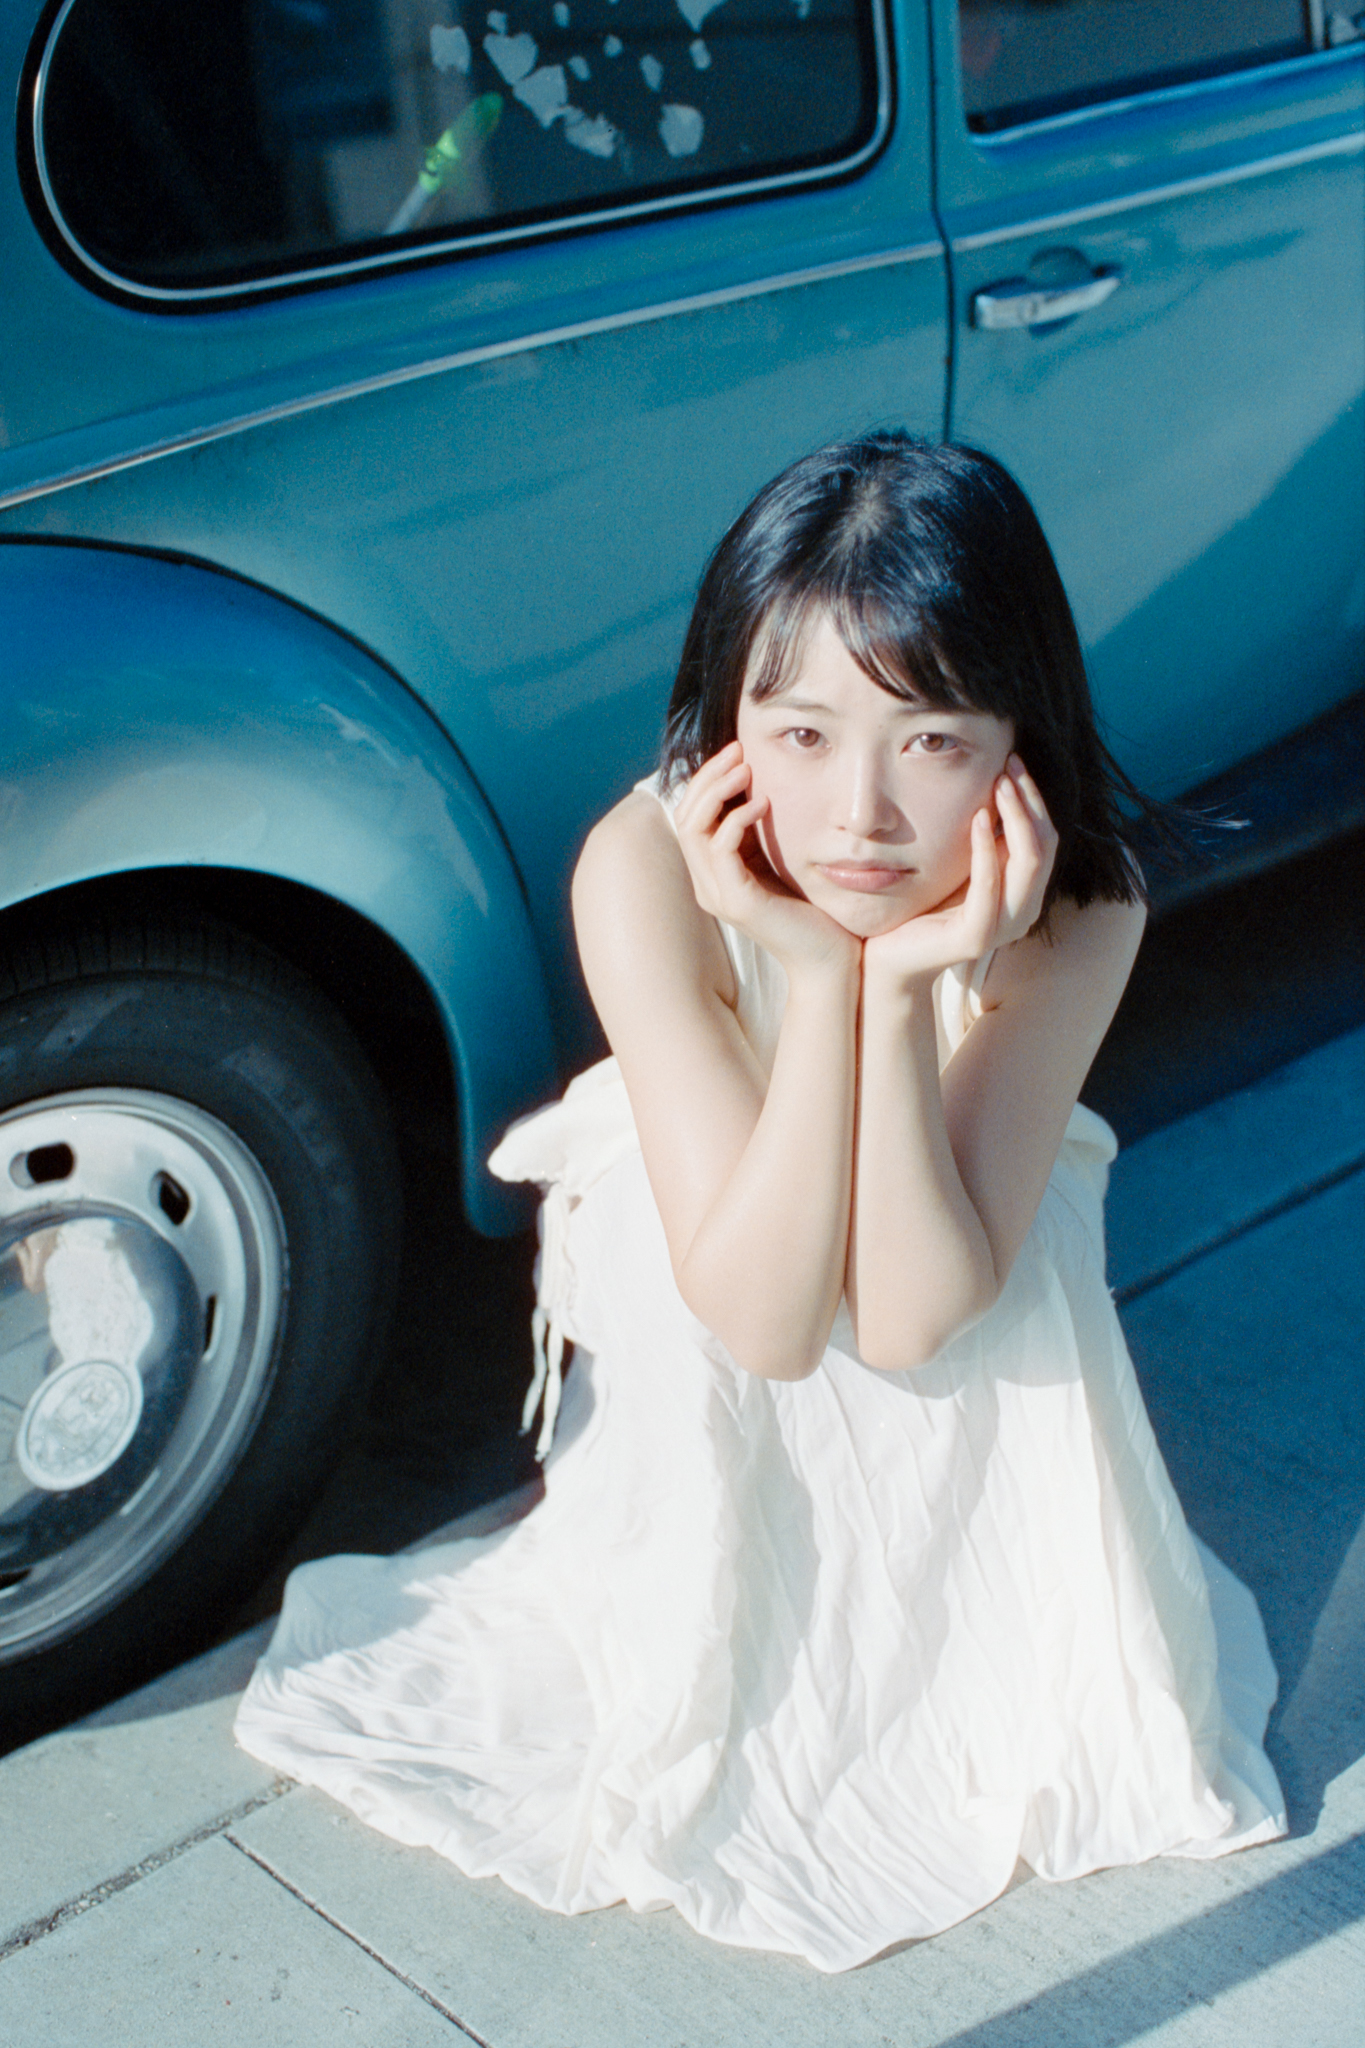
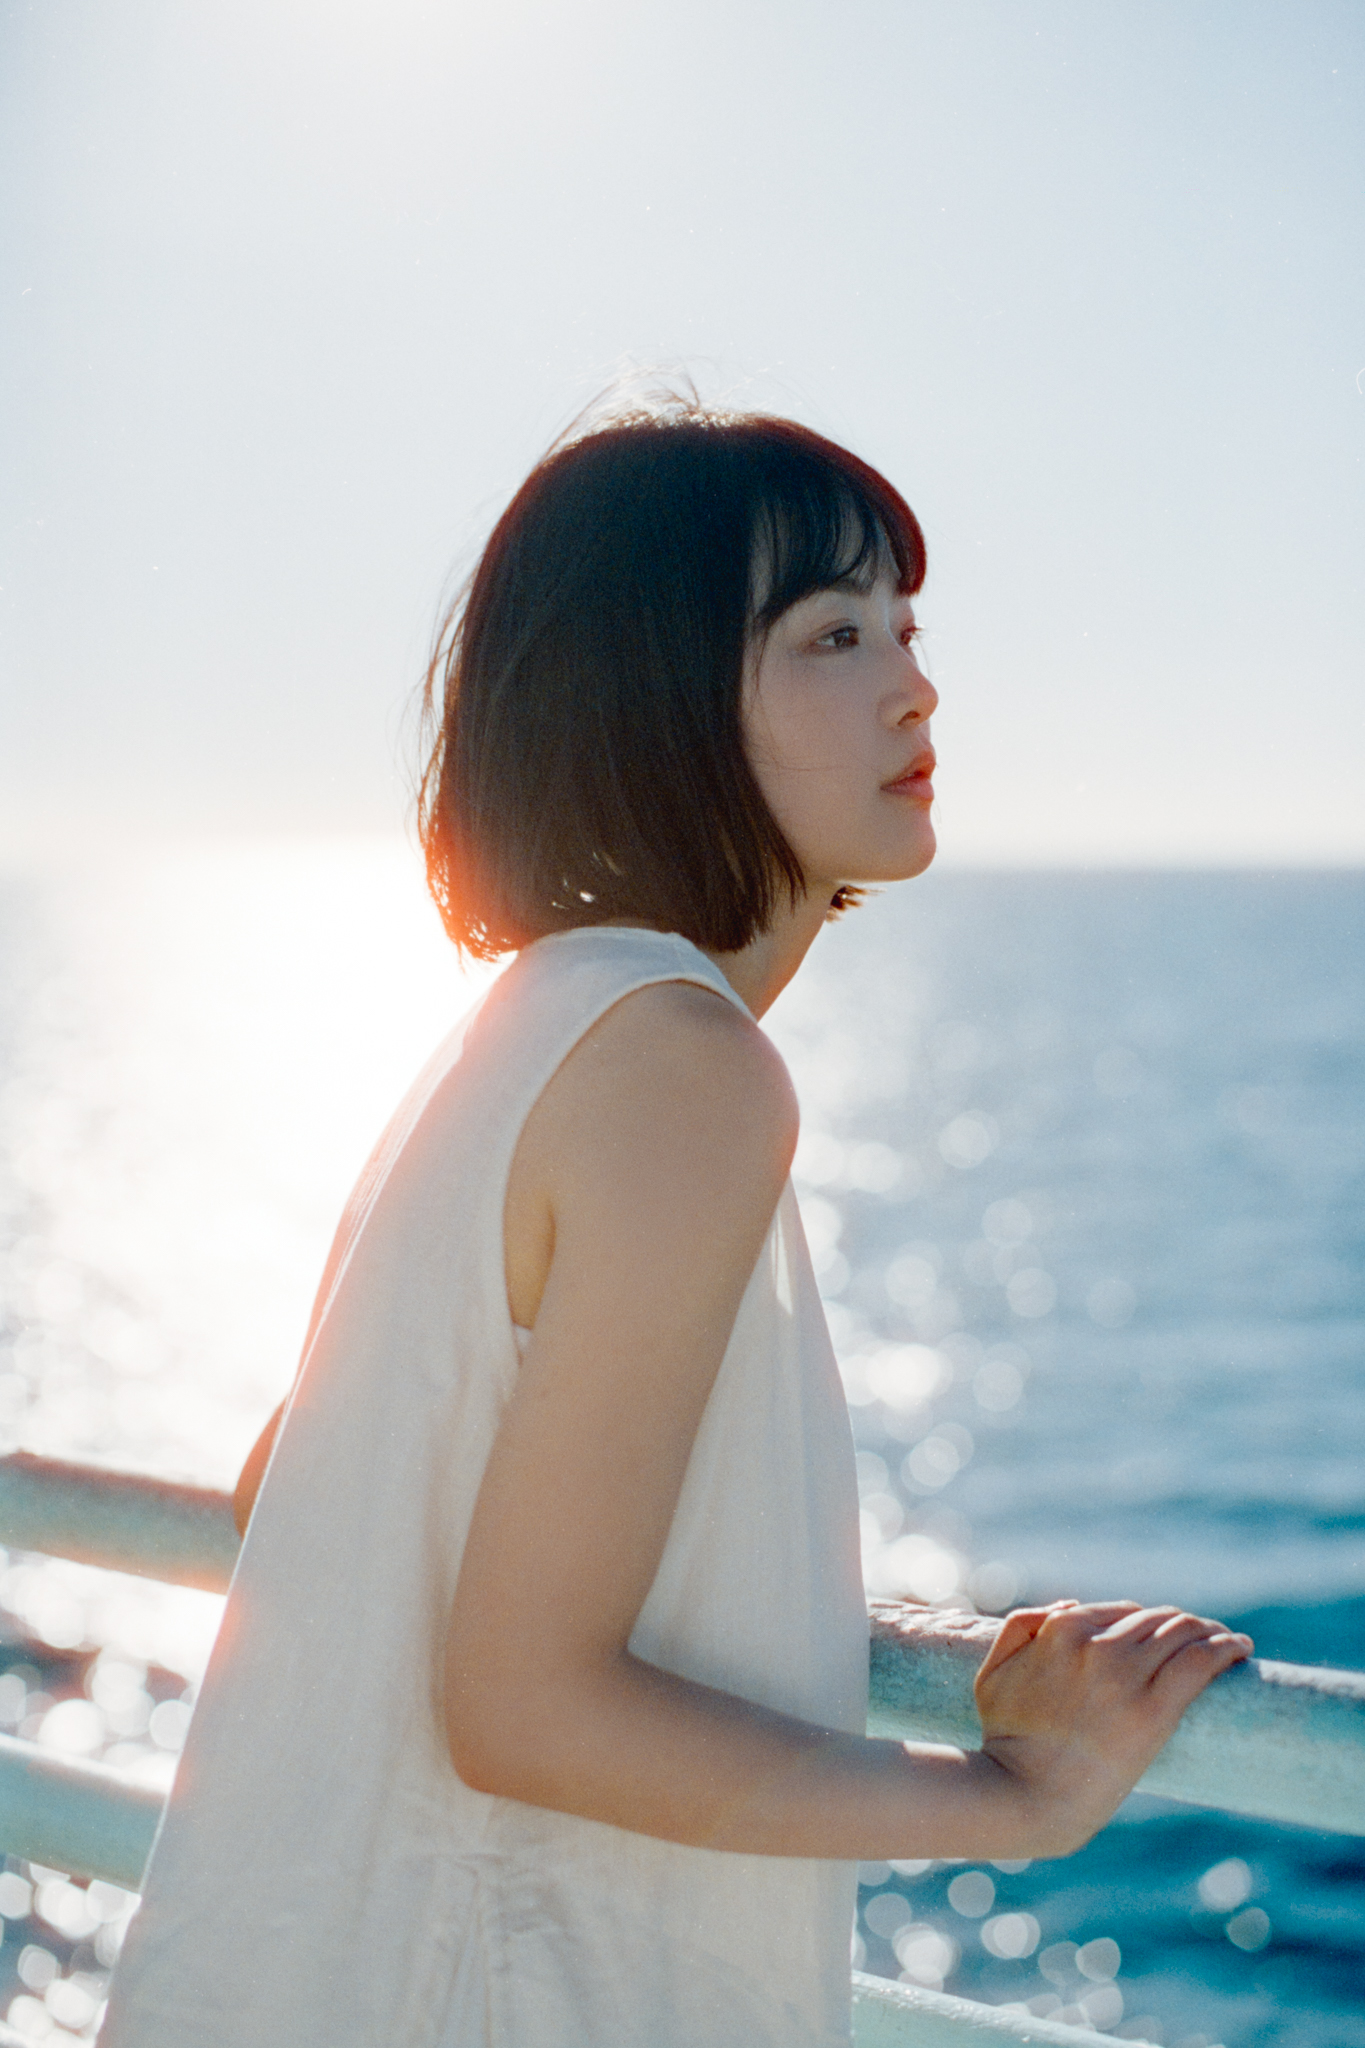
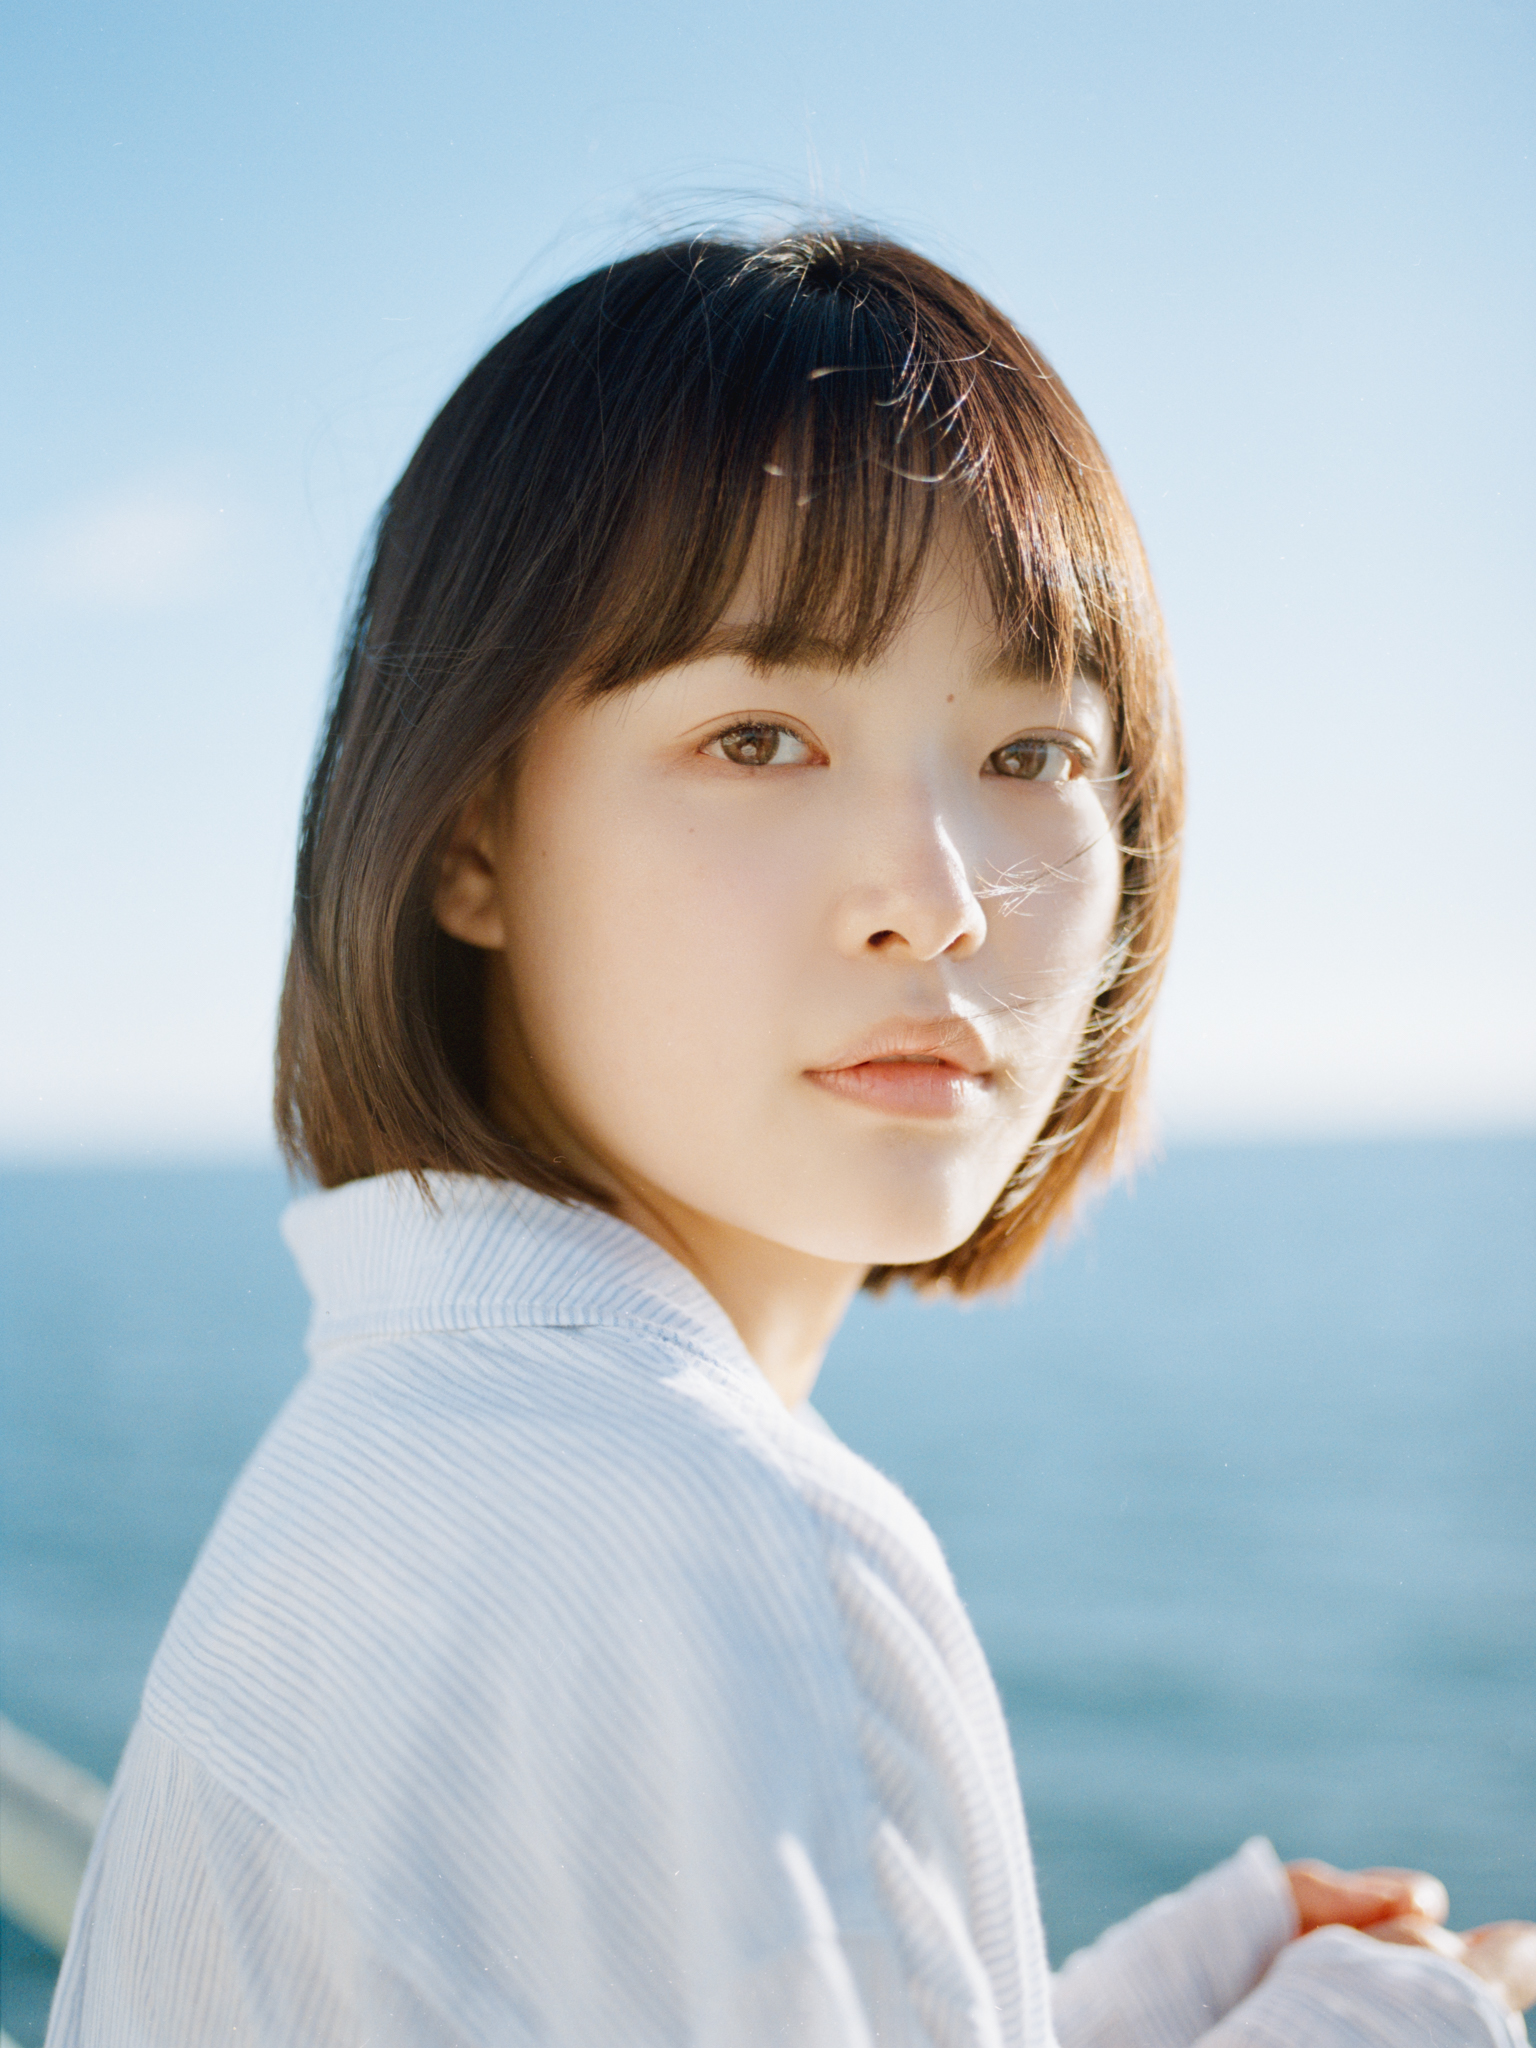
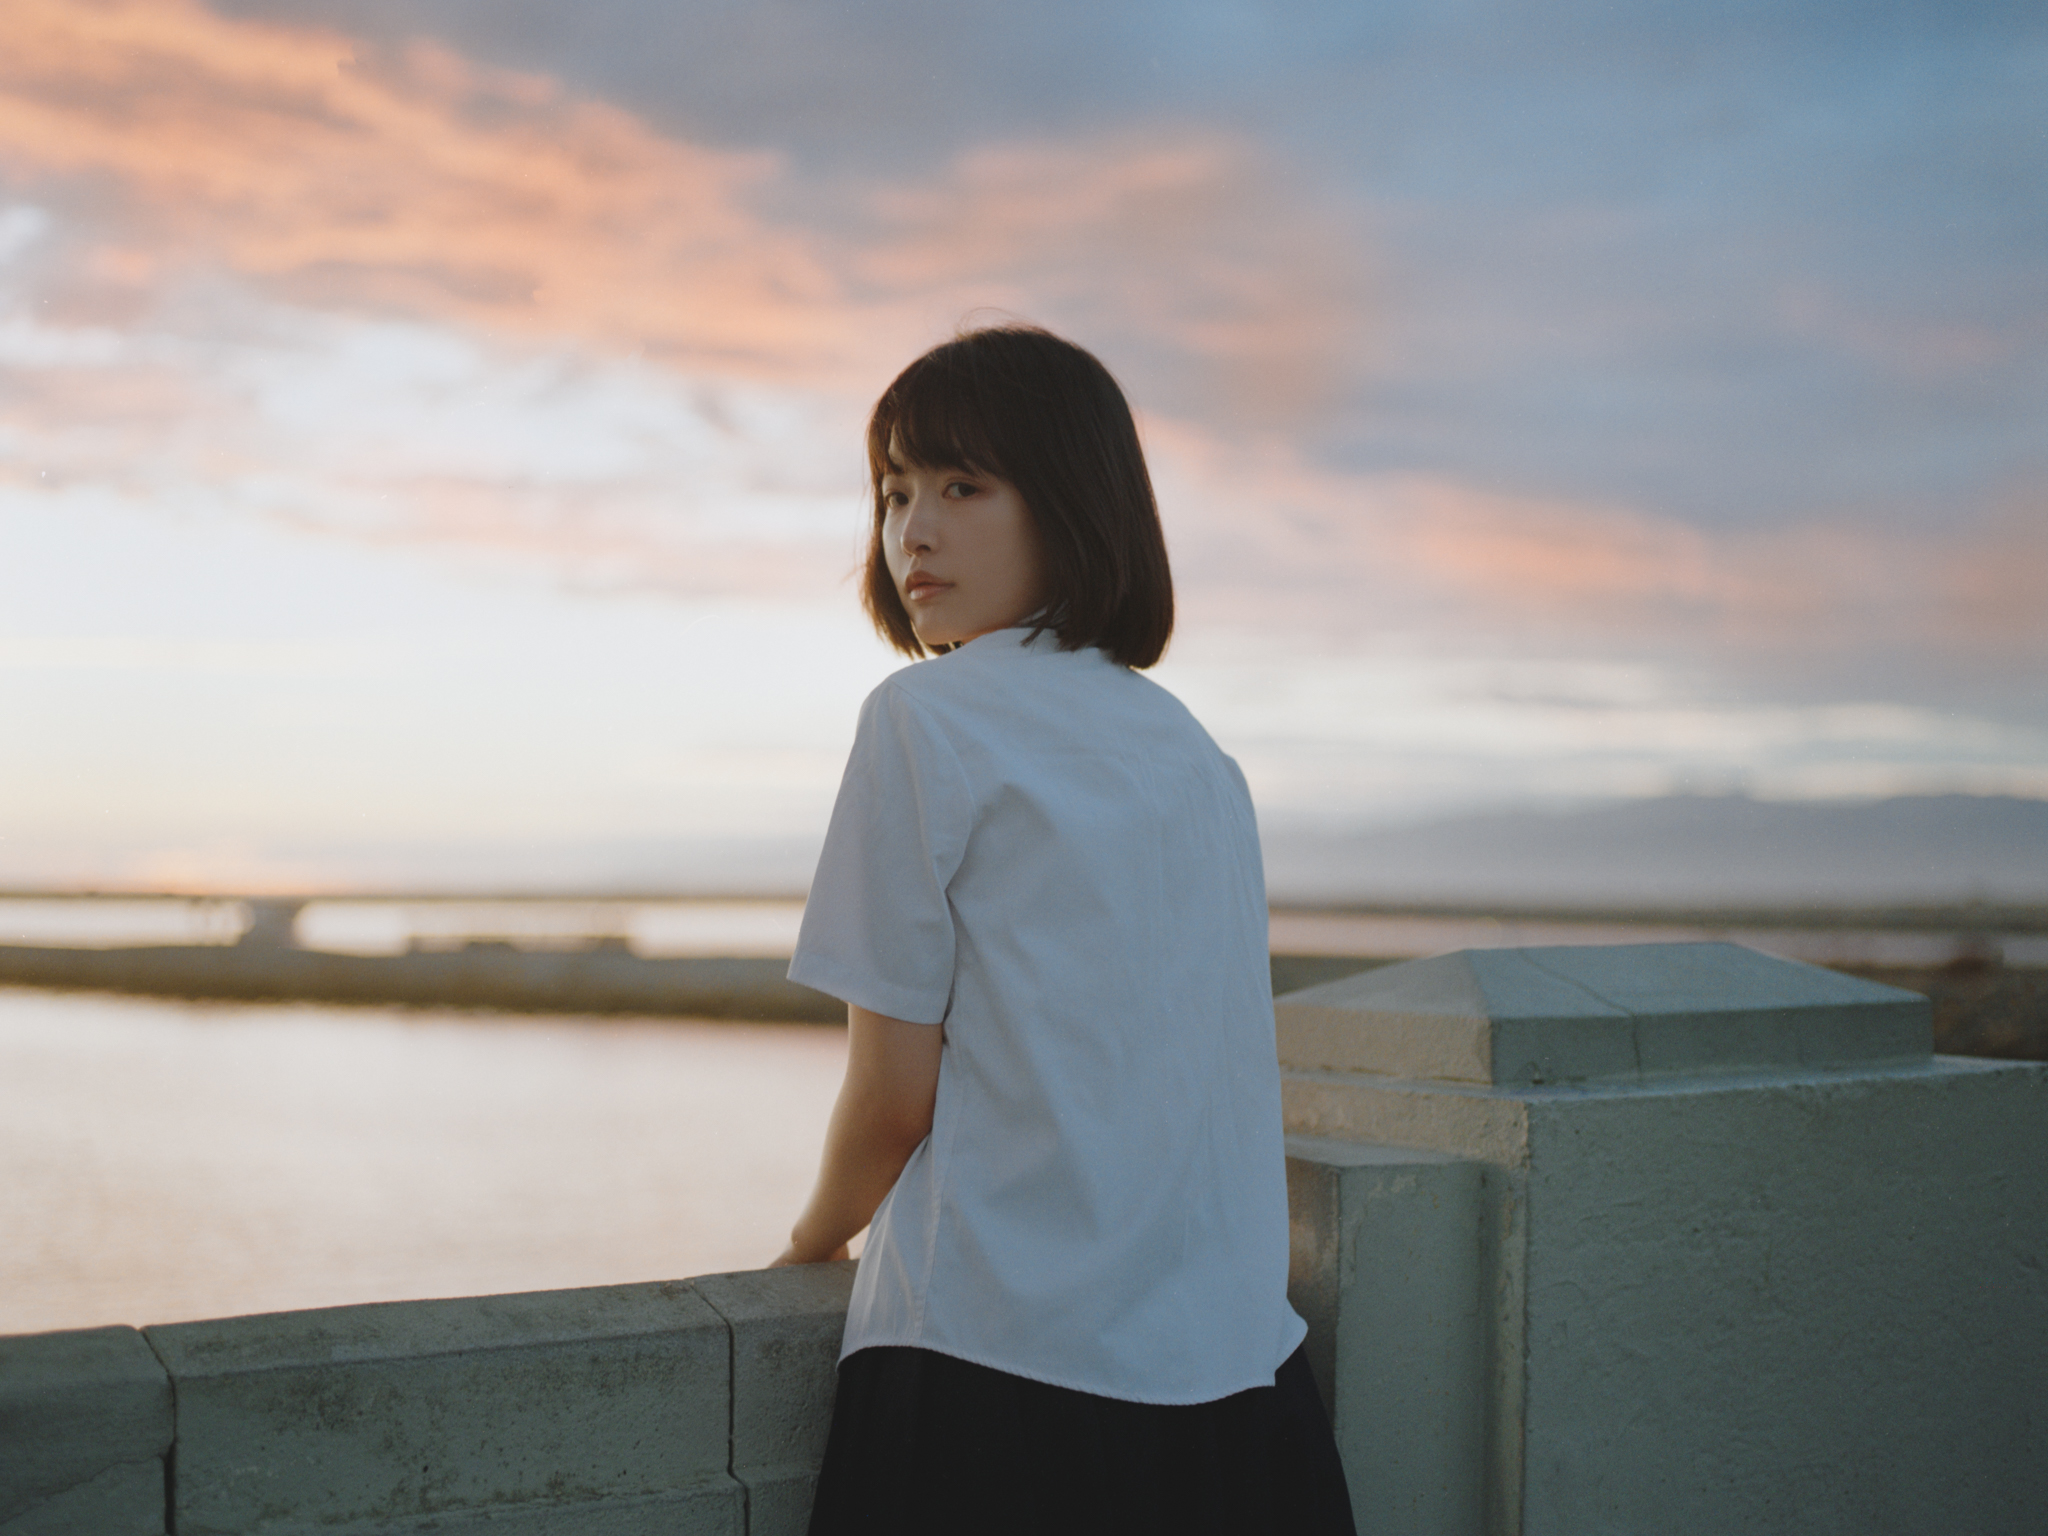
You can see a lot of blue in the shadow, but I do like how the skin tone looks, very low saturation, a bit washed, the slight halation around her makes her glow, I like that effect…
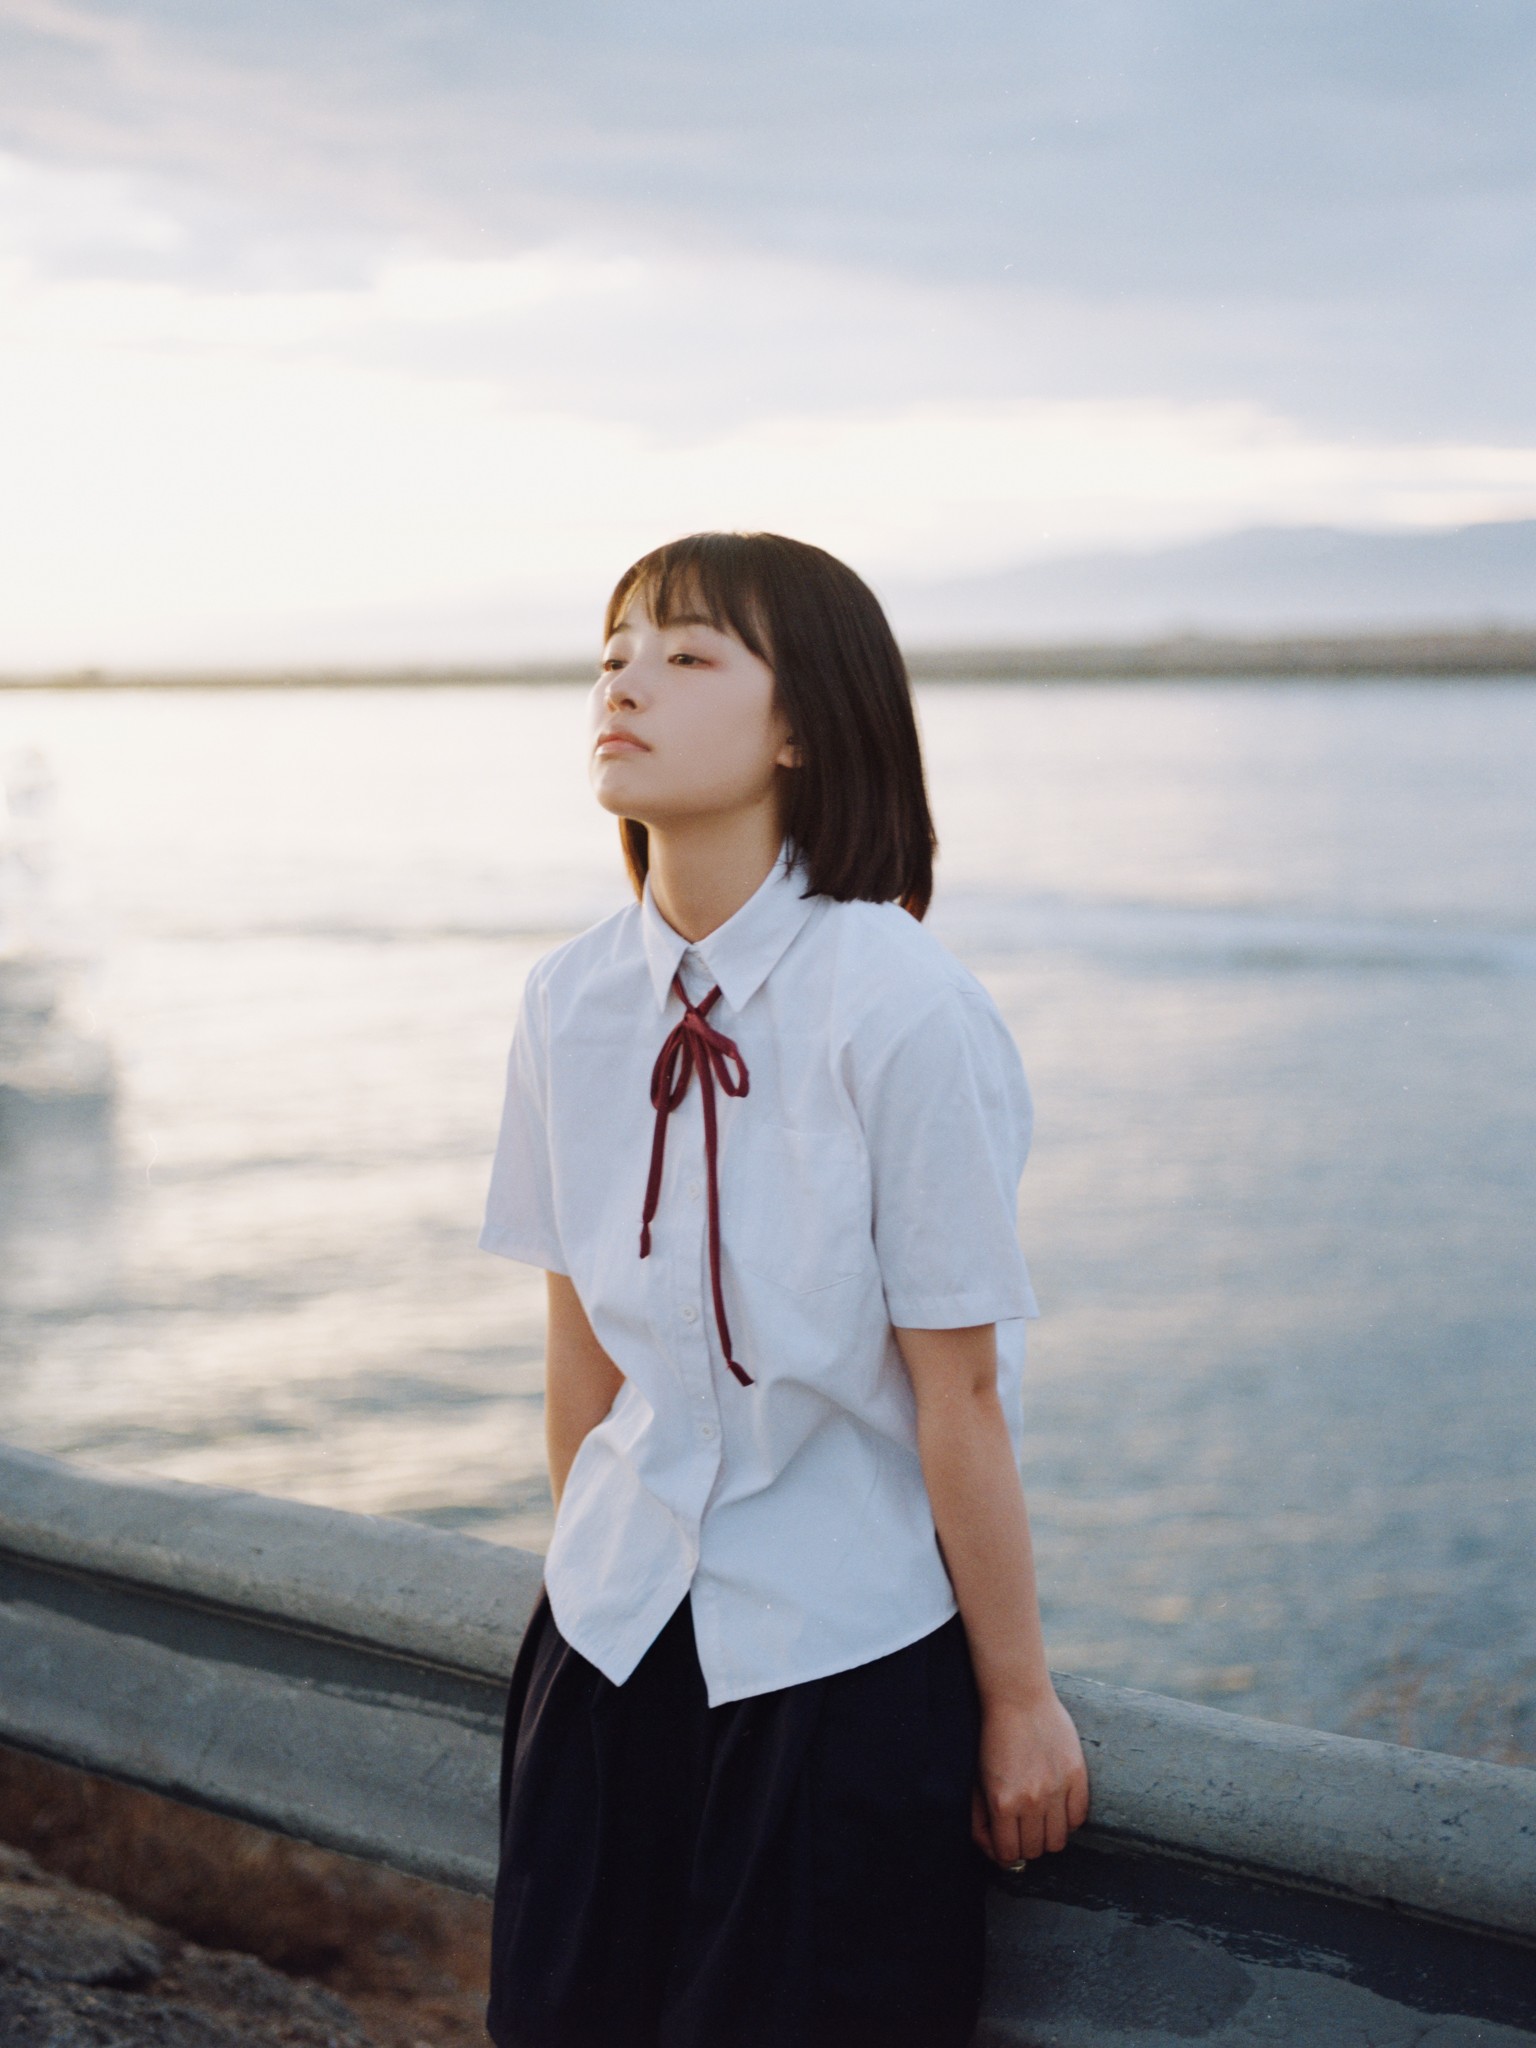
These are the photos to see how color looks in direct sunlight, how it handles the contrast of light and shadow. As far as color goes, it’s really a personal preference. Some may say the skin tone is too desaturated and too pale, but I like it, it’s the look I’m going for.
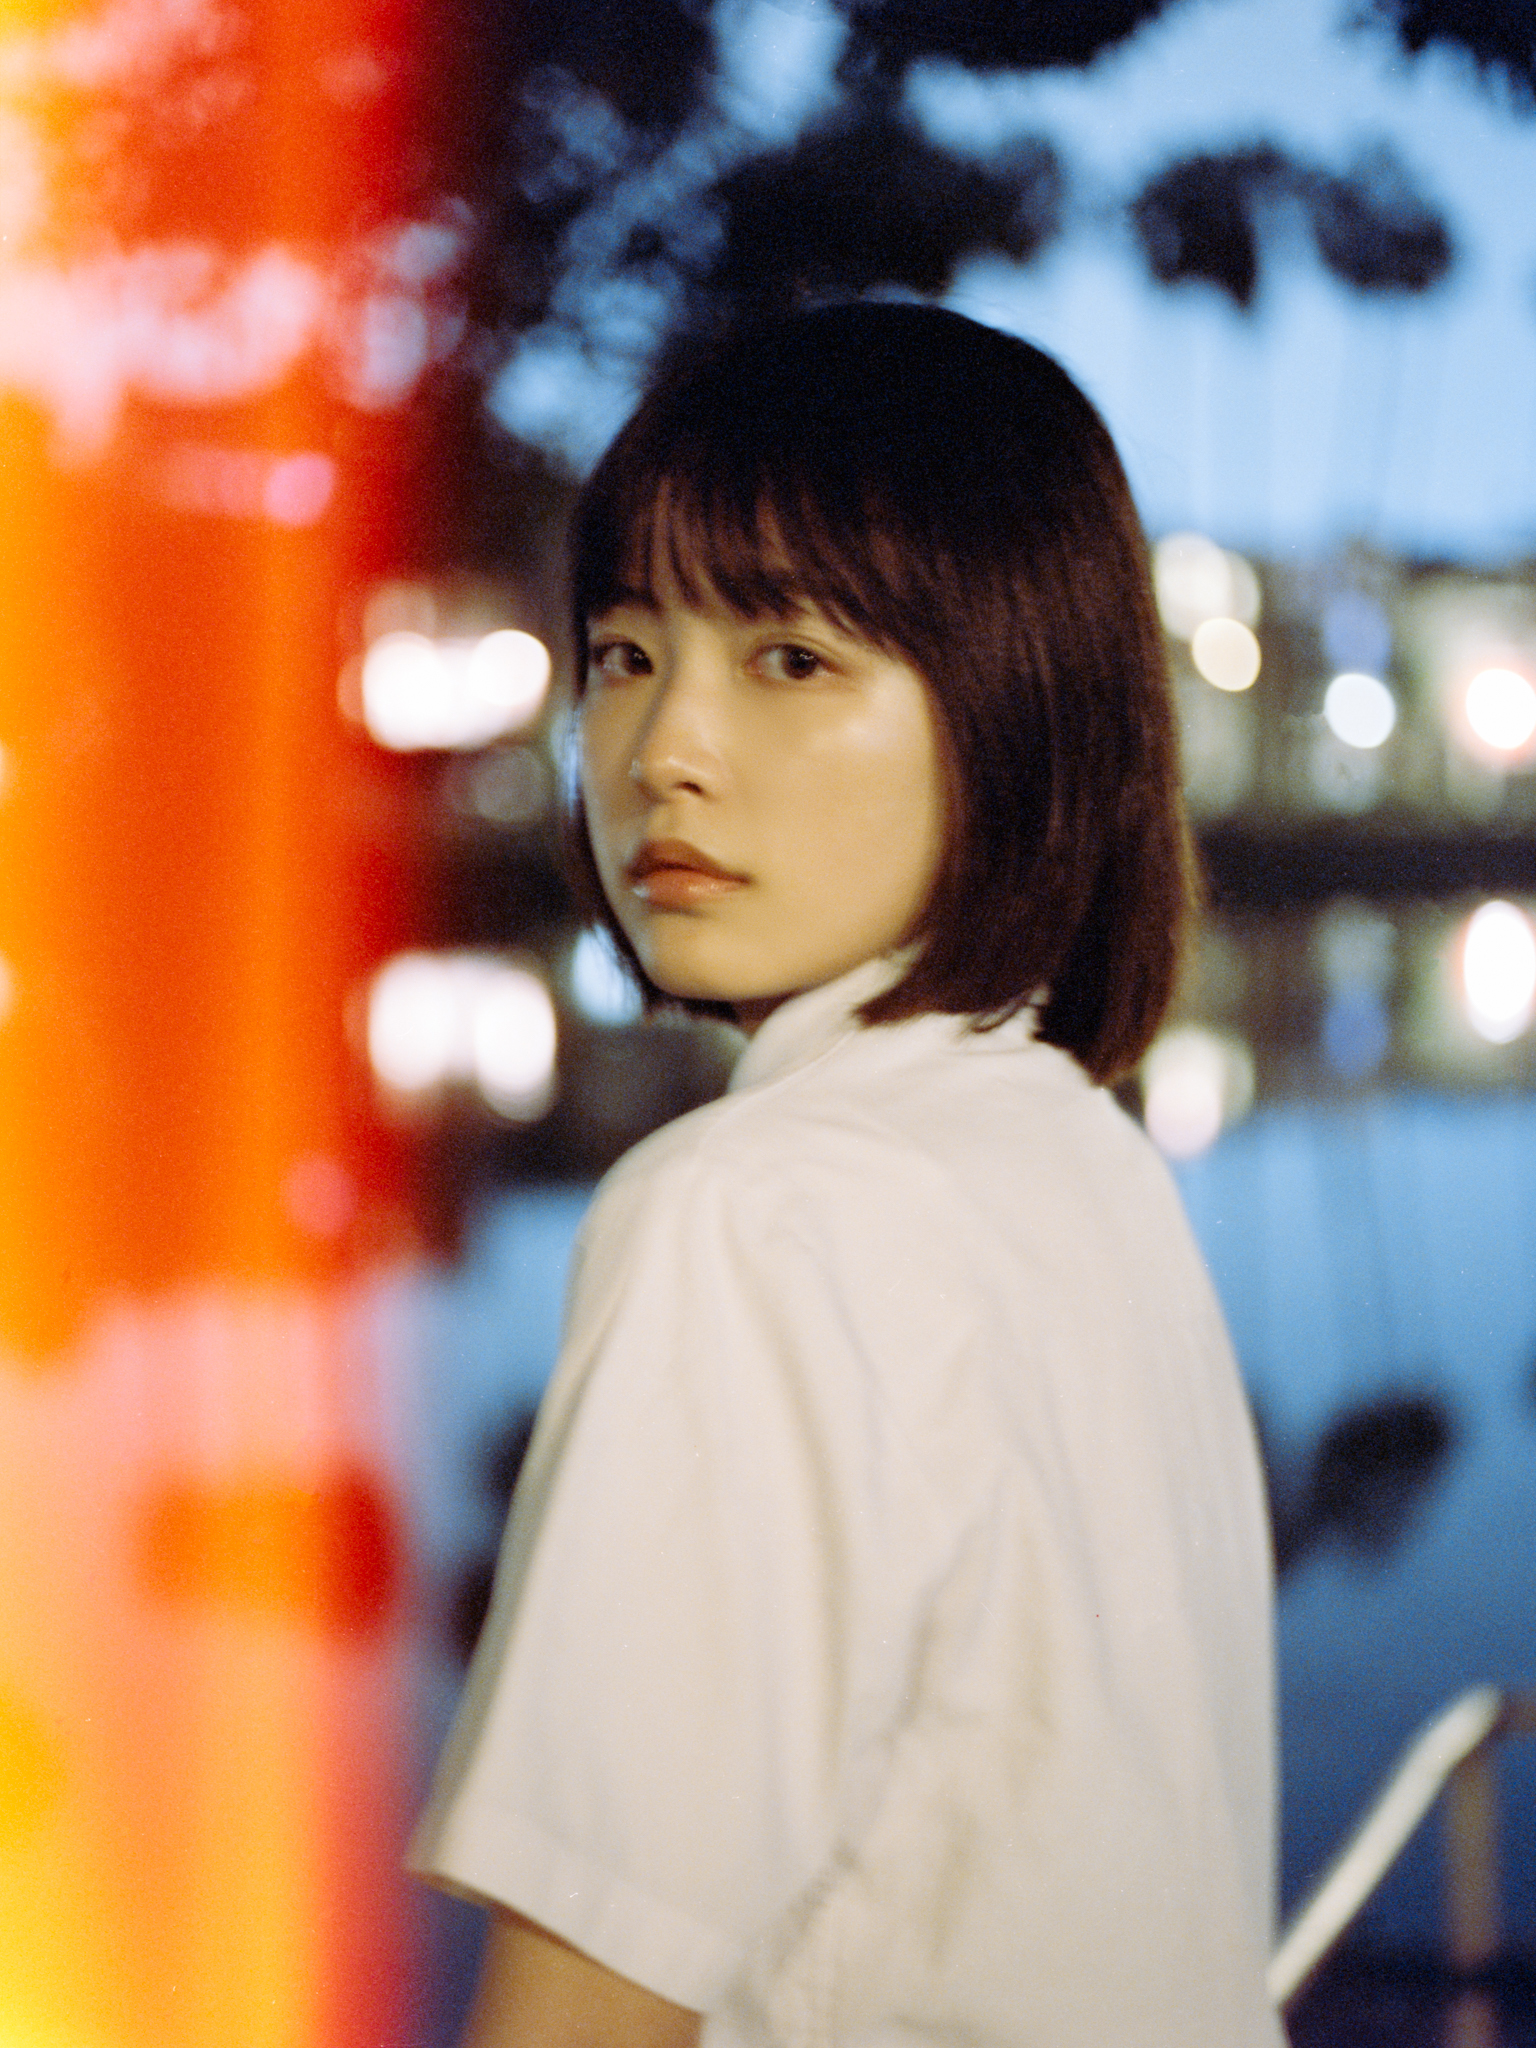
This is a shot I really struggled with the color choice because the Cinestill preset color looks pretty nice too. But to keep the consistency of this whole set of photos, I left it in the blue tone. Which one do you like more?


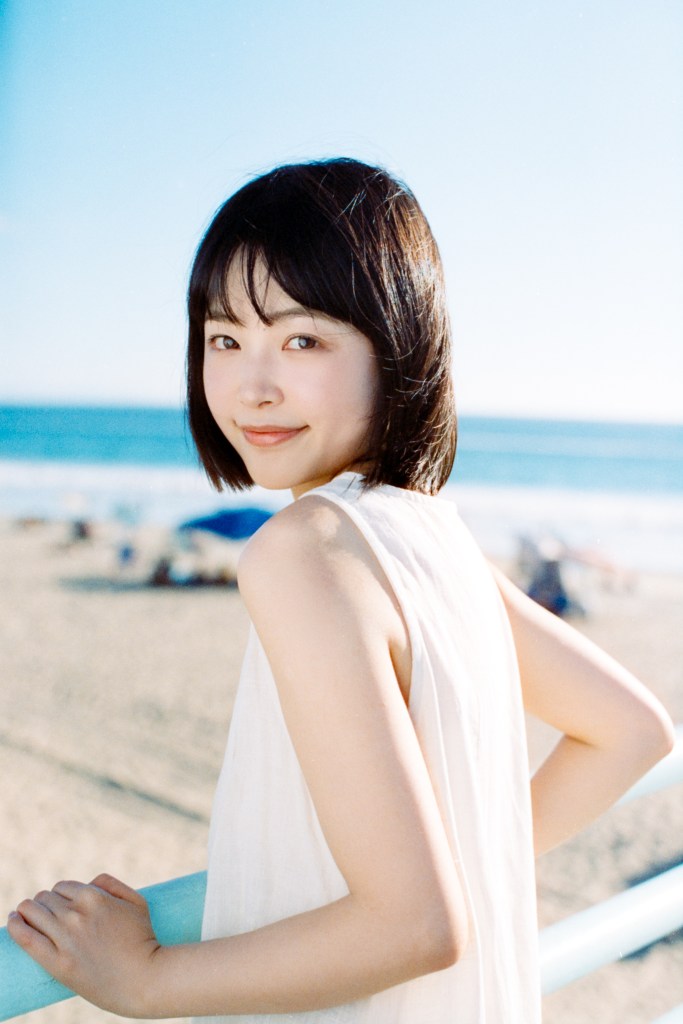
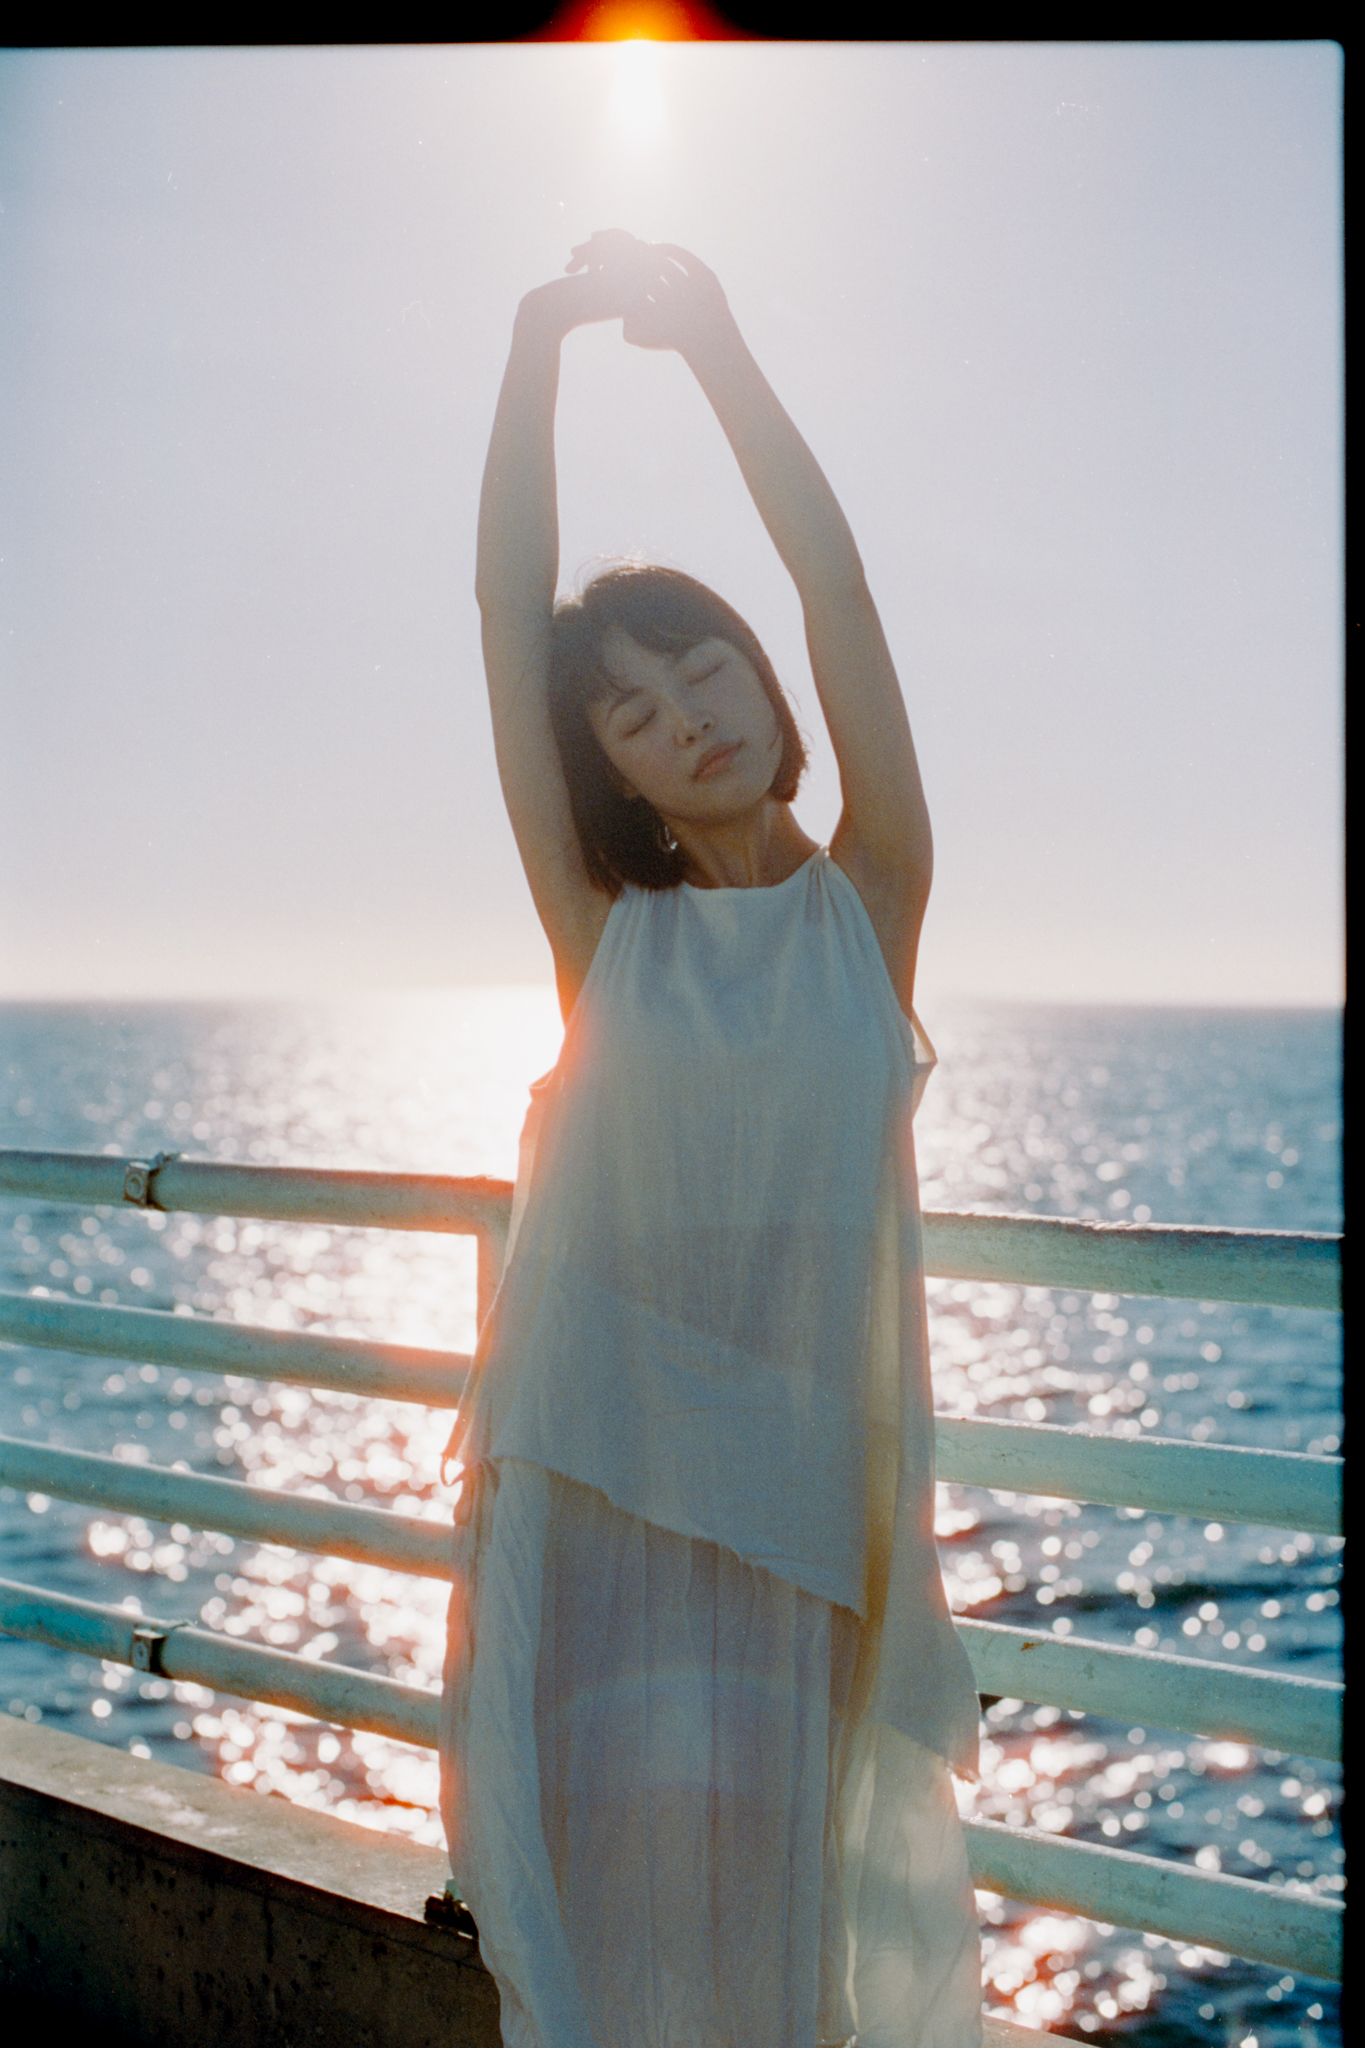
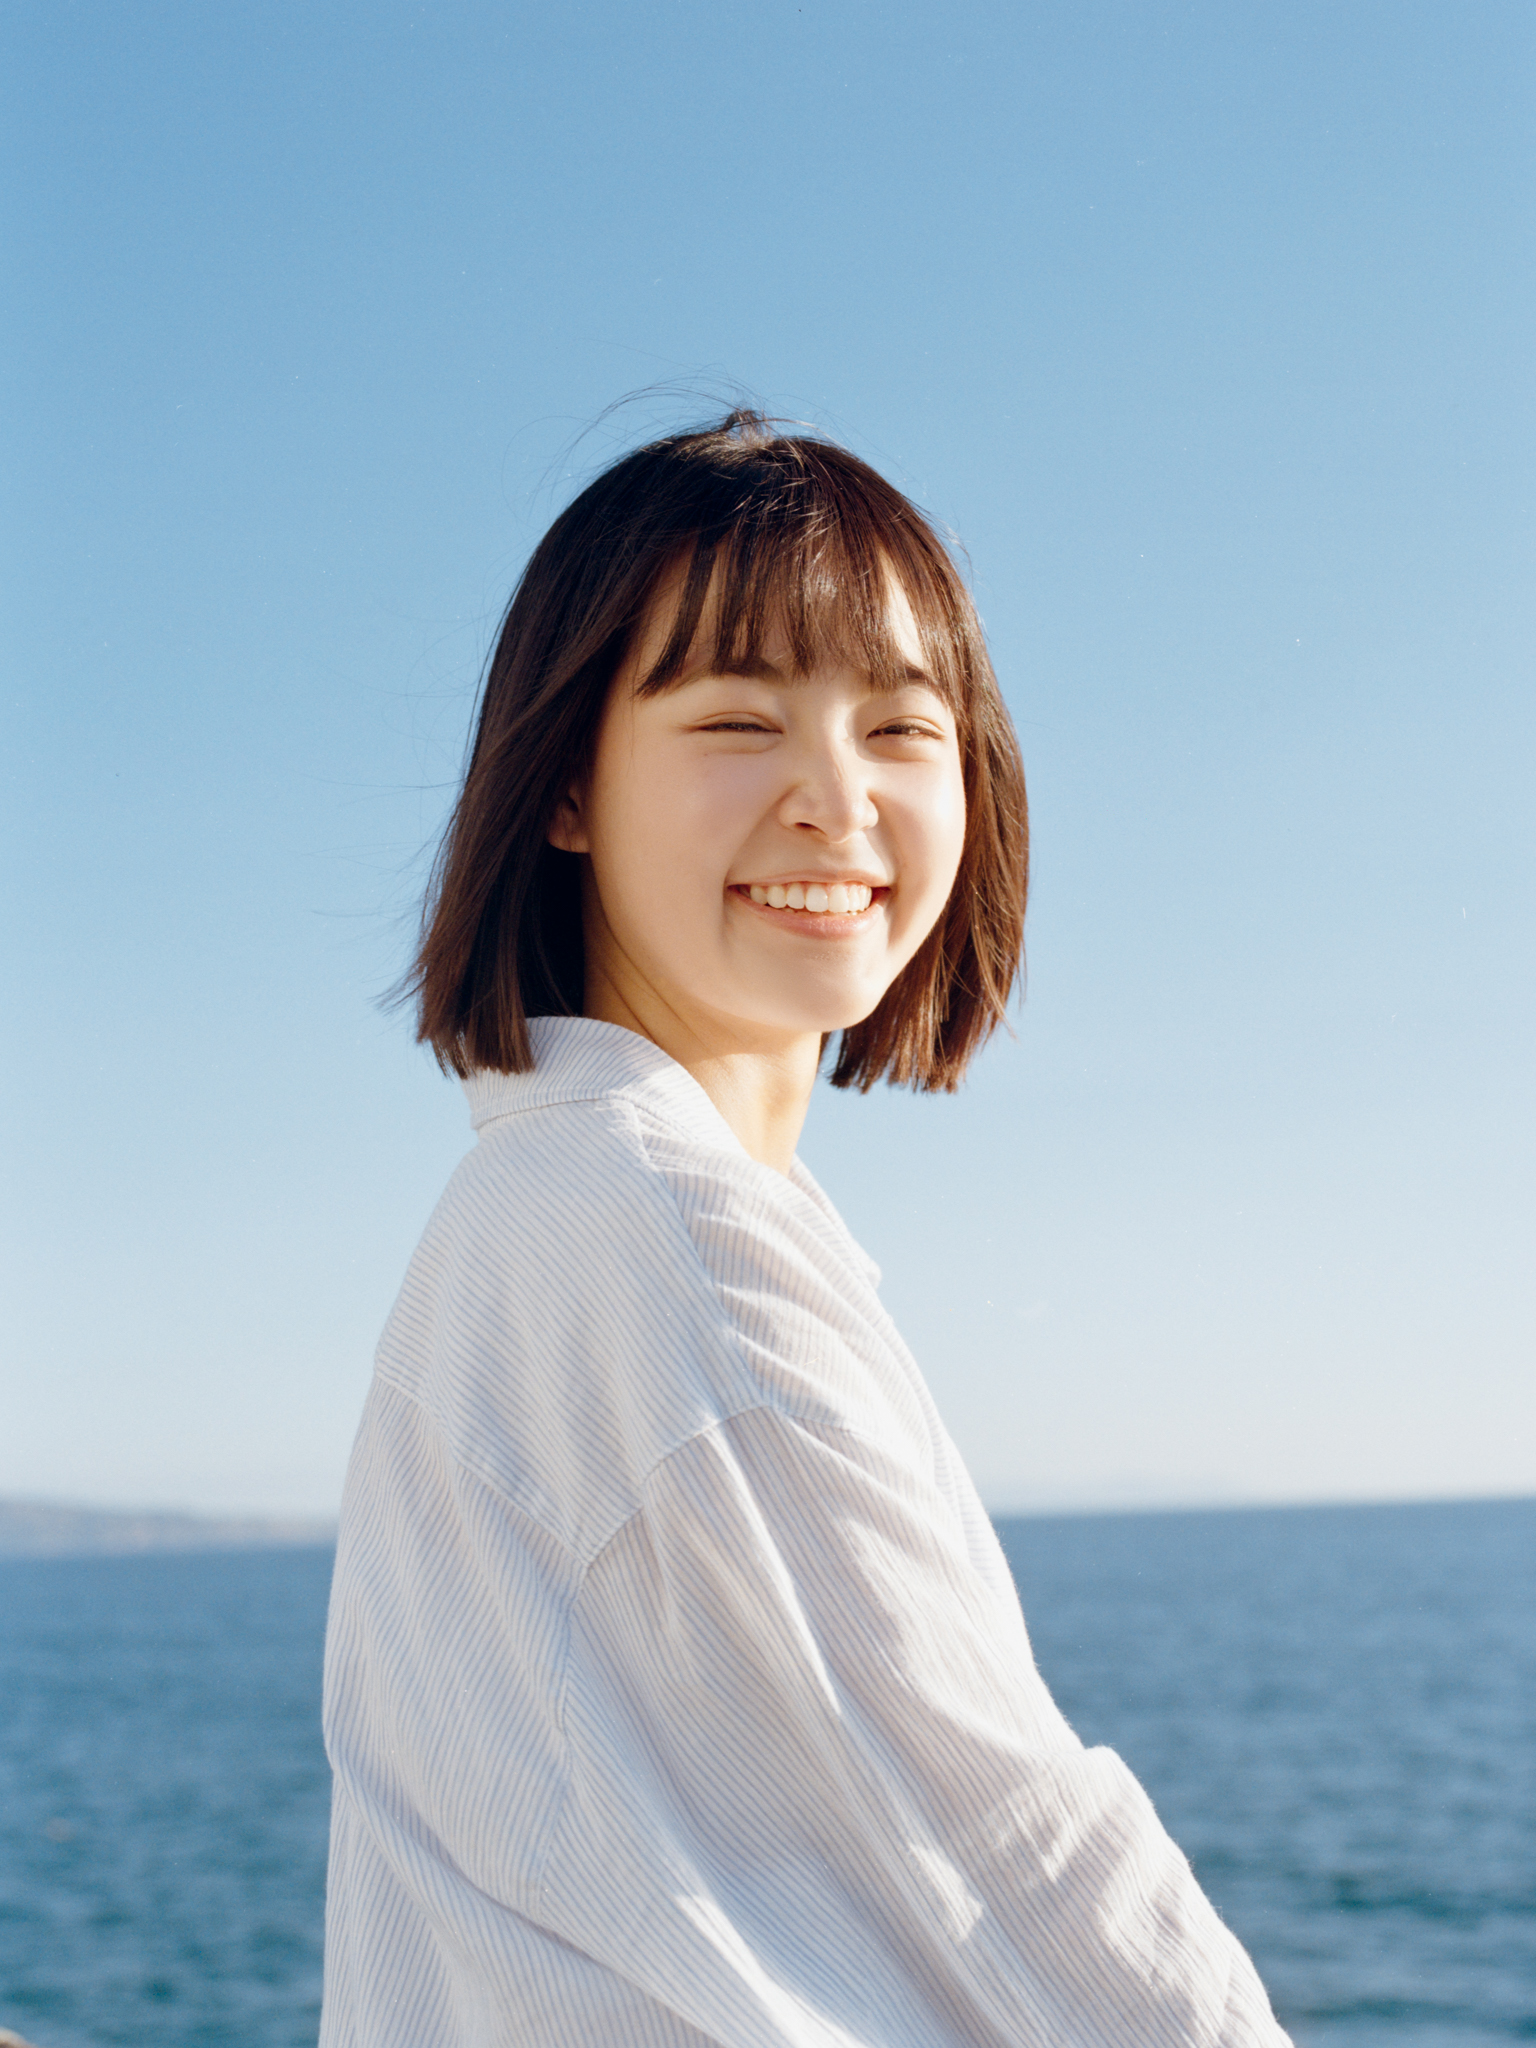
I really like these two shots. They’re nice and fresh, like drinking a cup of ice bubbling water on a hot summer afternoon.
I used to not like direct sunlight when I shoot digital, or should I say I used to be afraid of shooting in direct sunlight, but since film can handle highlight really nicely, and the shadow falls off softer, I start to enjoy shooting in direct sunlight.

As an 800-speed film, these photos actually look pretty smooth in daylight, especially in direct sunlight. Up until this shot, I almost forgot we were shooting on an 800-speed film. Since this shot is backlit, you can now see some noticeable grain in the shadow. And in the same spot, when you give it more light, it looks less grainy.
So far the halation is not bad, I kinda like it to begin with, that’s one of the reasons I like shooting with Cinestill films, but during the day, you rarely catch much noticeable halation.

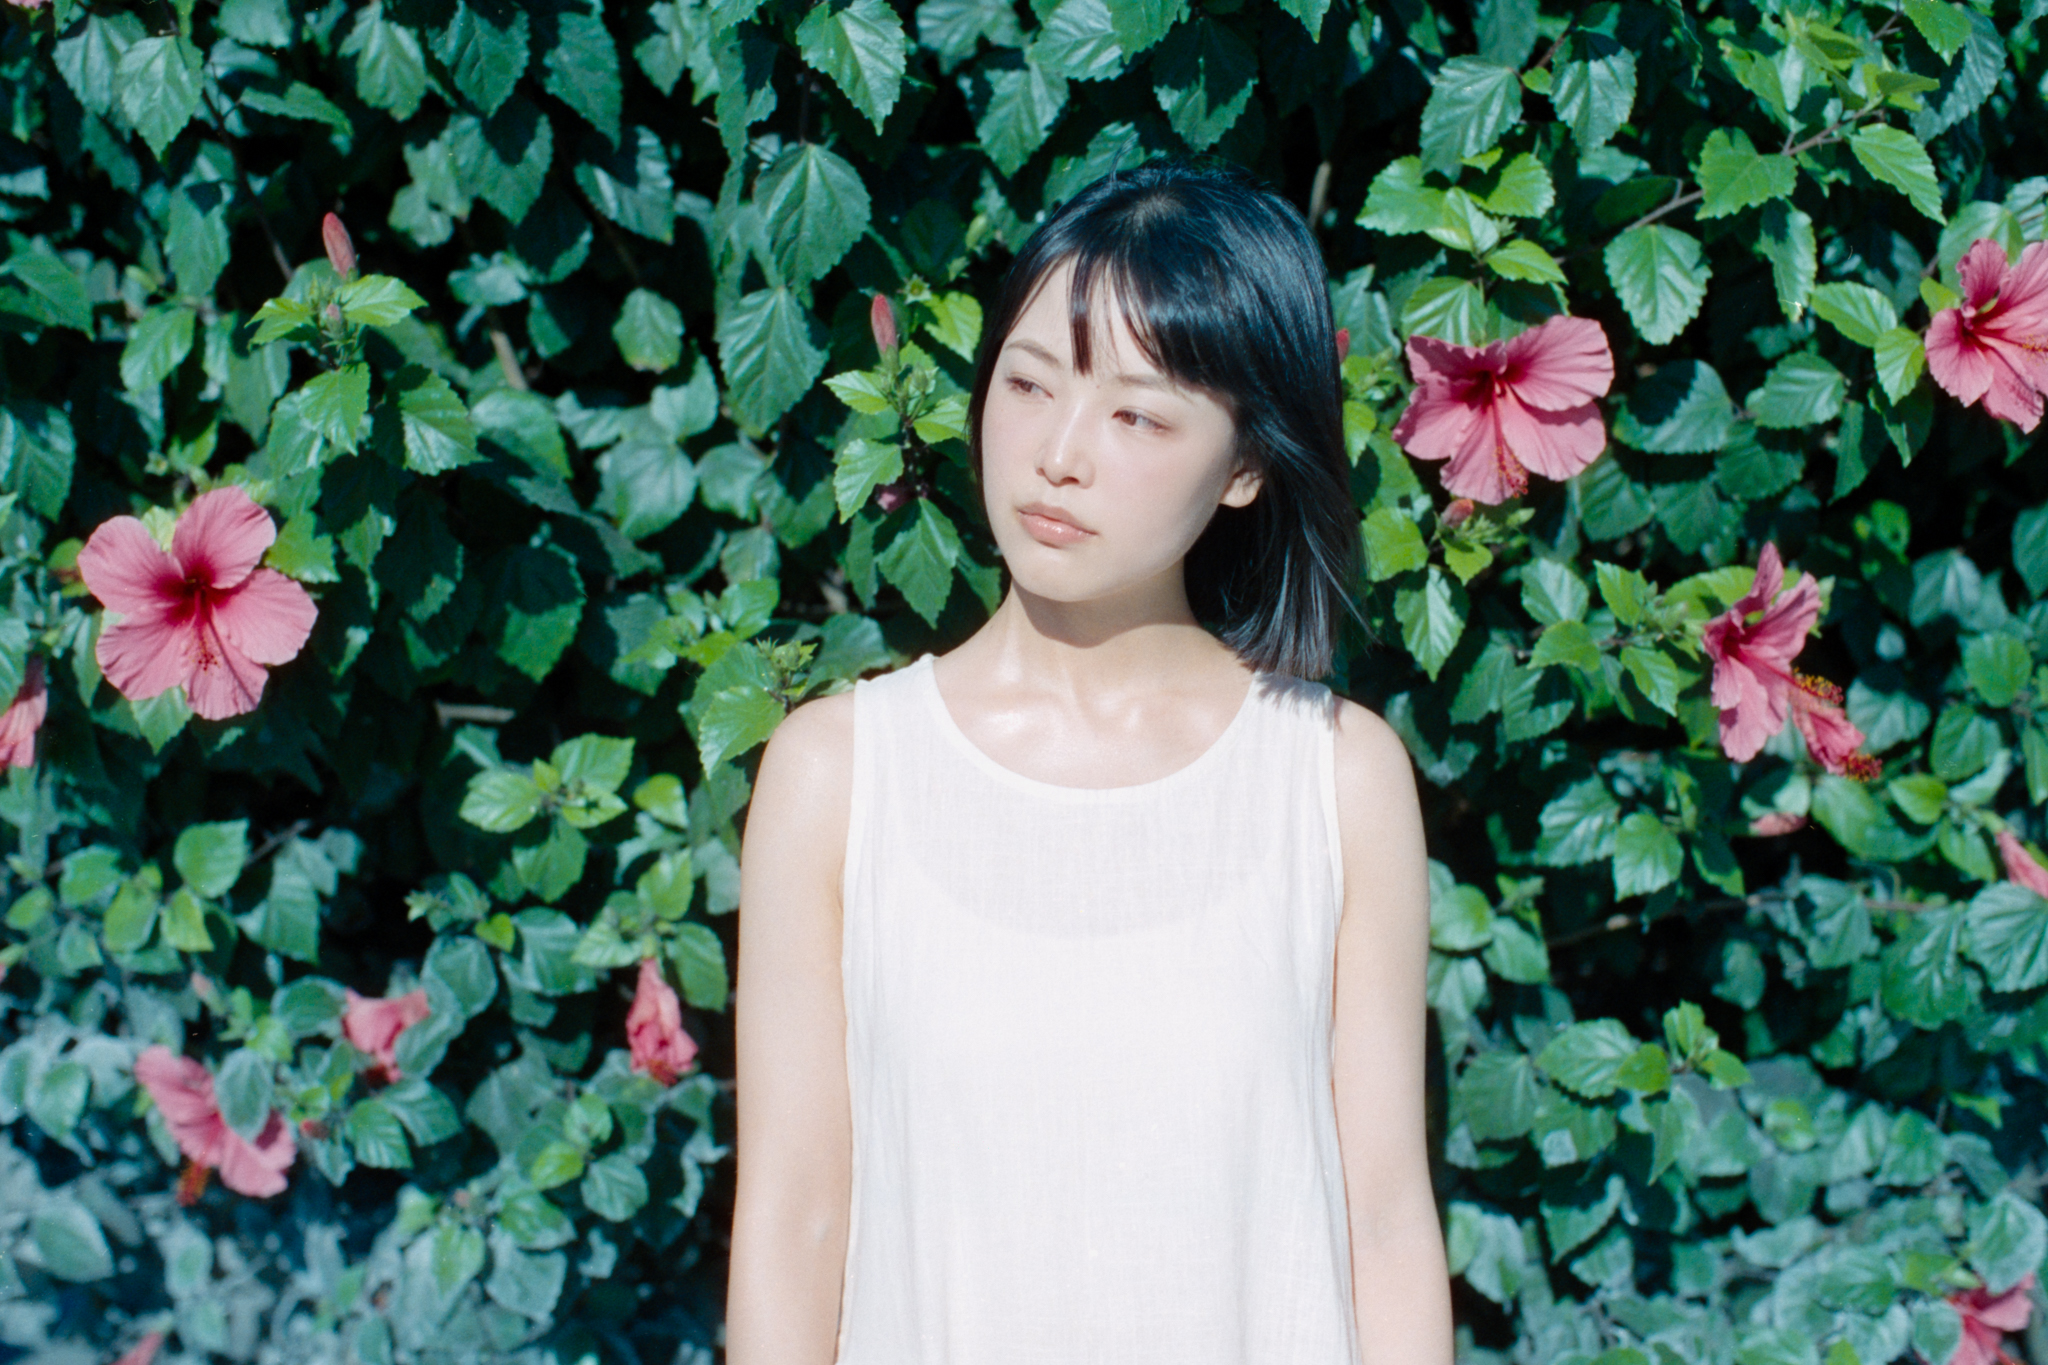
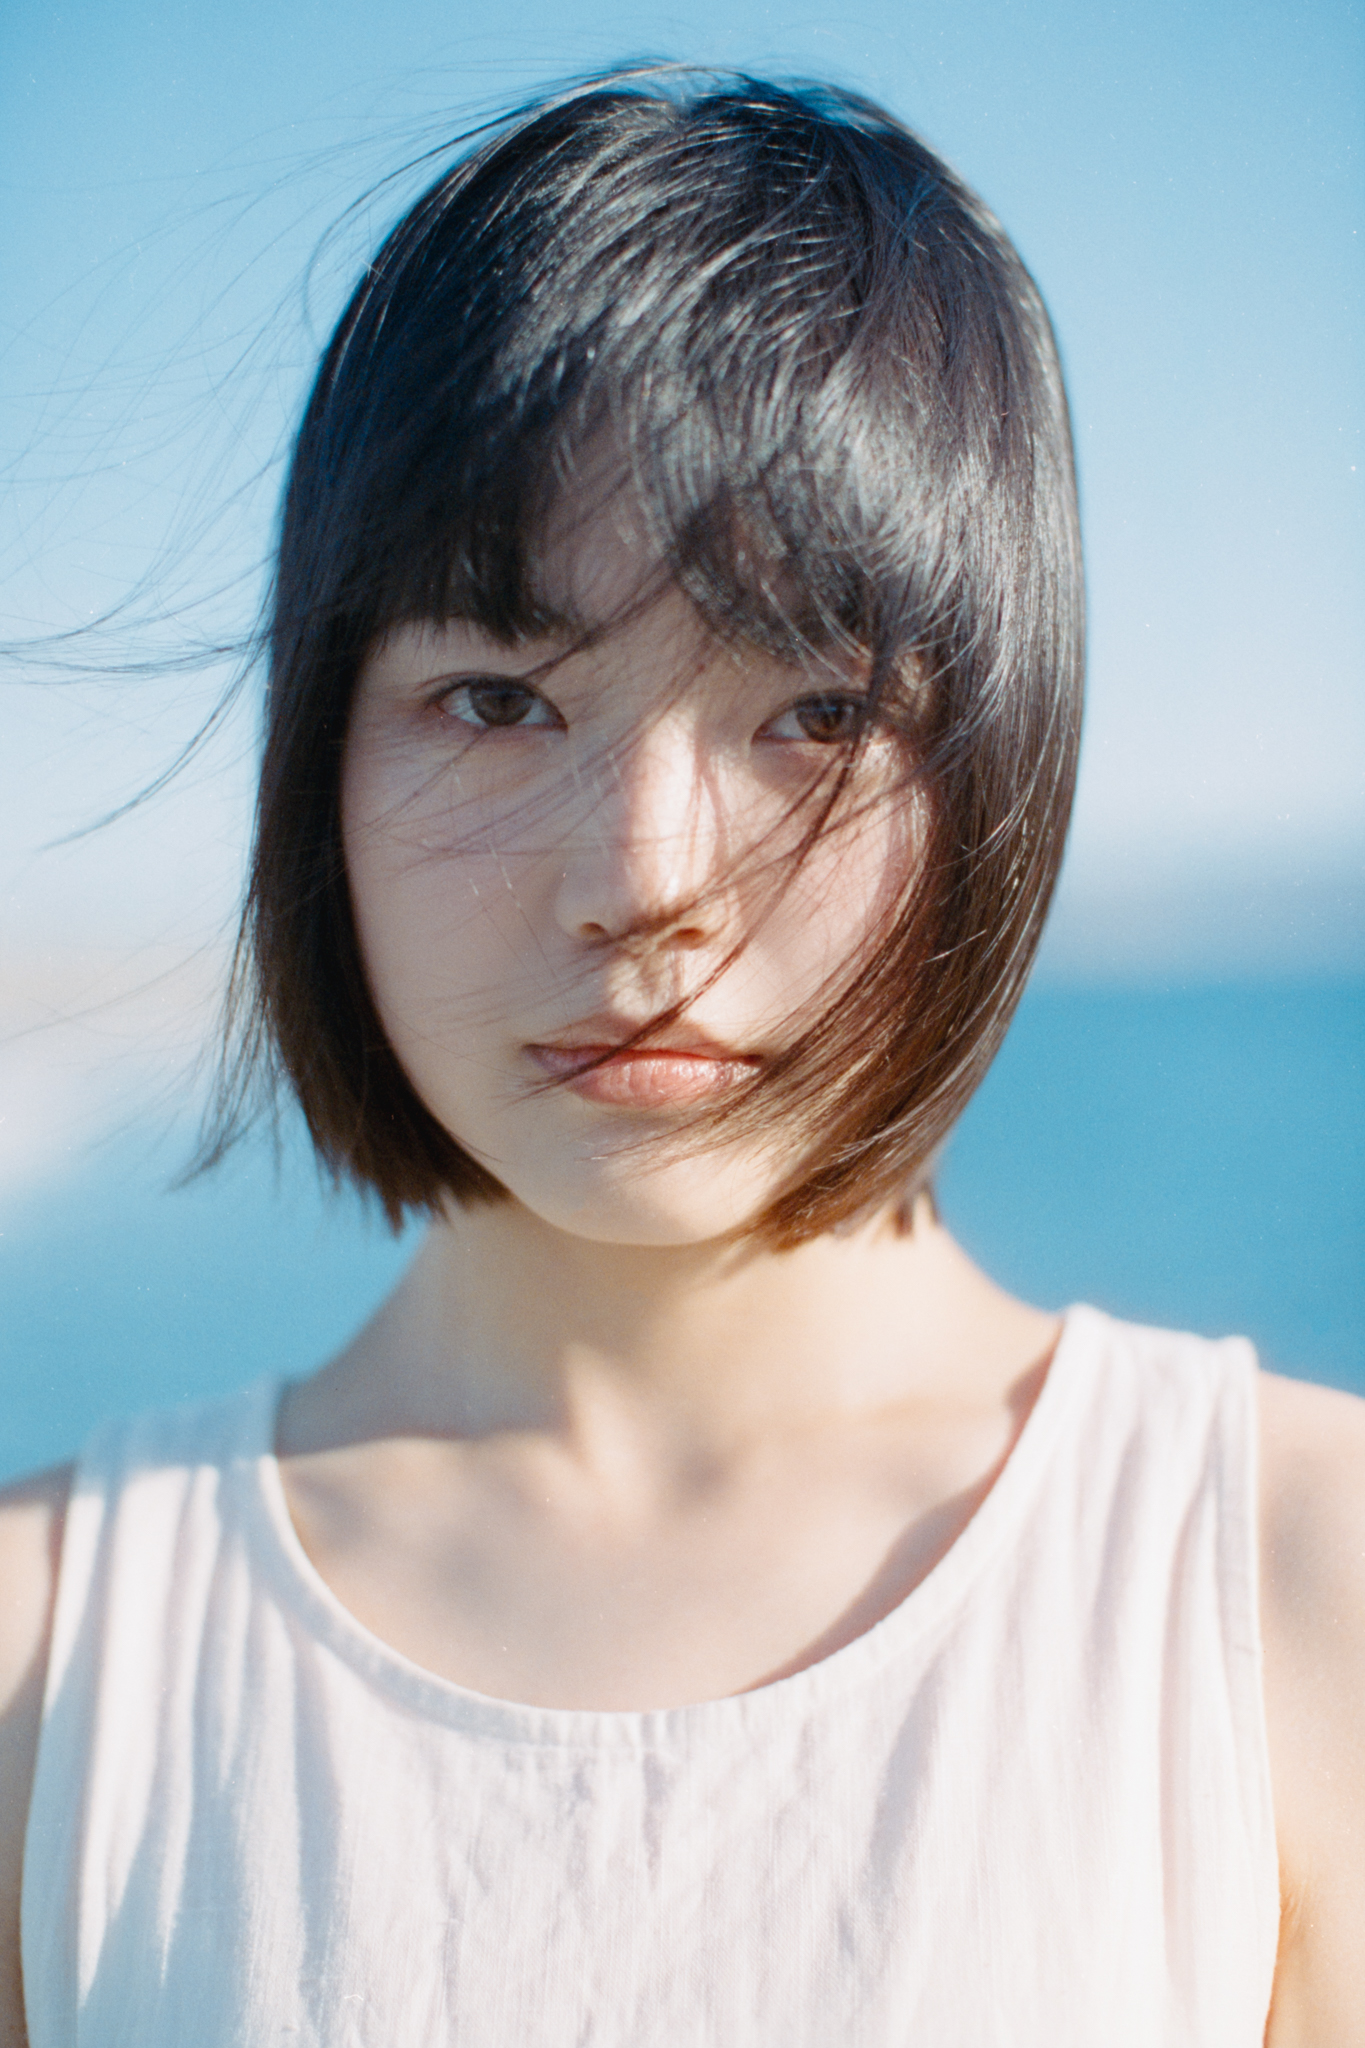
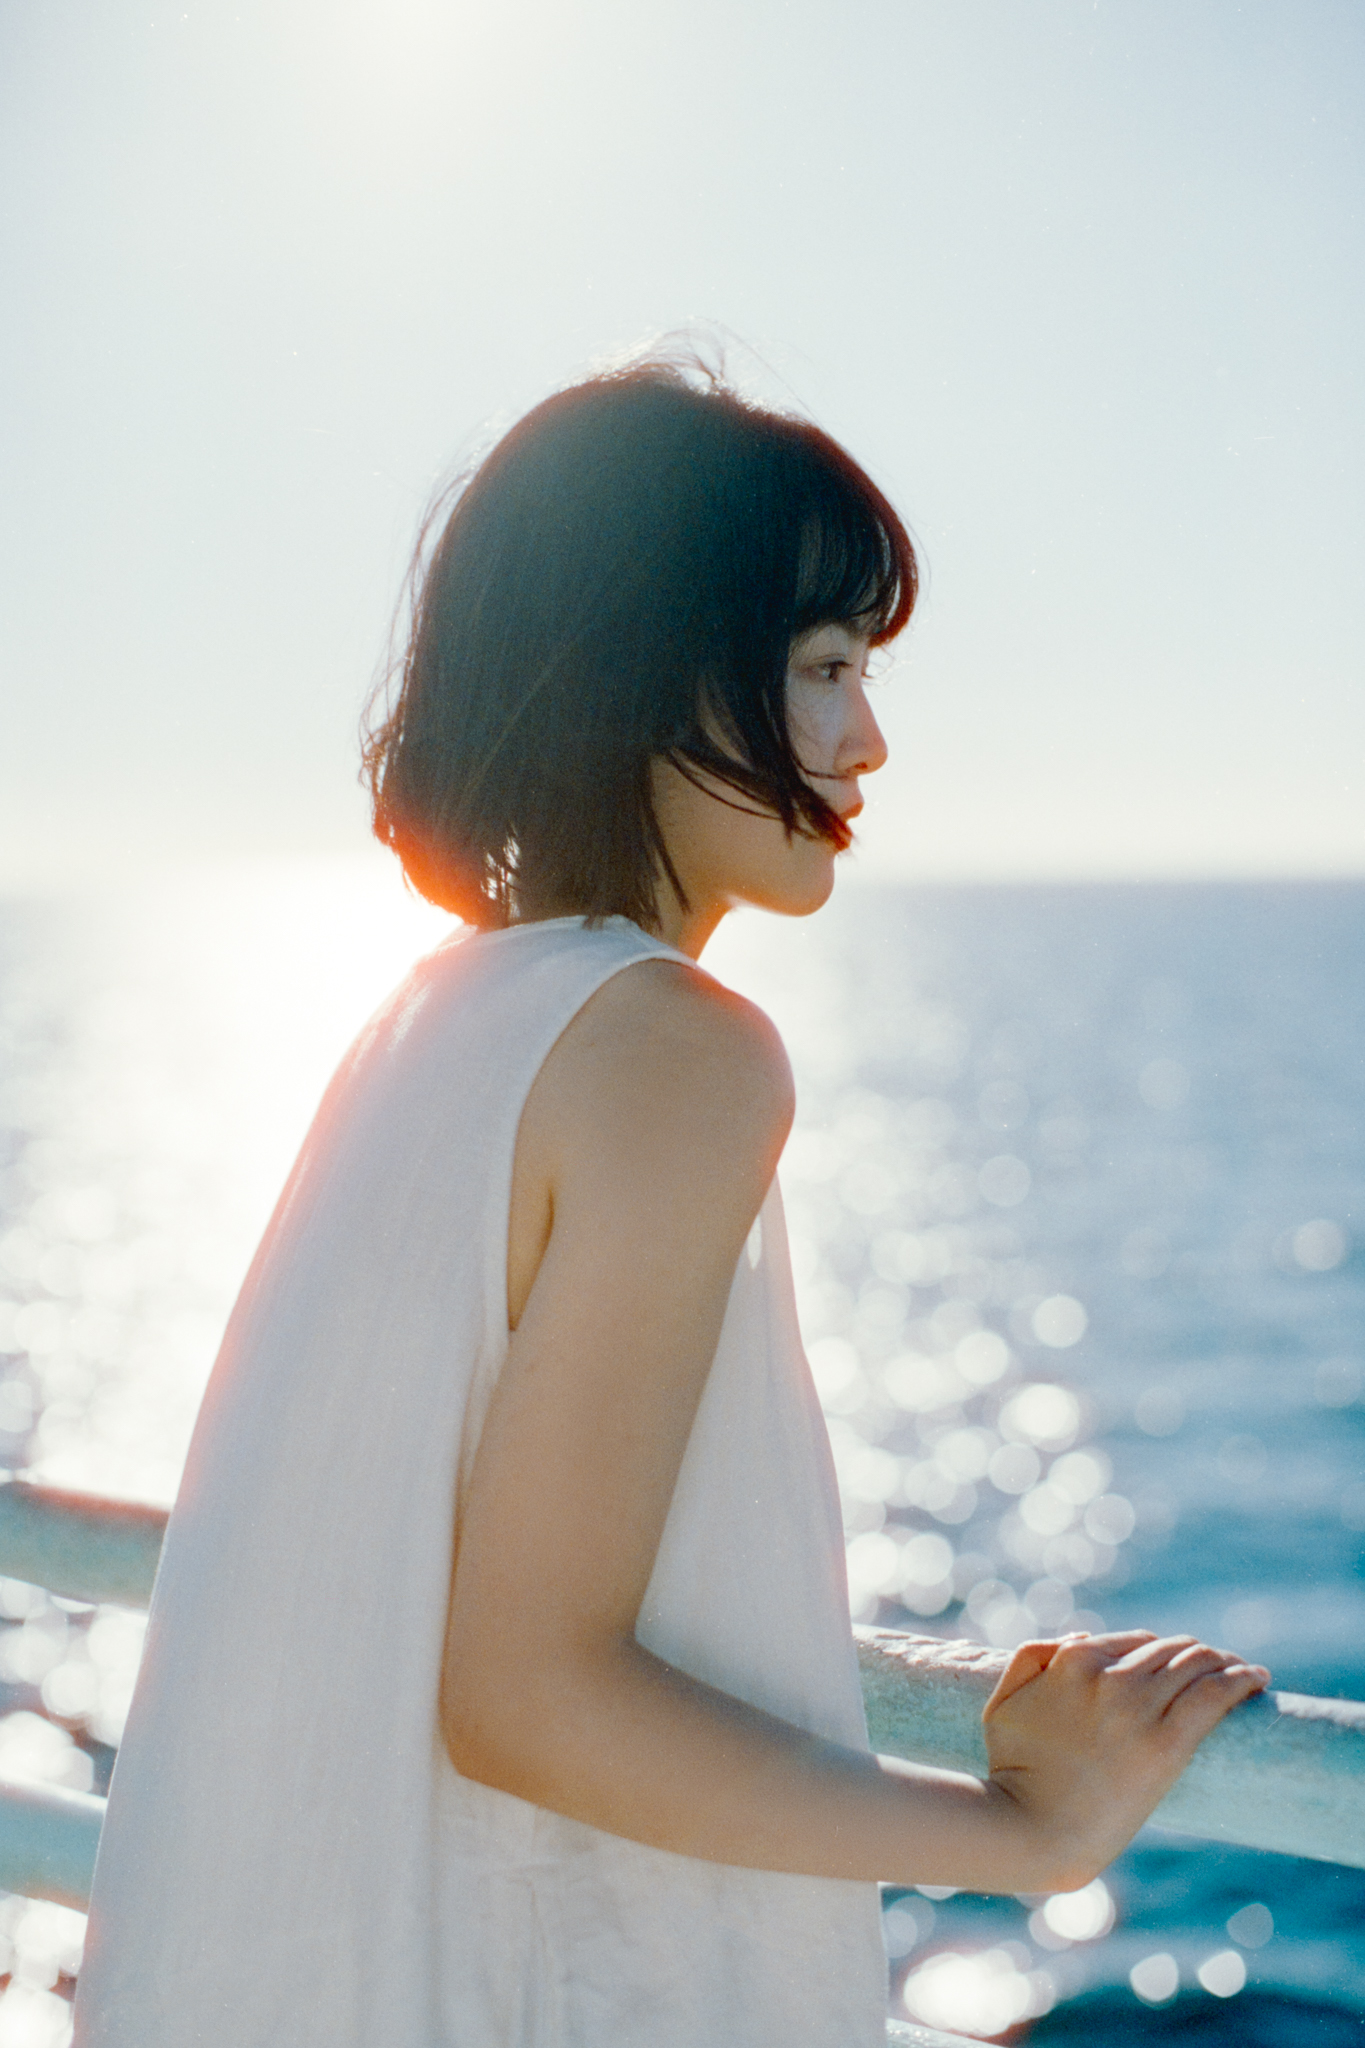
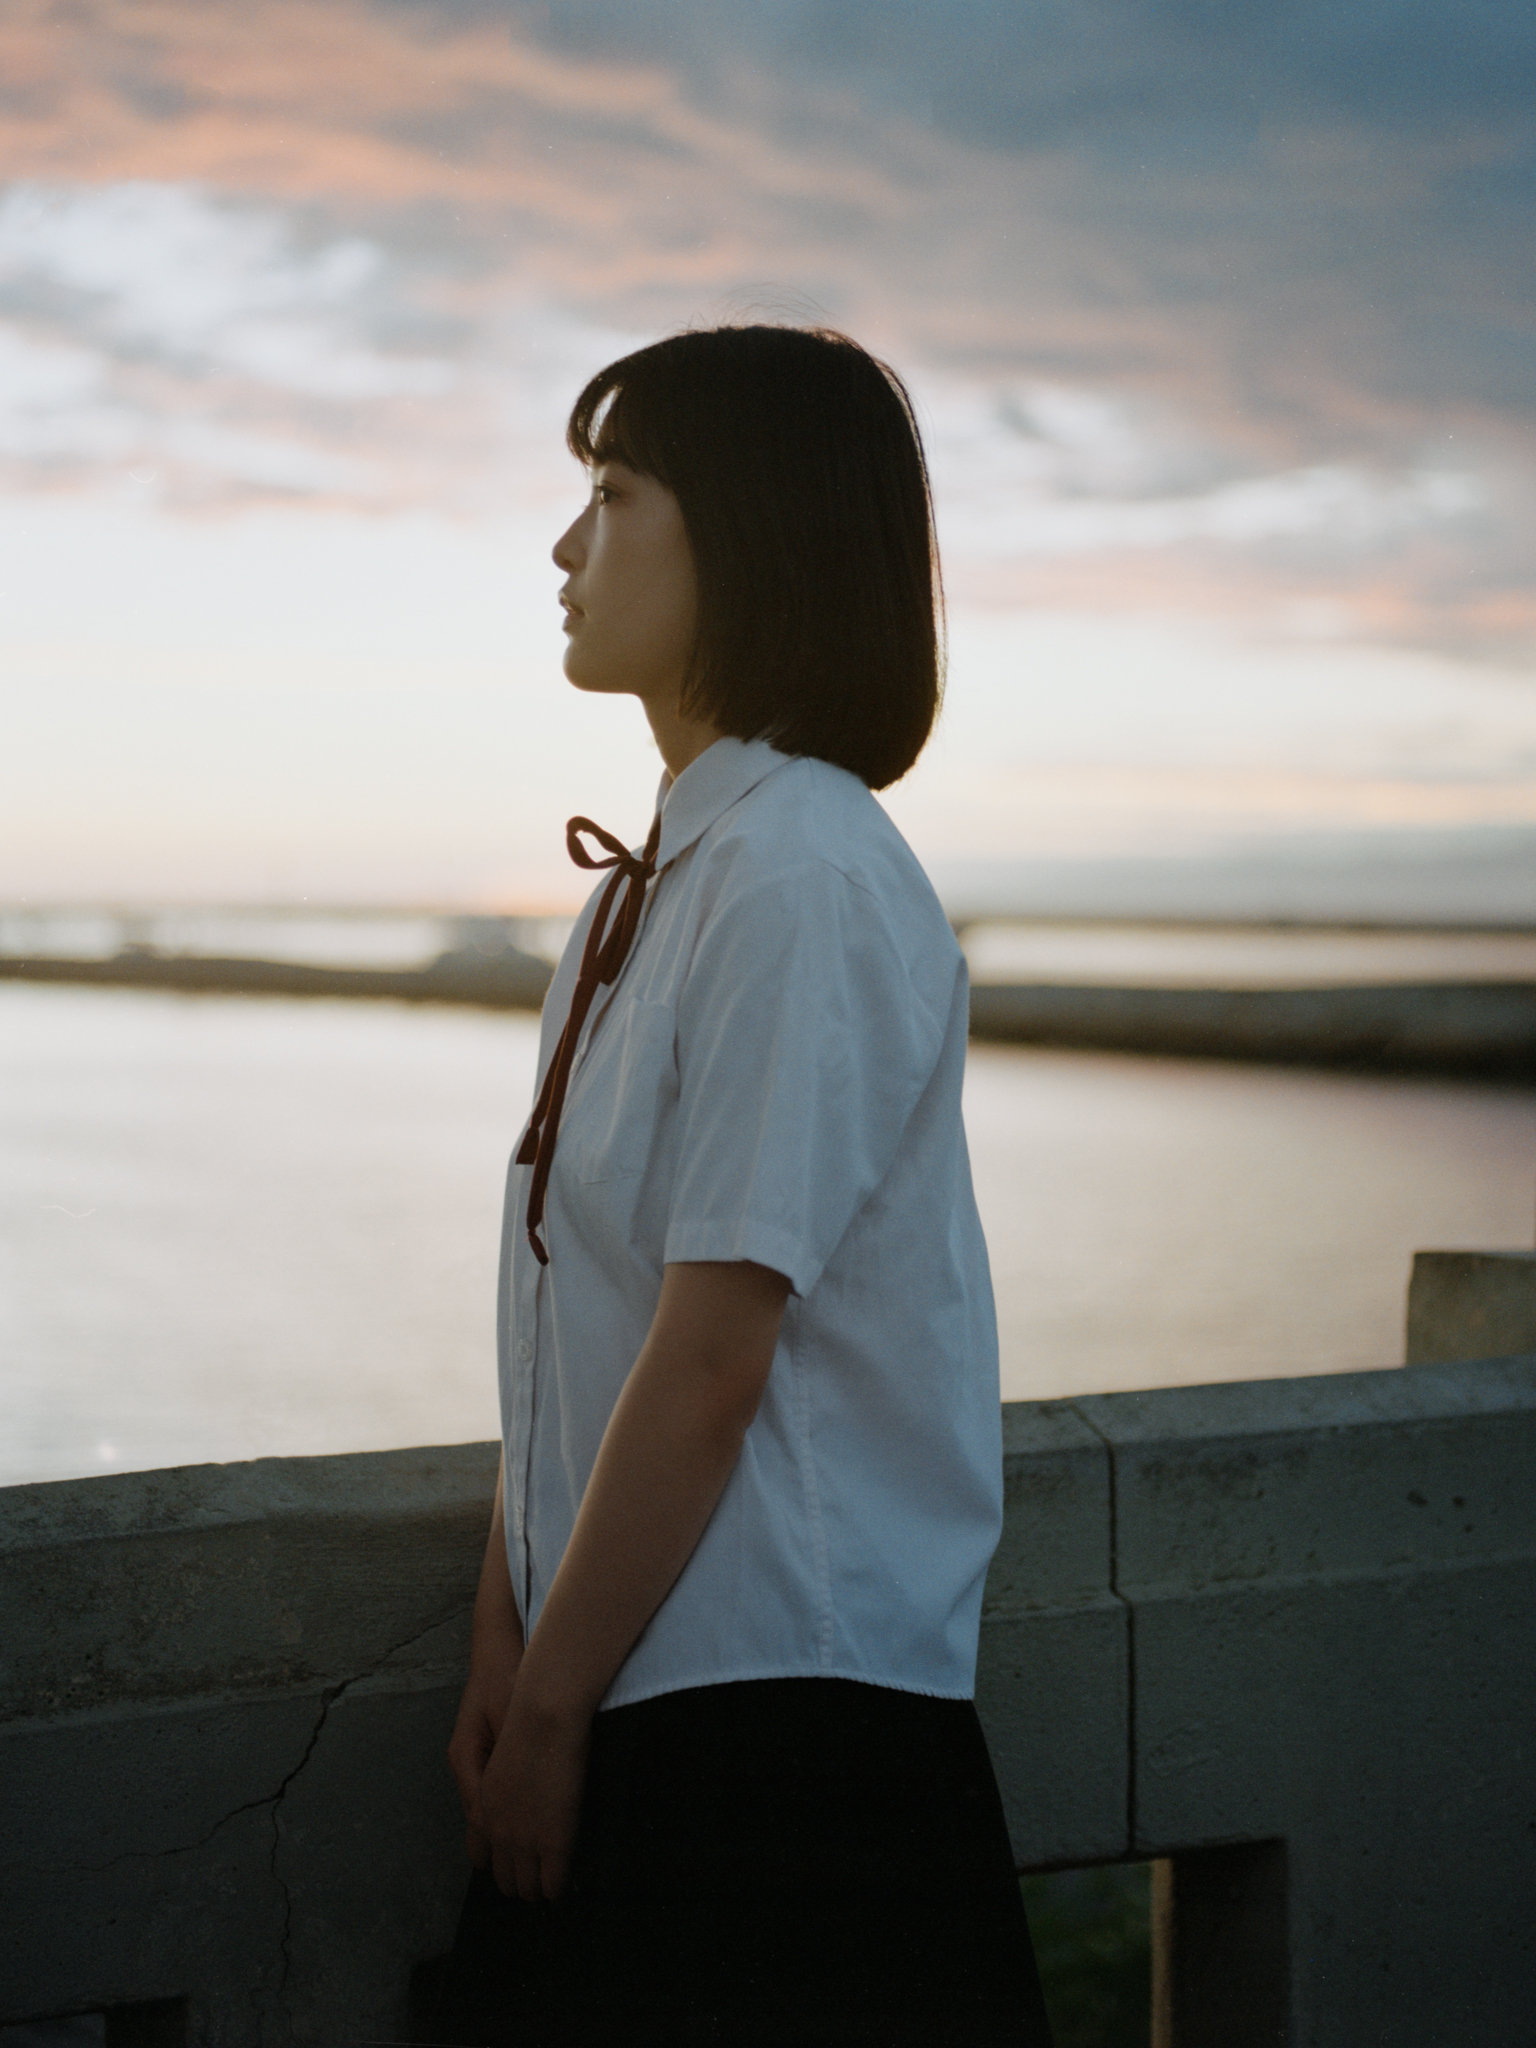
These couple of shots came out really nicely as well, I like the different shades of blue in the sky and the ocean, simple and clean.
By the end of the roll, I took a couple of shots backlit, now the halation finally comes into play. I really like how the sunlight hit the water and bounces back on her with this orange glow…


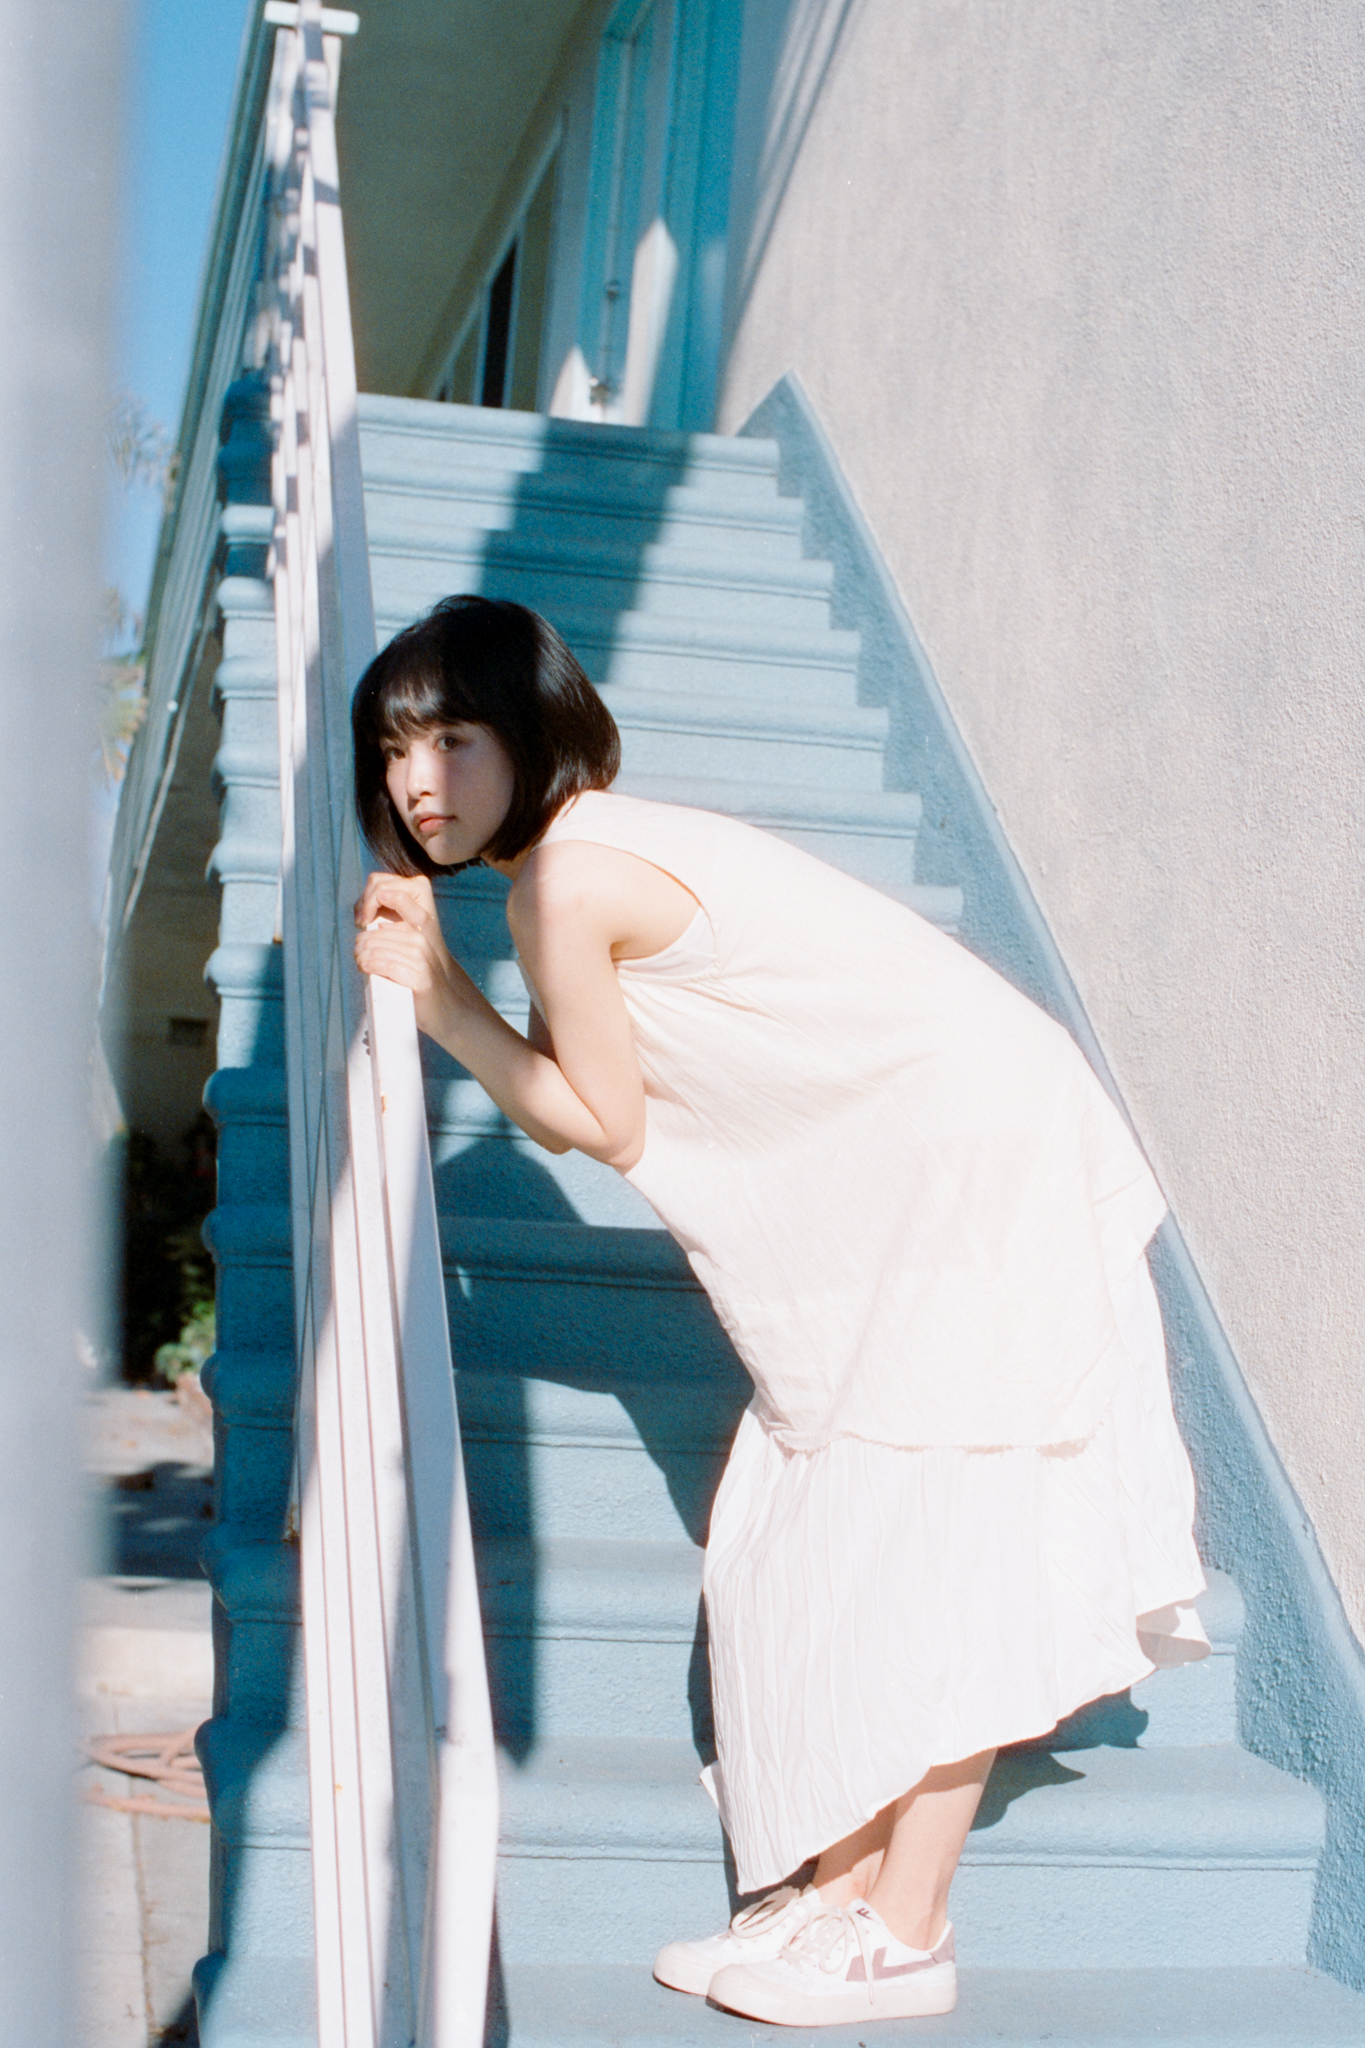
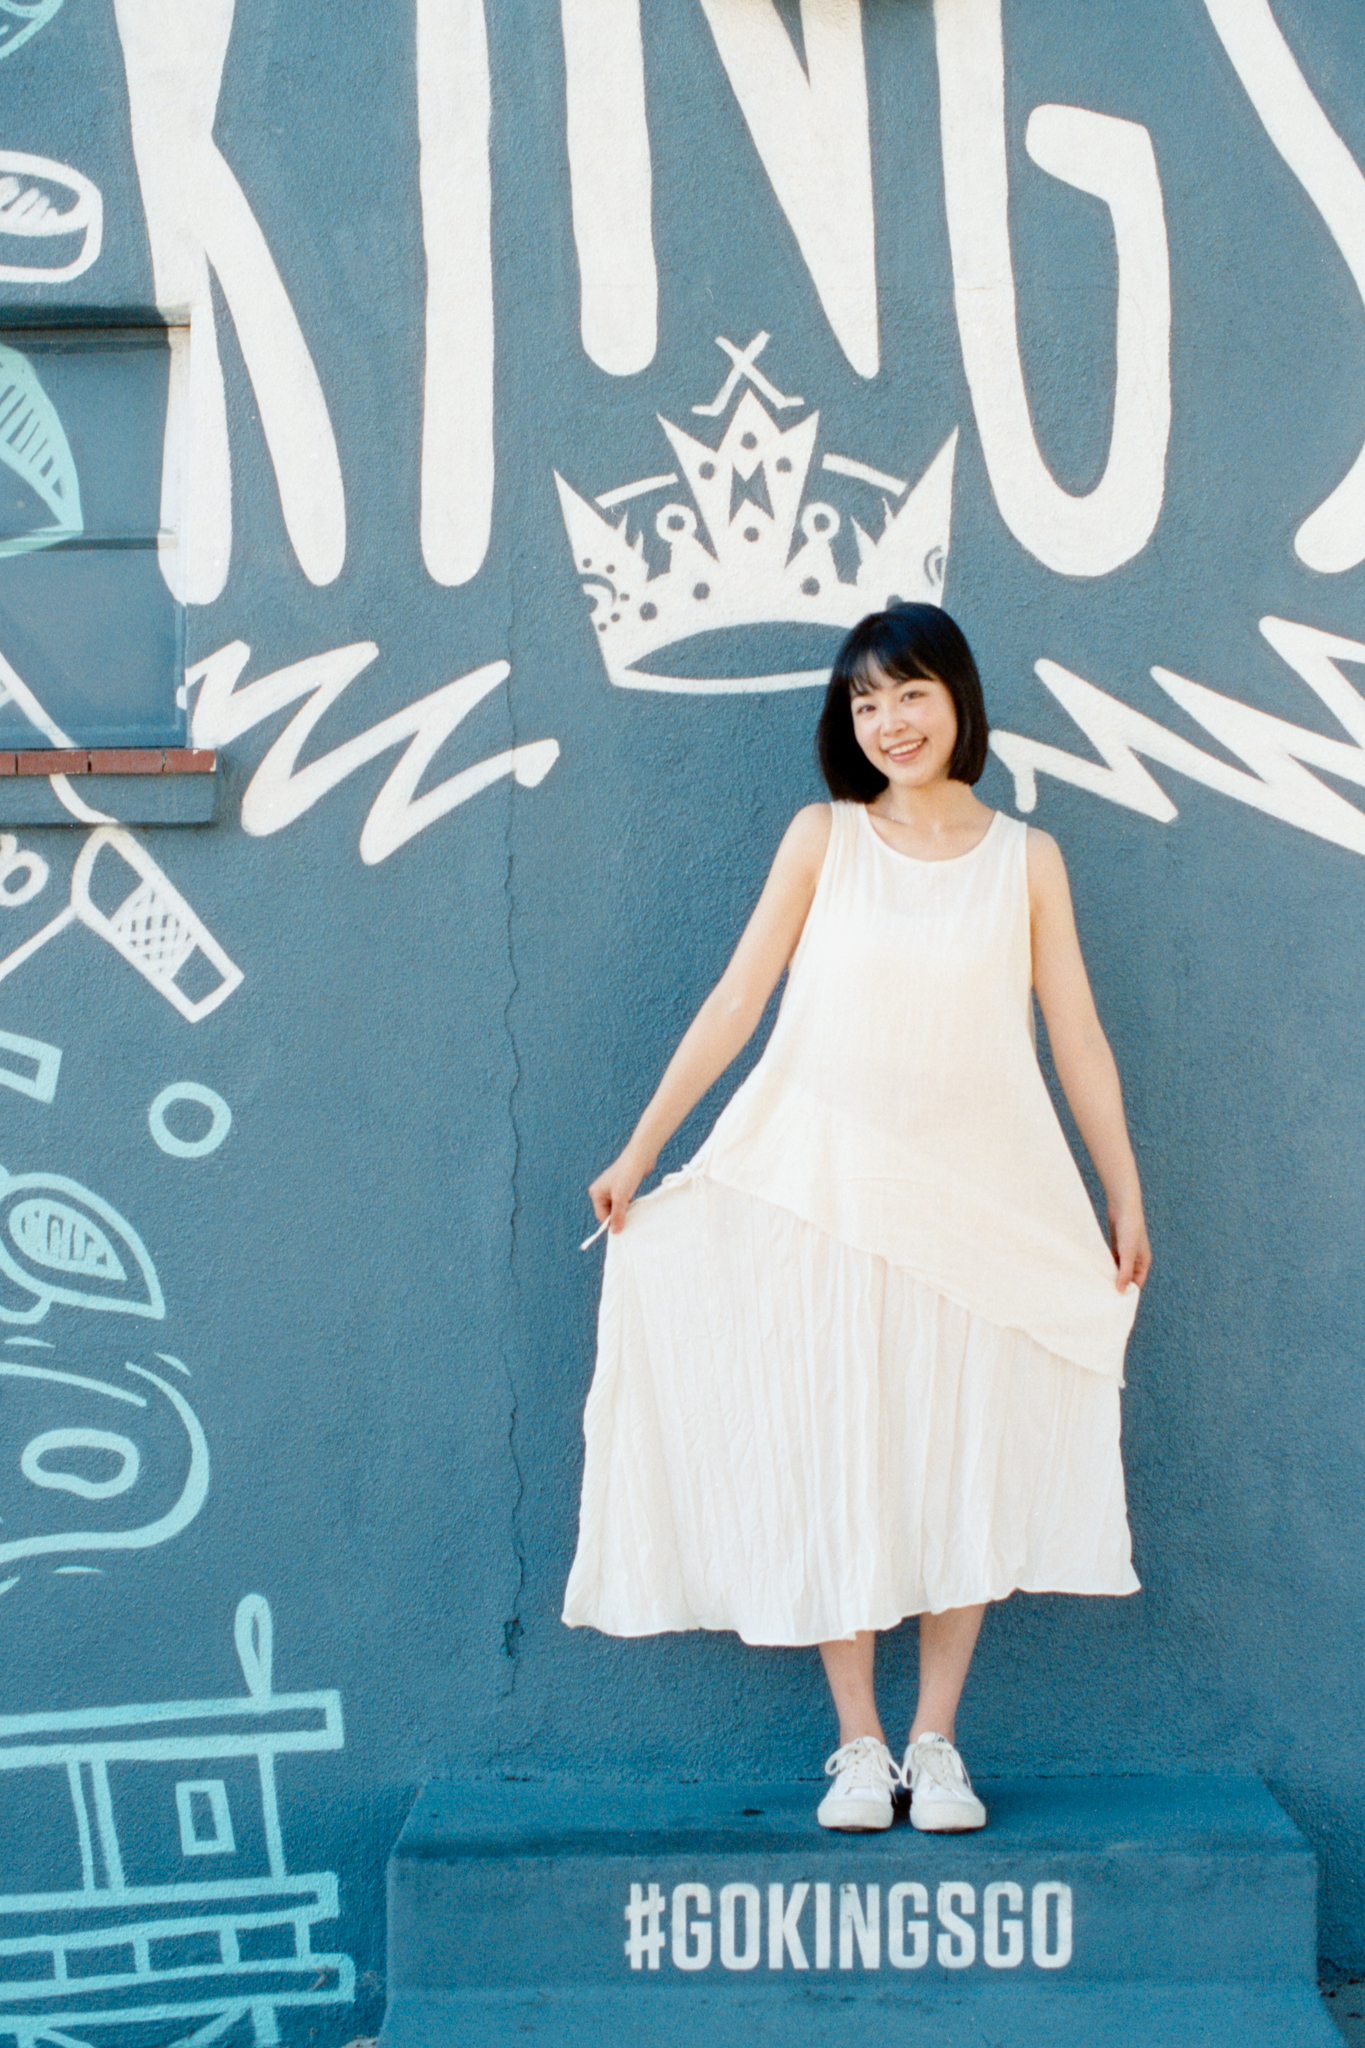
Even though I did not know how the photo gonna turn out when we were shooting, I had a good feeling, or bad feeling (since I’m not sure if the 800t will look good at this point).. So I need to shoot one more roll? All the photos you just saw were shot on my trusty Canon 1V, and mostly on a 50mm lens. I let the model blindly pick which roll we gonna be shooting next…
And it seems destiny picked Kodak gold, alright I know you clicked on this video to see Cinestill but don’t you want to see how Kodak gold looks like at the same location… and to see 35mm vs medium format?? What did I say, Adventure!! You never know where Sam gonna go~
And here you go, Kodak 200 shot on Pentax 645, instantly, you can see how much finer the grain turns out, and how soft the depth of field falls off… and how dirty this pier is… These couple of photos were taken around 5:00 pm, the sunlight just hit a really nice angle, it’s not quite golden hour yet, so it’s not too yellow.
This photo was shot at f2.8 on the 75mm lens, I also took another shot at f8 just to see the differences. Because I heard this lens performs the best at f8, not sure if it’s true. This one is also shot at f8, it is quite sharp.

And this is one of my favorite shots from this photoshoot! I think this photo really showed me the beauty of medium format, when I put it at full screen on my 27-inch monitor and I can just look at this photo for a long time. And this photo really makes me want to shoot more medium format…
Looking at this photo reminded me what I love about portraiture!! When I see that one split moment that I feel I’m somewhat connected to the person in front of me, it’s a magical moment, when I find that thin thread… Like a demon slayer… Alright, that might not be a good analogy!!
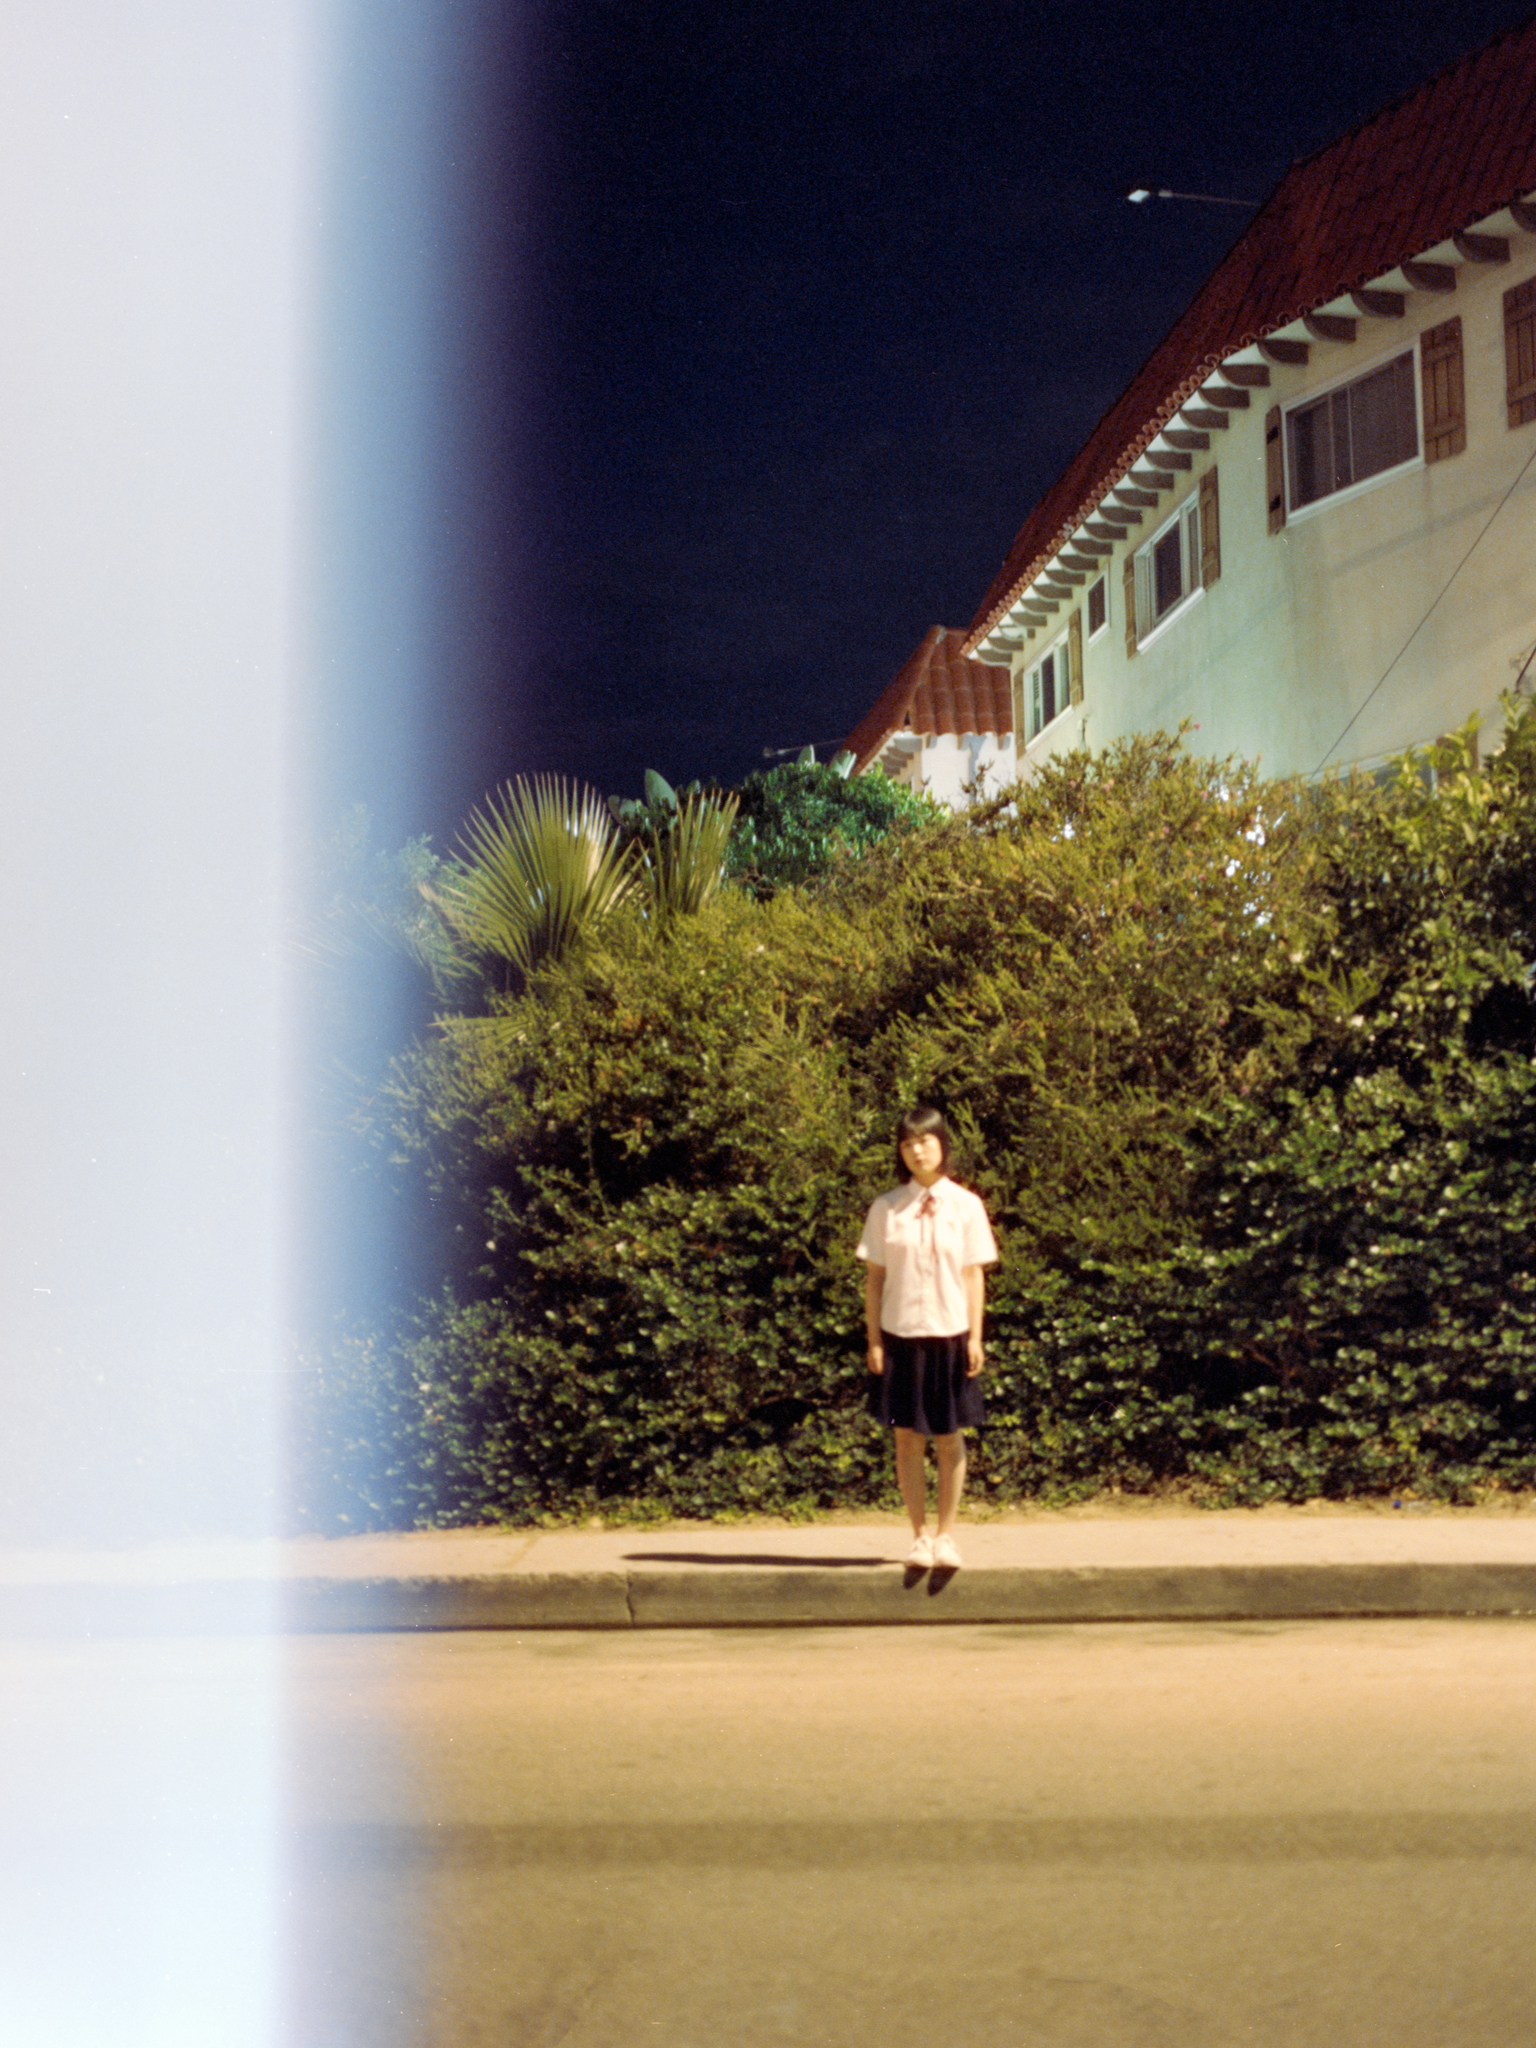
And… Our bright day sunlight test ended at this shot, then I wanted to go to a nearby beach to take some shots during the sunset, however, it took us way too long to find parking, by the time we got to where I want to shoot, the sun was setting, we were running, it was chaotic. This time I had a tripod with me, finally… we still have a couple of frames left from the Kodak 200 roll, so we have to finish it first before we can shoot Cinestill again.
I’m quite happy with how these couple of photos turned out, I was worried about 200 ISO being slow, the first one was shot at f2.8 1/8th of a second, it is a little bit out of focus and a bit blurry. The 2nd and the 3rd one came out really nicely. It might be better if I brought my bounce board and just added a little bit of fill on her, but oh well.. we were in a rush…
And by the time I finally loaded up a roll of Cinestill in 120 in my Pentax, we barely have any natural light left… and my tripod is a really cheap plastic lightweight one, and by this point, I haven’t started using mirror lock-up yet, not to say using a cable release, so some of these photos came out kinda shaky and blurry…
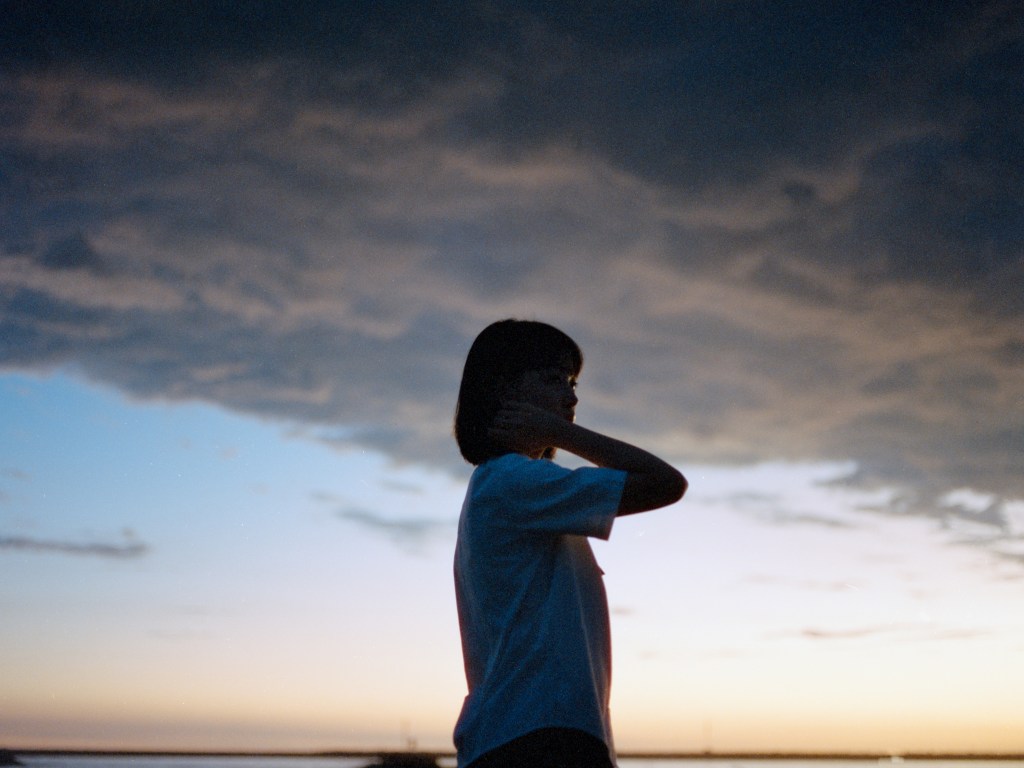

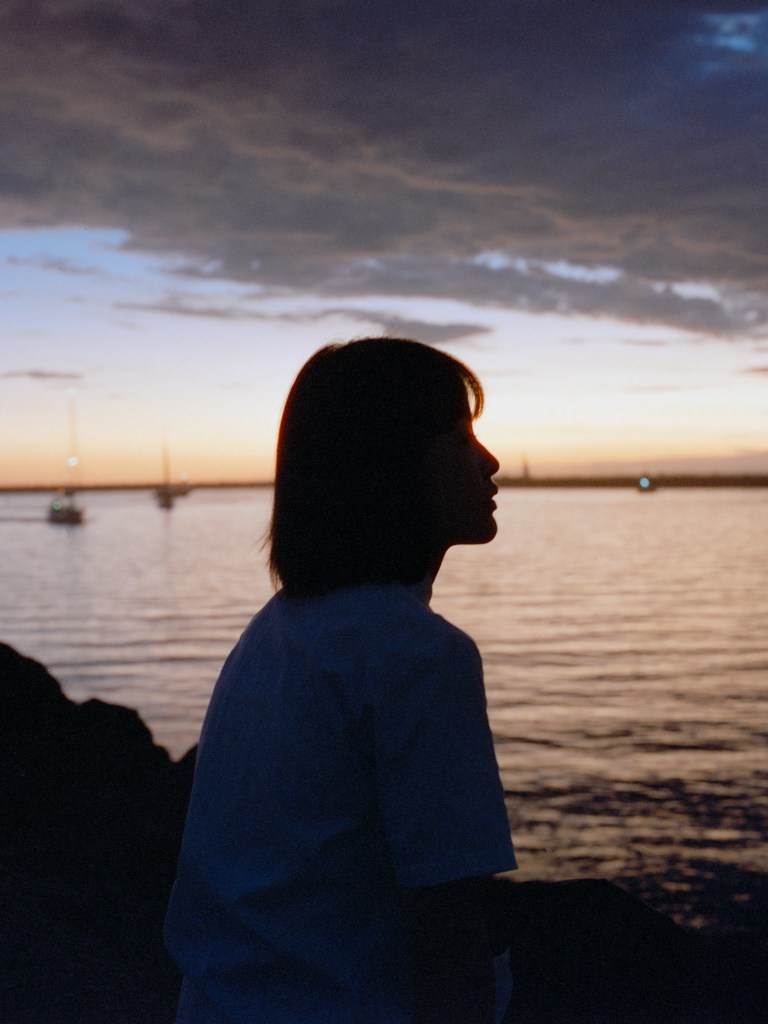
These shots I exposed for the sky and tried to get a silhouette, this one was shot at f2.8, then I took another shot at f8 as an experiment, to try the differences.
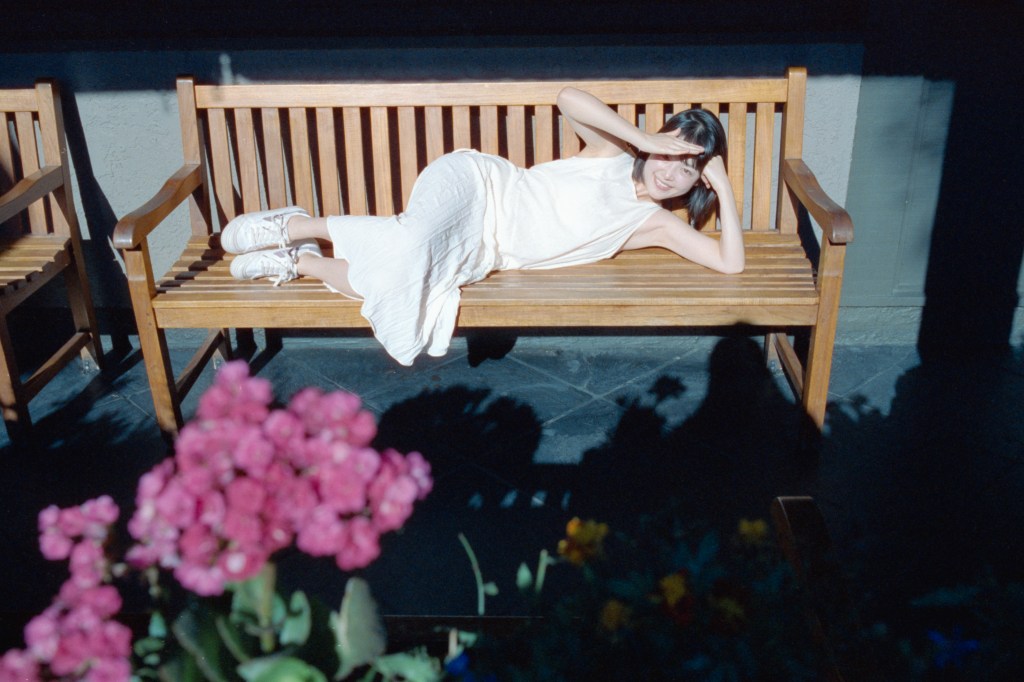
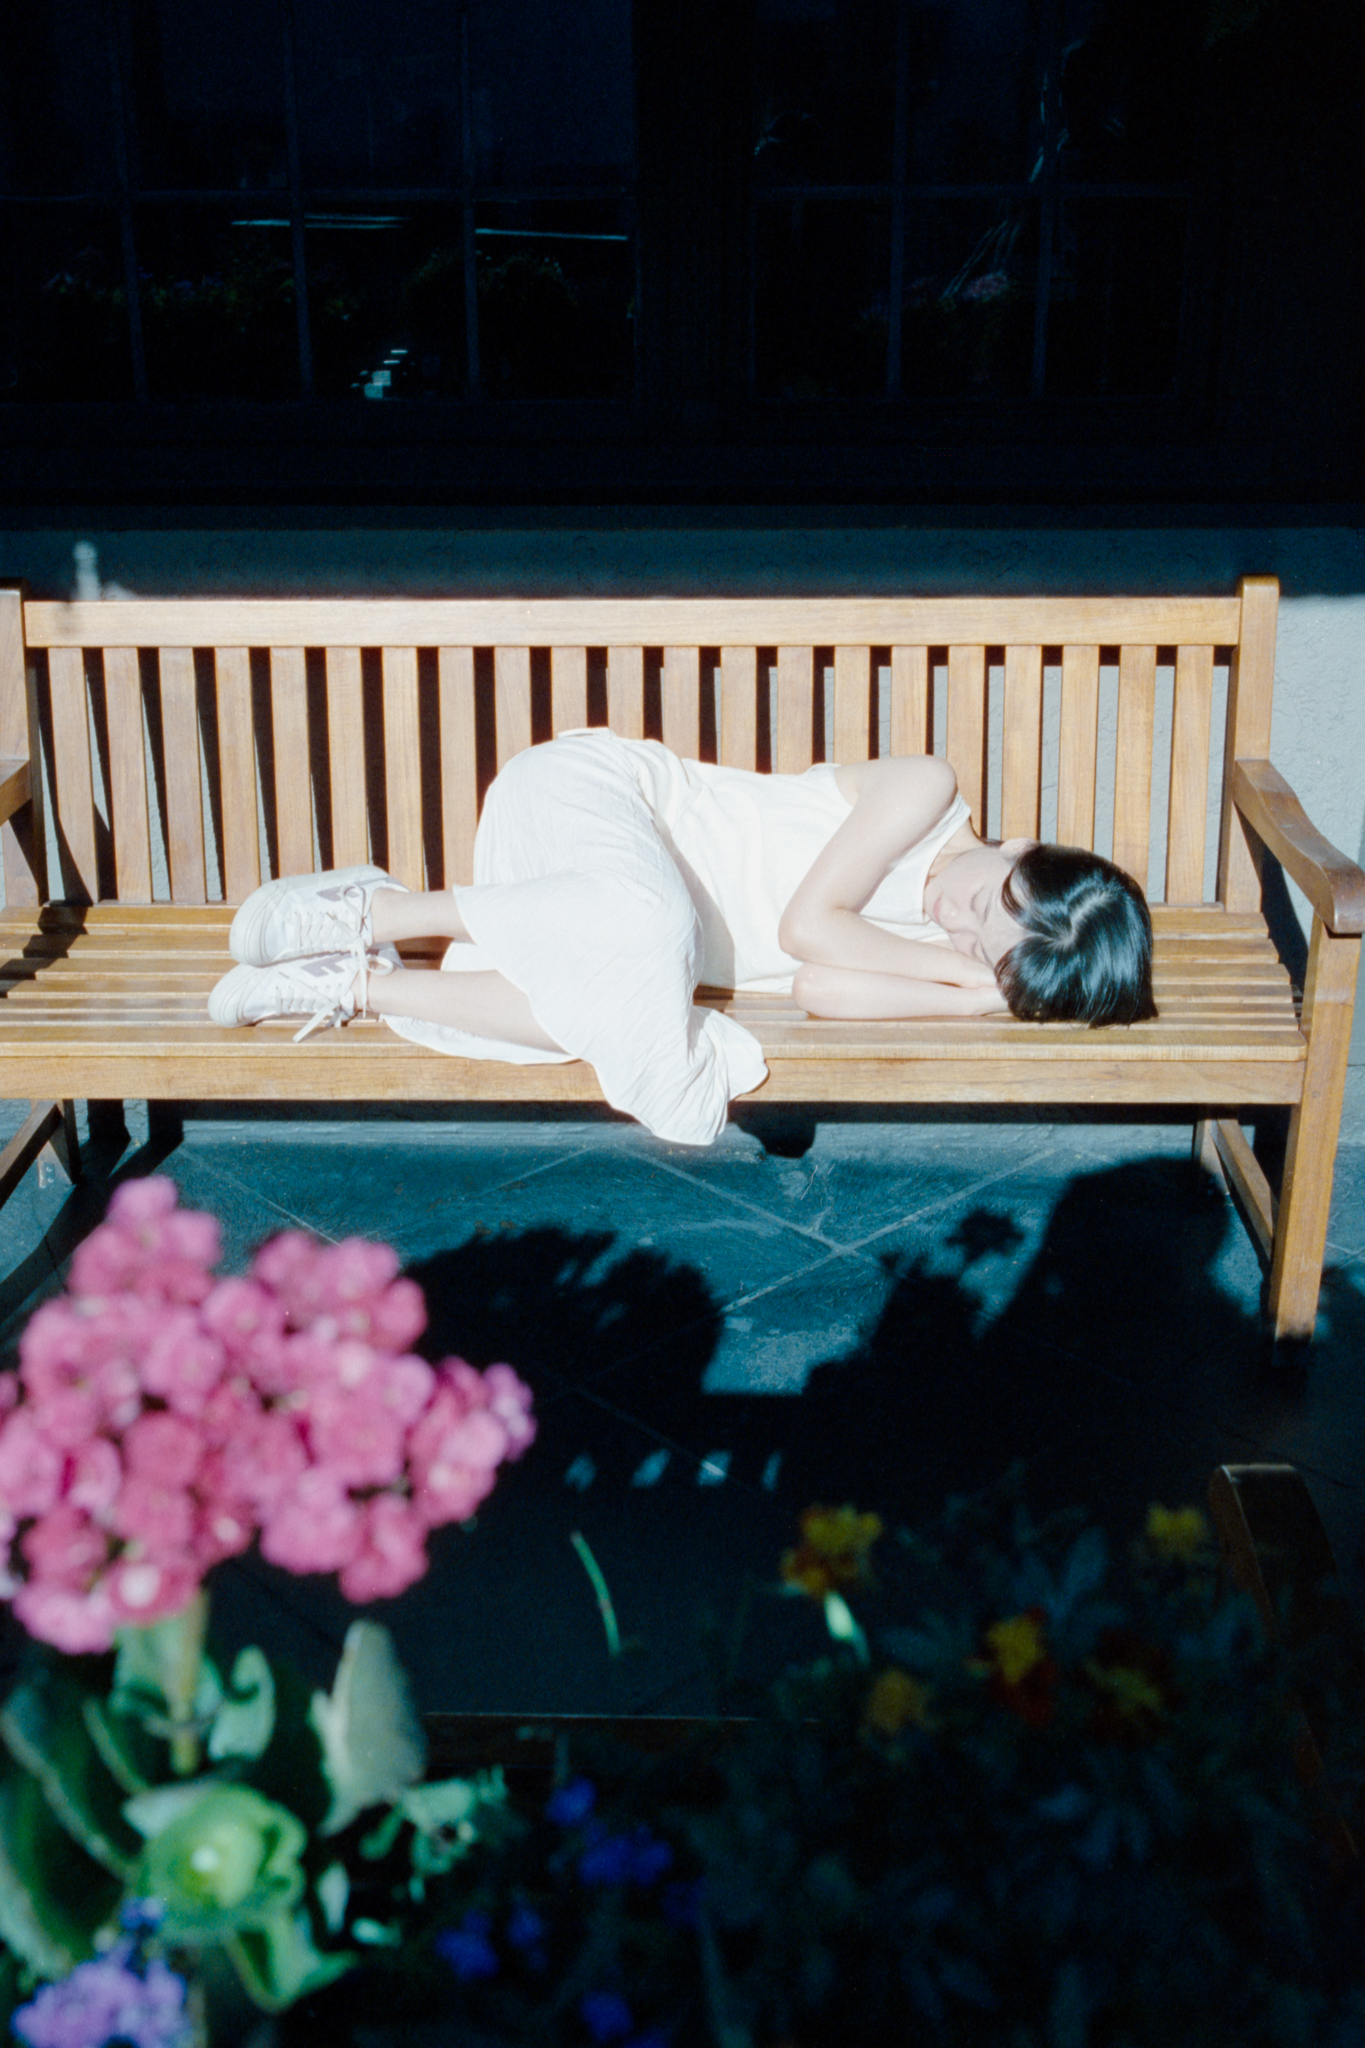
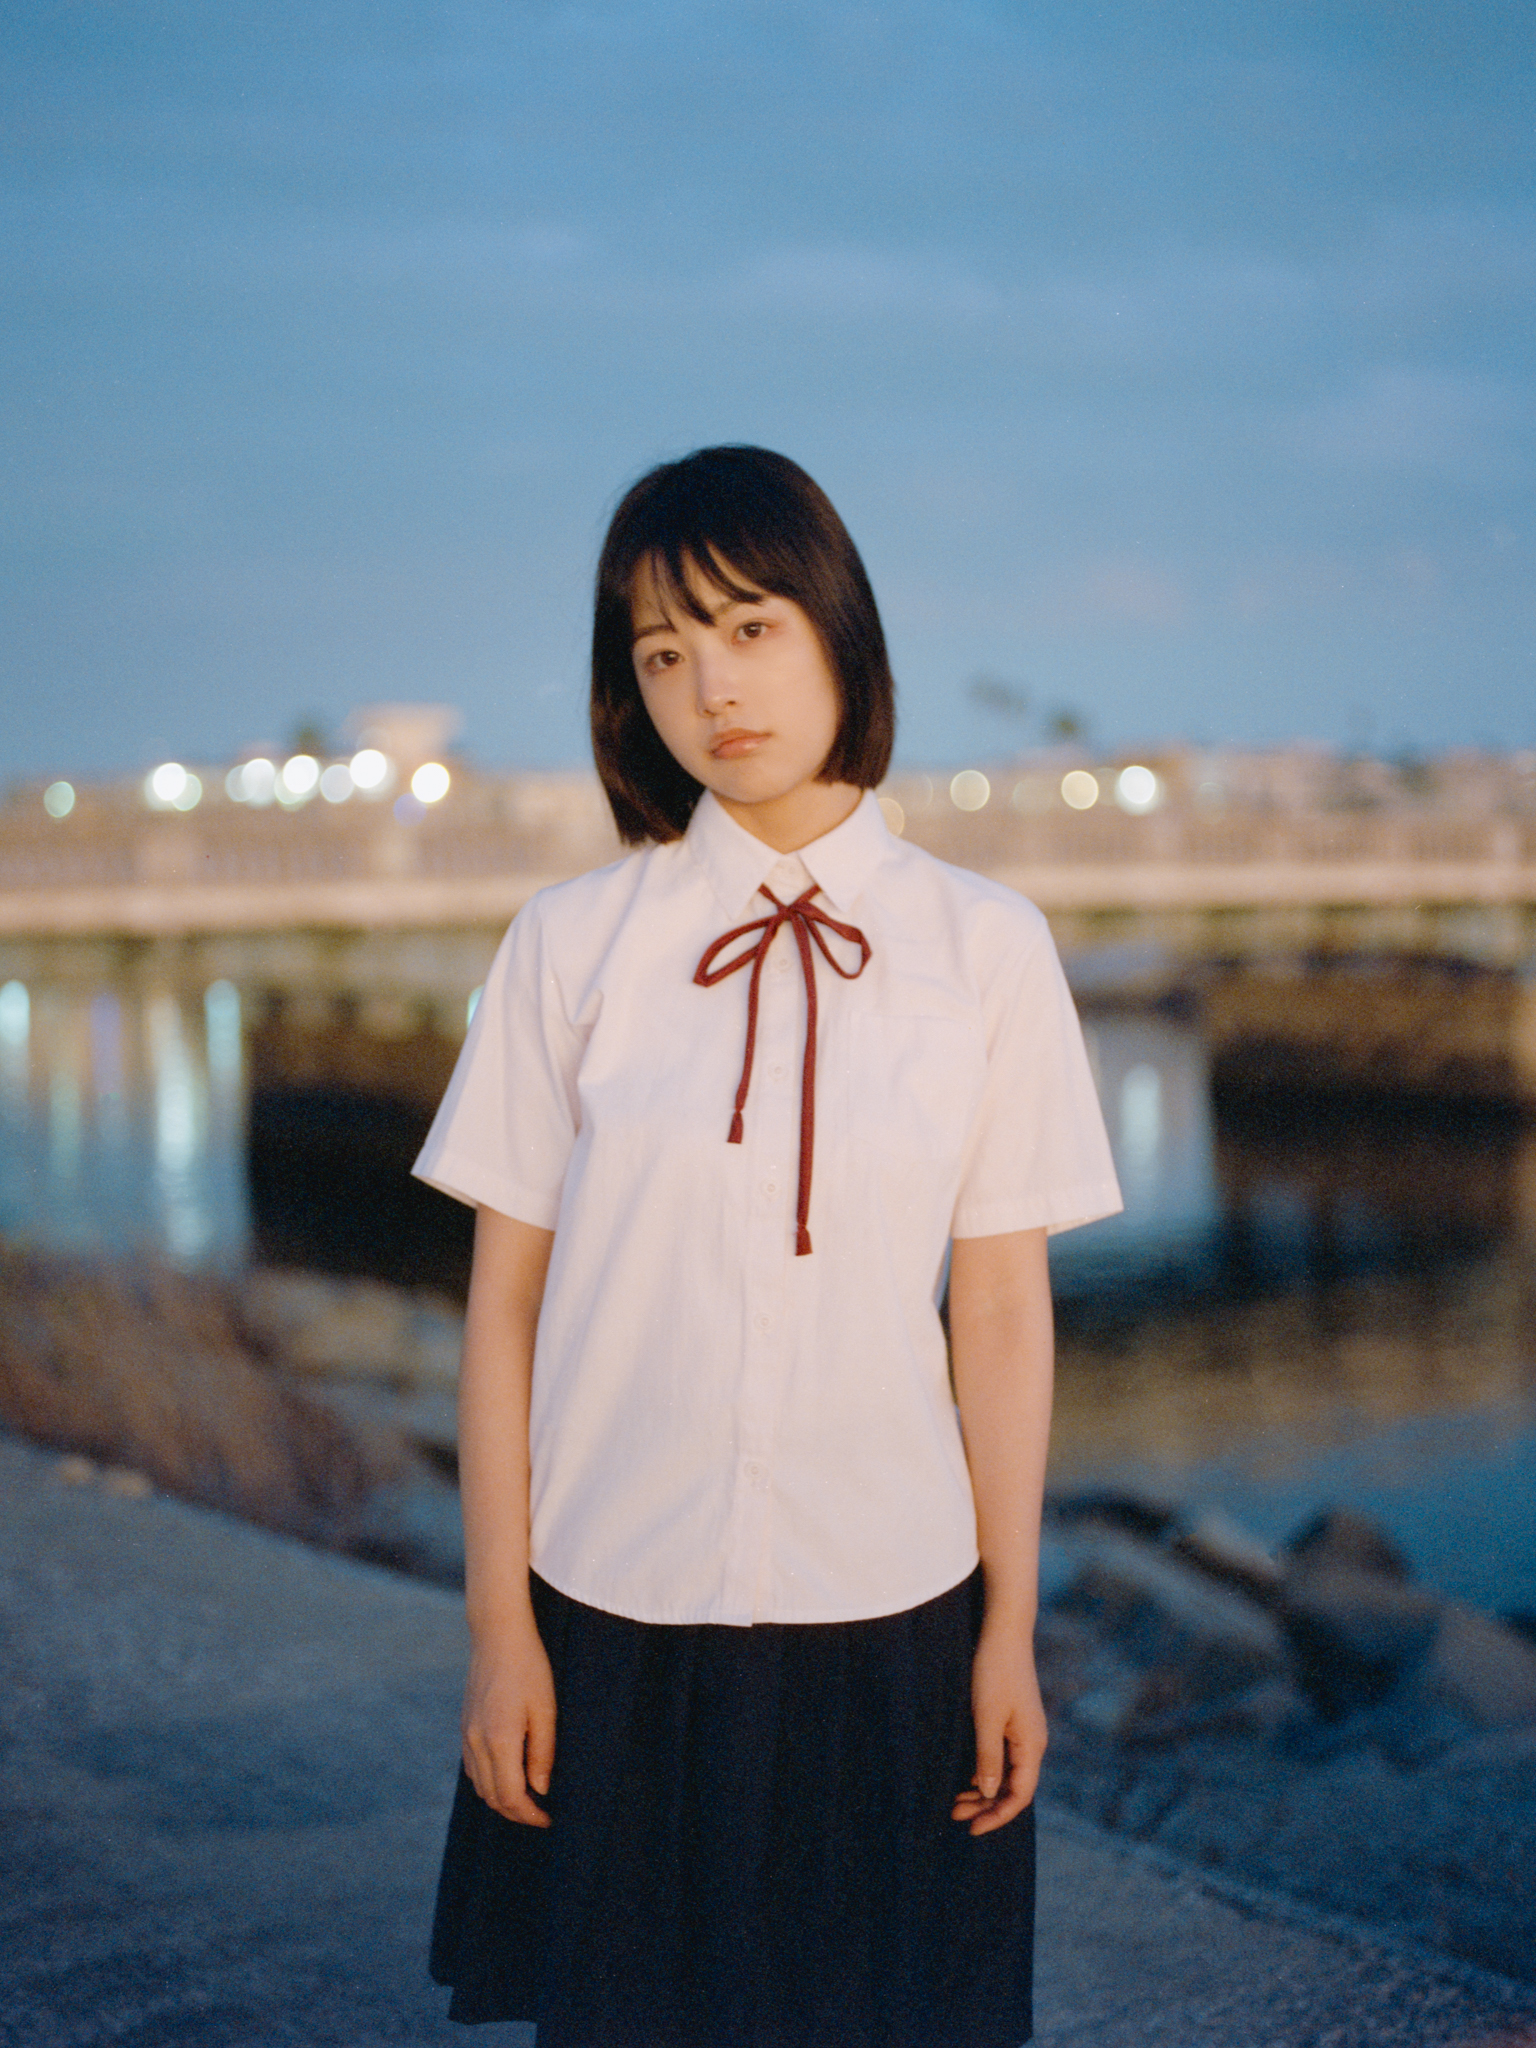
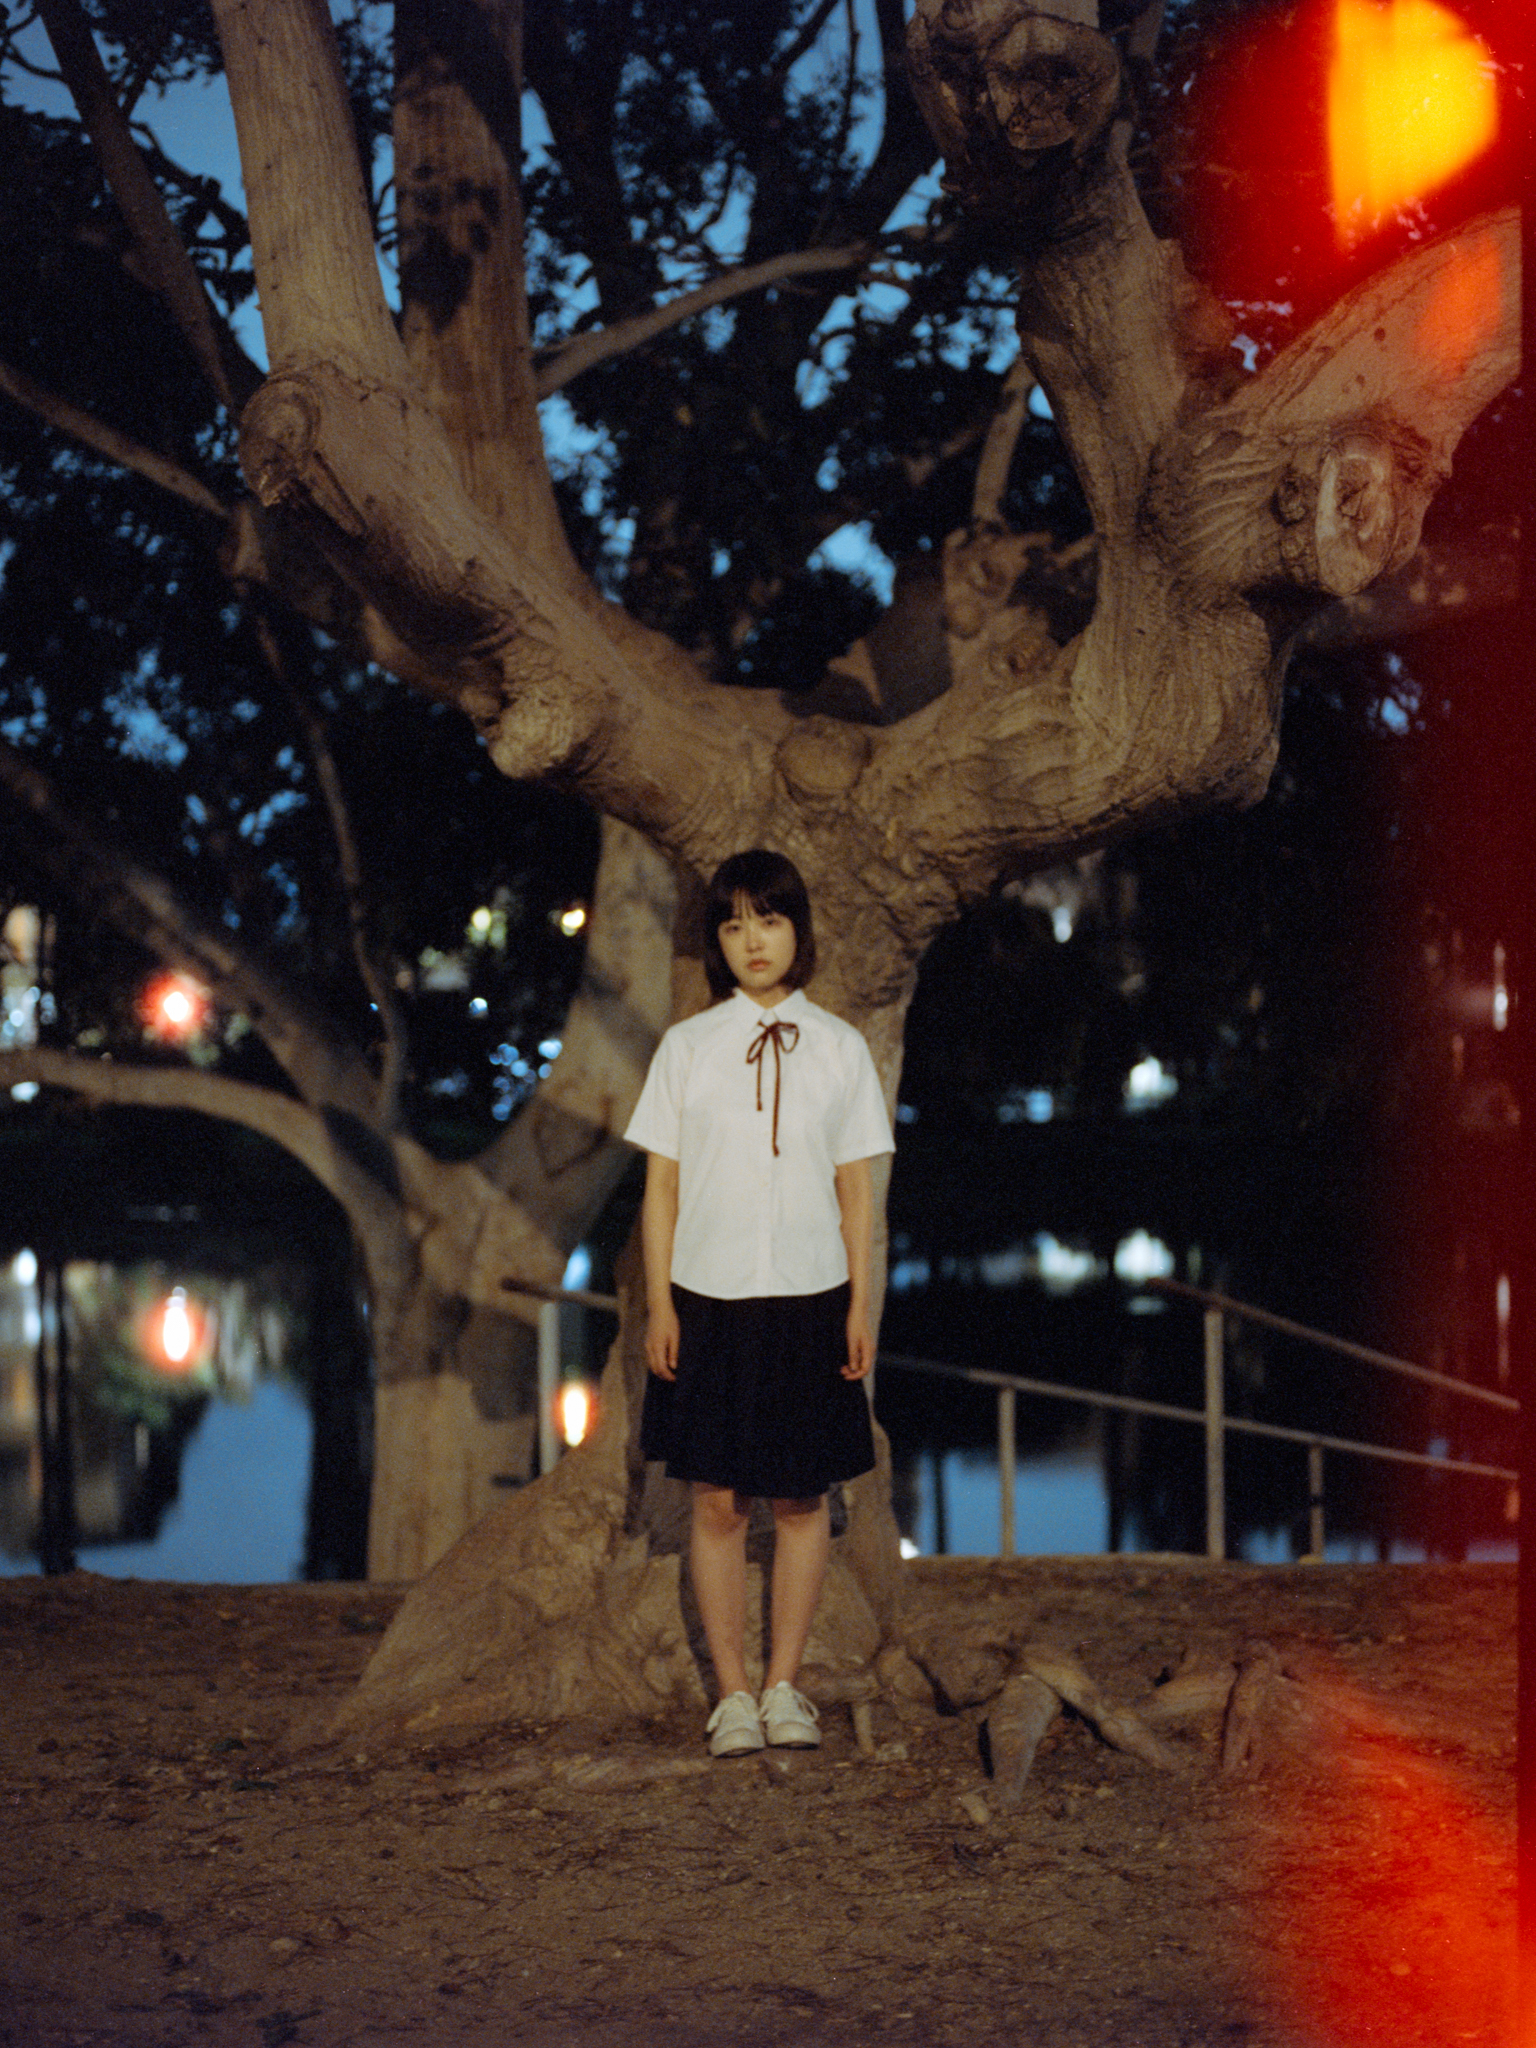
At this point, it is too dark to continue shooting at the pier, so we decided to walk around to find some street lights to finish the roll. These photos are all shot at very low shutter speed, so I have to ask her to stay very still.

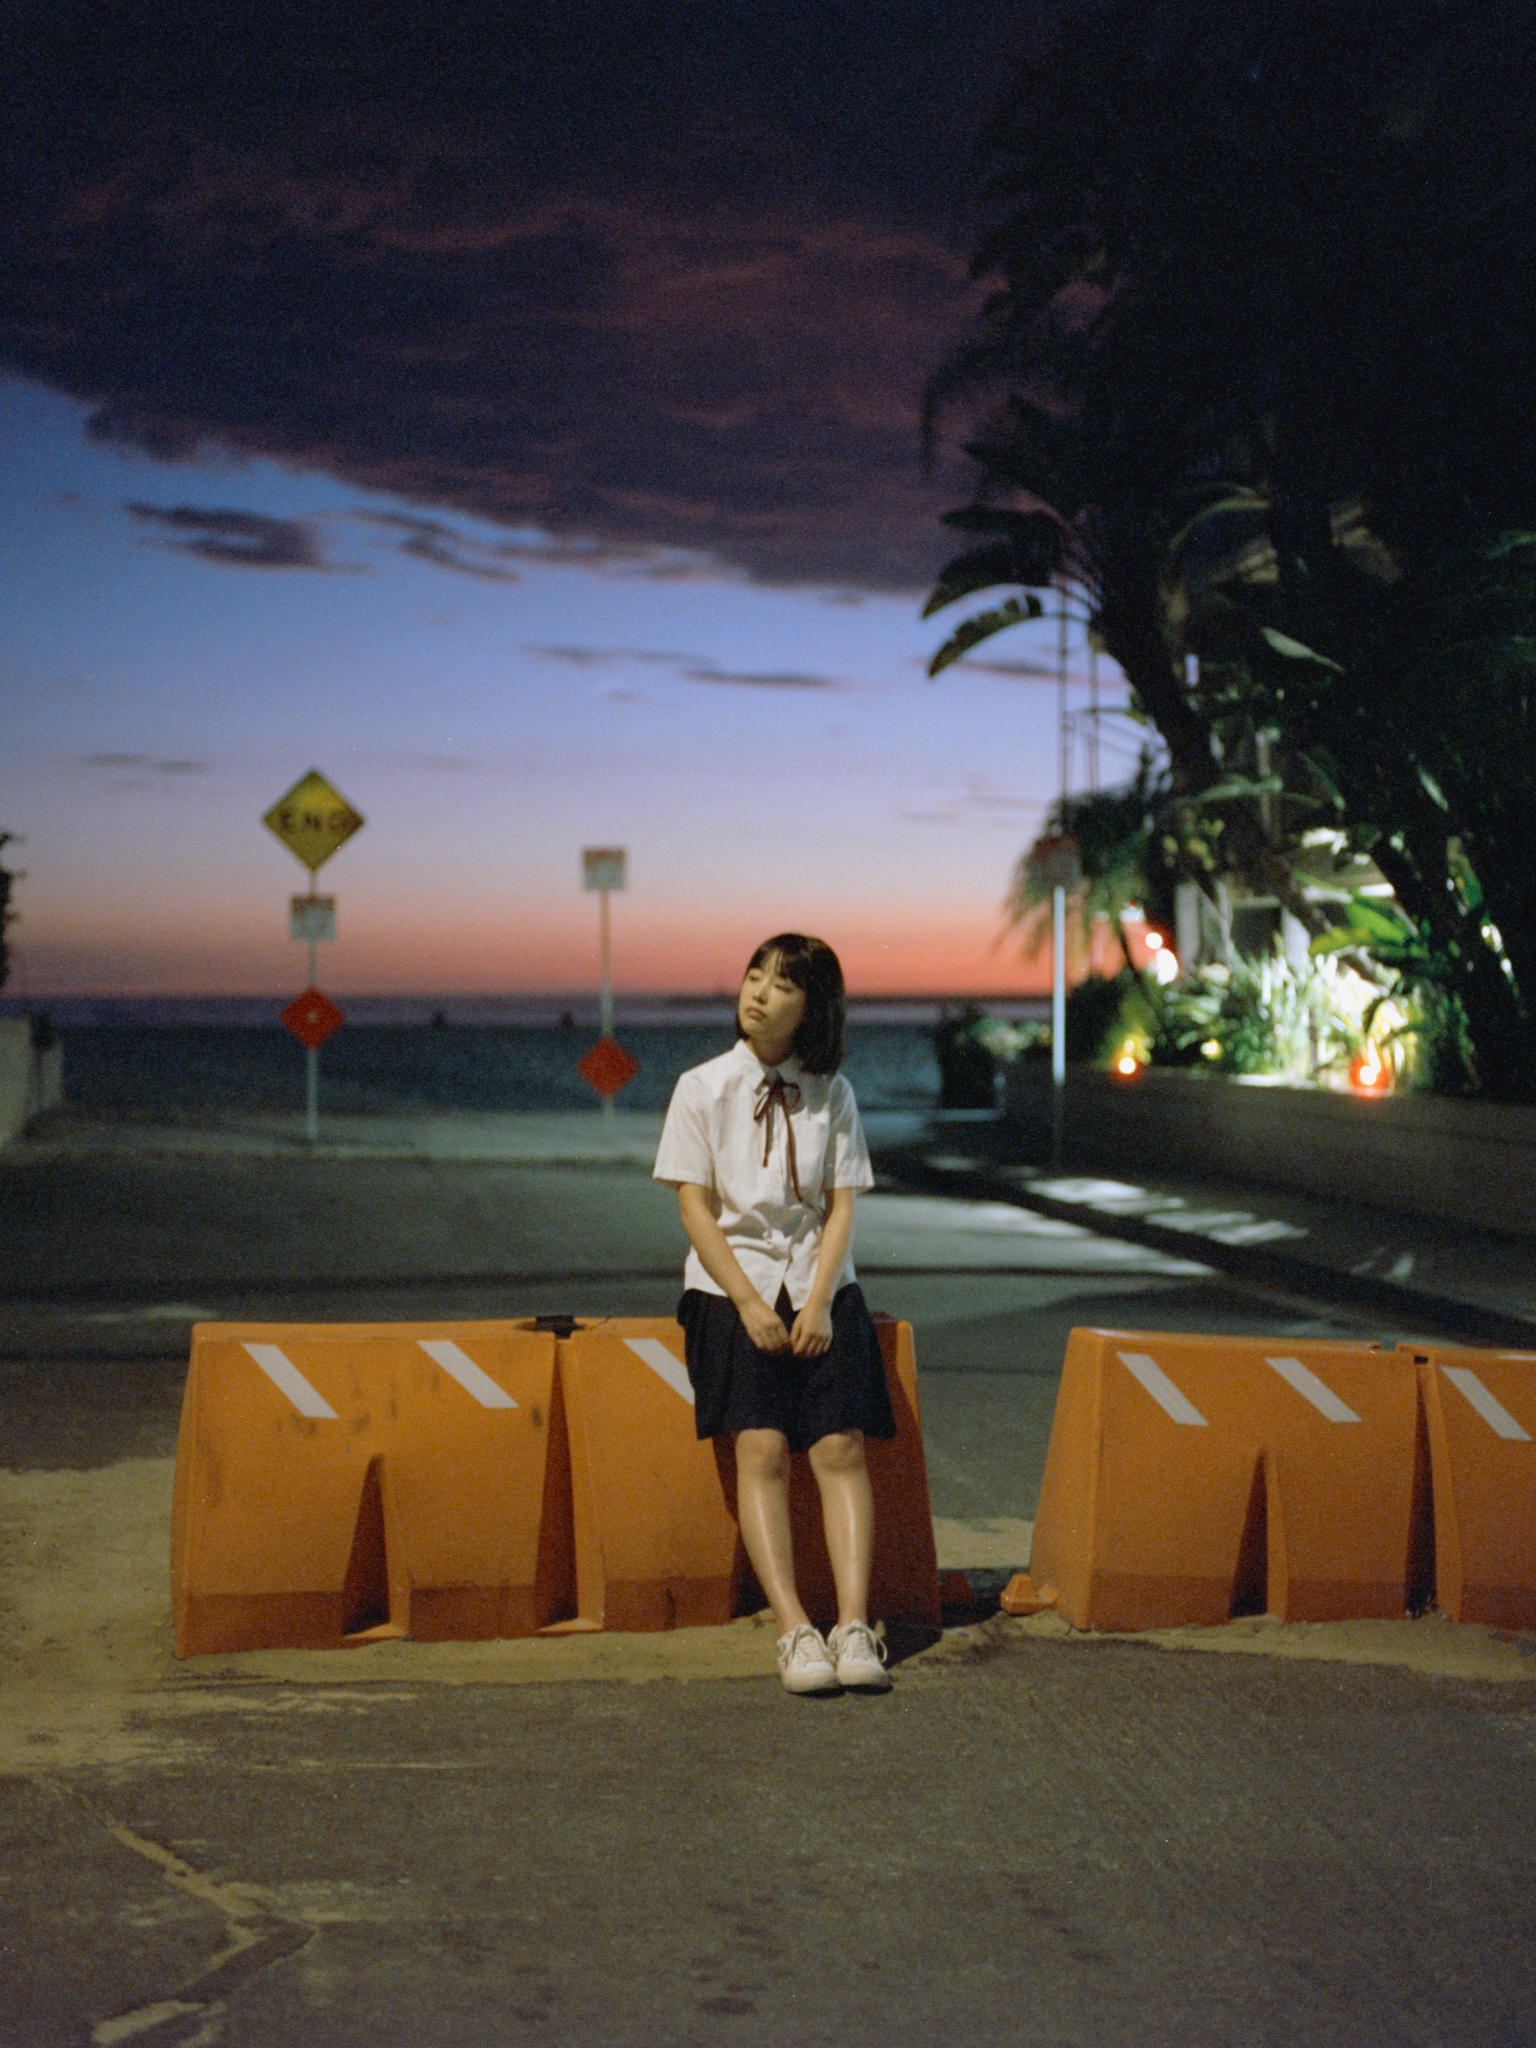

The sky looks very pretty at this point, we have some house lights hitting the sand, and a streetlight hitting her, and the trees casting these pointy shadows at the corner, I’m so bummed the camera shook a little bit, and the shot is not quite sharp. I’m so tempted to just go back and re-create this shot after seeing the scan.
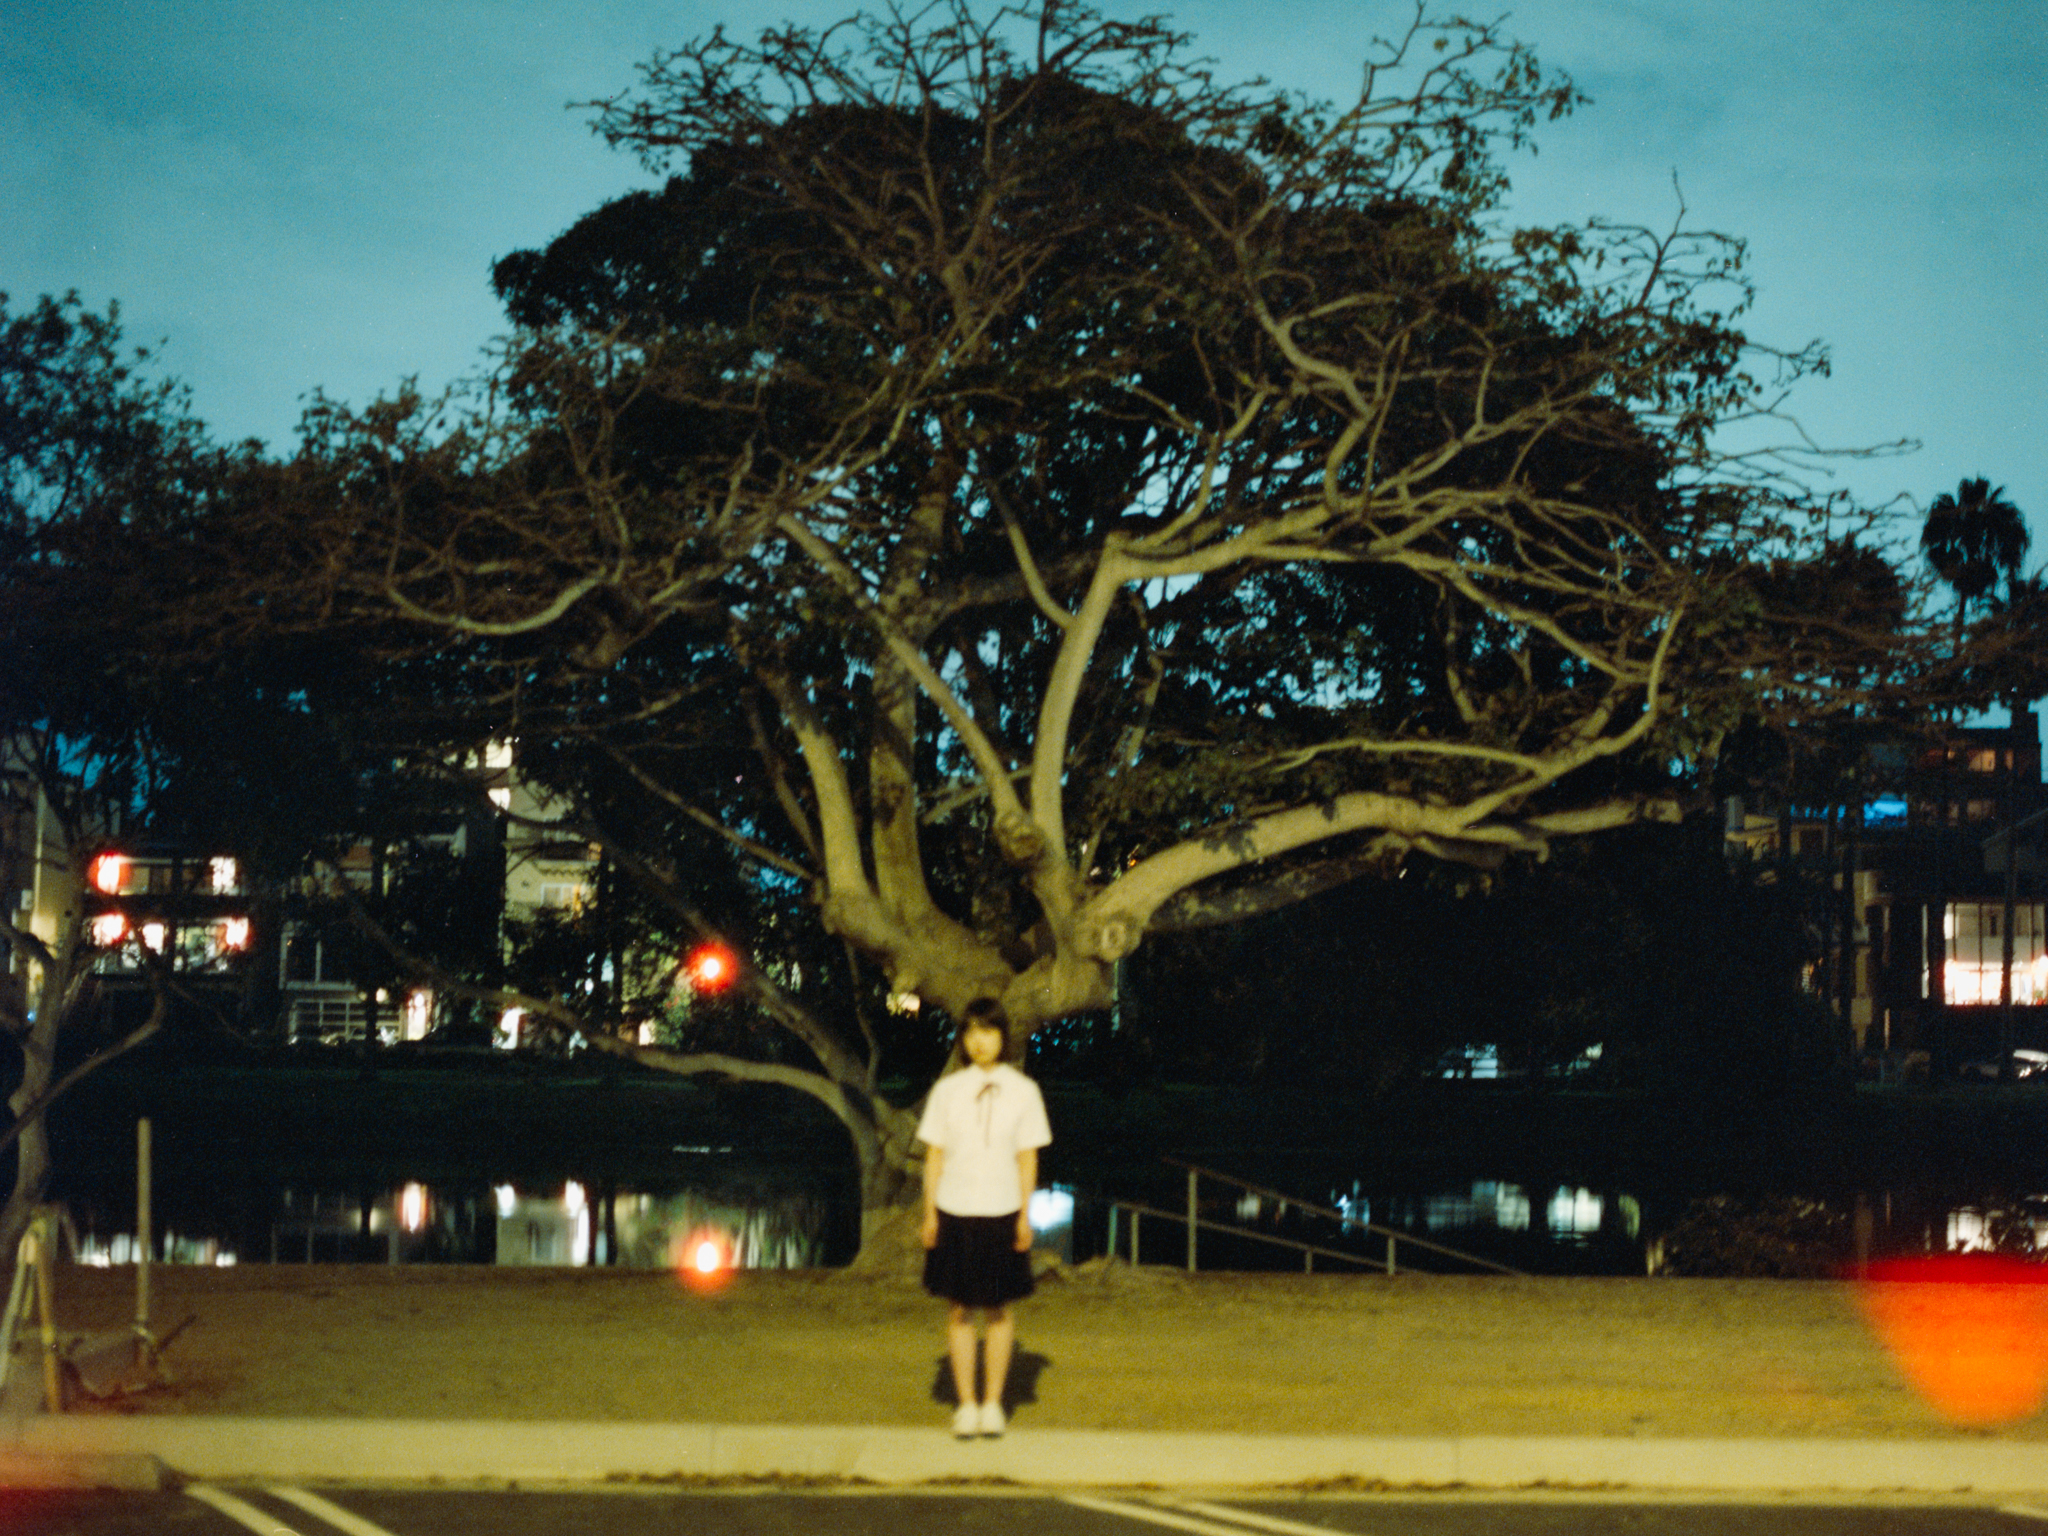
If you have been watching my videos, you know I almost never use a tripod, when shooting digital, I can bump up the ISO, I almost never shoot shutter speed below 1/100. But yet when I start to shoot film, we have a fixed ISO, we have lenses that don’t open up below 2.8, I have no choice but to put the camera on the tripod, shooting at 1-second exposure… Then I captured this beautiful sequence I’ve never captured before. Then I realized that having limitations is a good thing, it gets me out of my comfort zone, forces me to change my shooting habits, to see things at a different angle, and break through some of the barriers I have set to limit myself….
We don’t have behind the scenes footage for the rest of the roll, they came out not in focus anyway. After this shoot, I looked into how to minimize camera shakiness and learned how to use the mirror lock-up function and got myself a release cable. So even though parking took too long, we ended up shooting at night, and many photos came out blurry, this is a very good test shoot because we learned new things.
Alright, this is it for this week’s video, if you are still here till the end, thank you for your time, I know we trailed off from testing Cinestill during the day halfway through… but welcome to nothing ever goes as planned here with Sam… I will see you next time.


Leave a comment